Glyphs are special Props featured in Dead by Daylight![]() .
.


Their first variation, the Red Glyph, was introduced with Tome 6 - Divergence in Patch 4.5.0.
Since then, every new Tome up to and including Tome 13 - Malevolence introduced a new variation, each with a new colour and new effects.
Overview[]
Glyphs are special Props that are only generated when a Player has a Glyph Challenge selected, which are available in various iterations from Tome 6 - Divergence onwards.
The following variations have been introduced so far (in order of release):
- Red Glyph
- Blue Glyphs
- Yellow Glyphs
- Purple Glyphs
- White Glyphs
- Green Glyphs
- Orange Glyphs
- Pink Glyphs
Please check below for more details.
Visibility[]
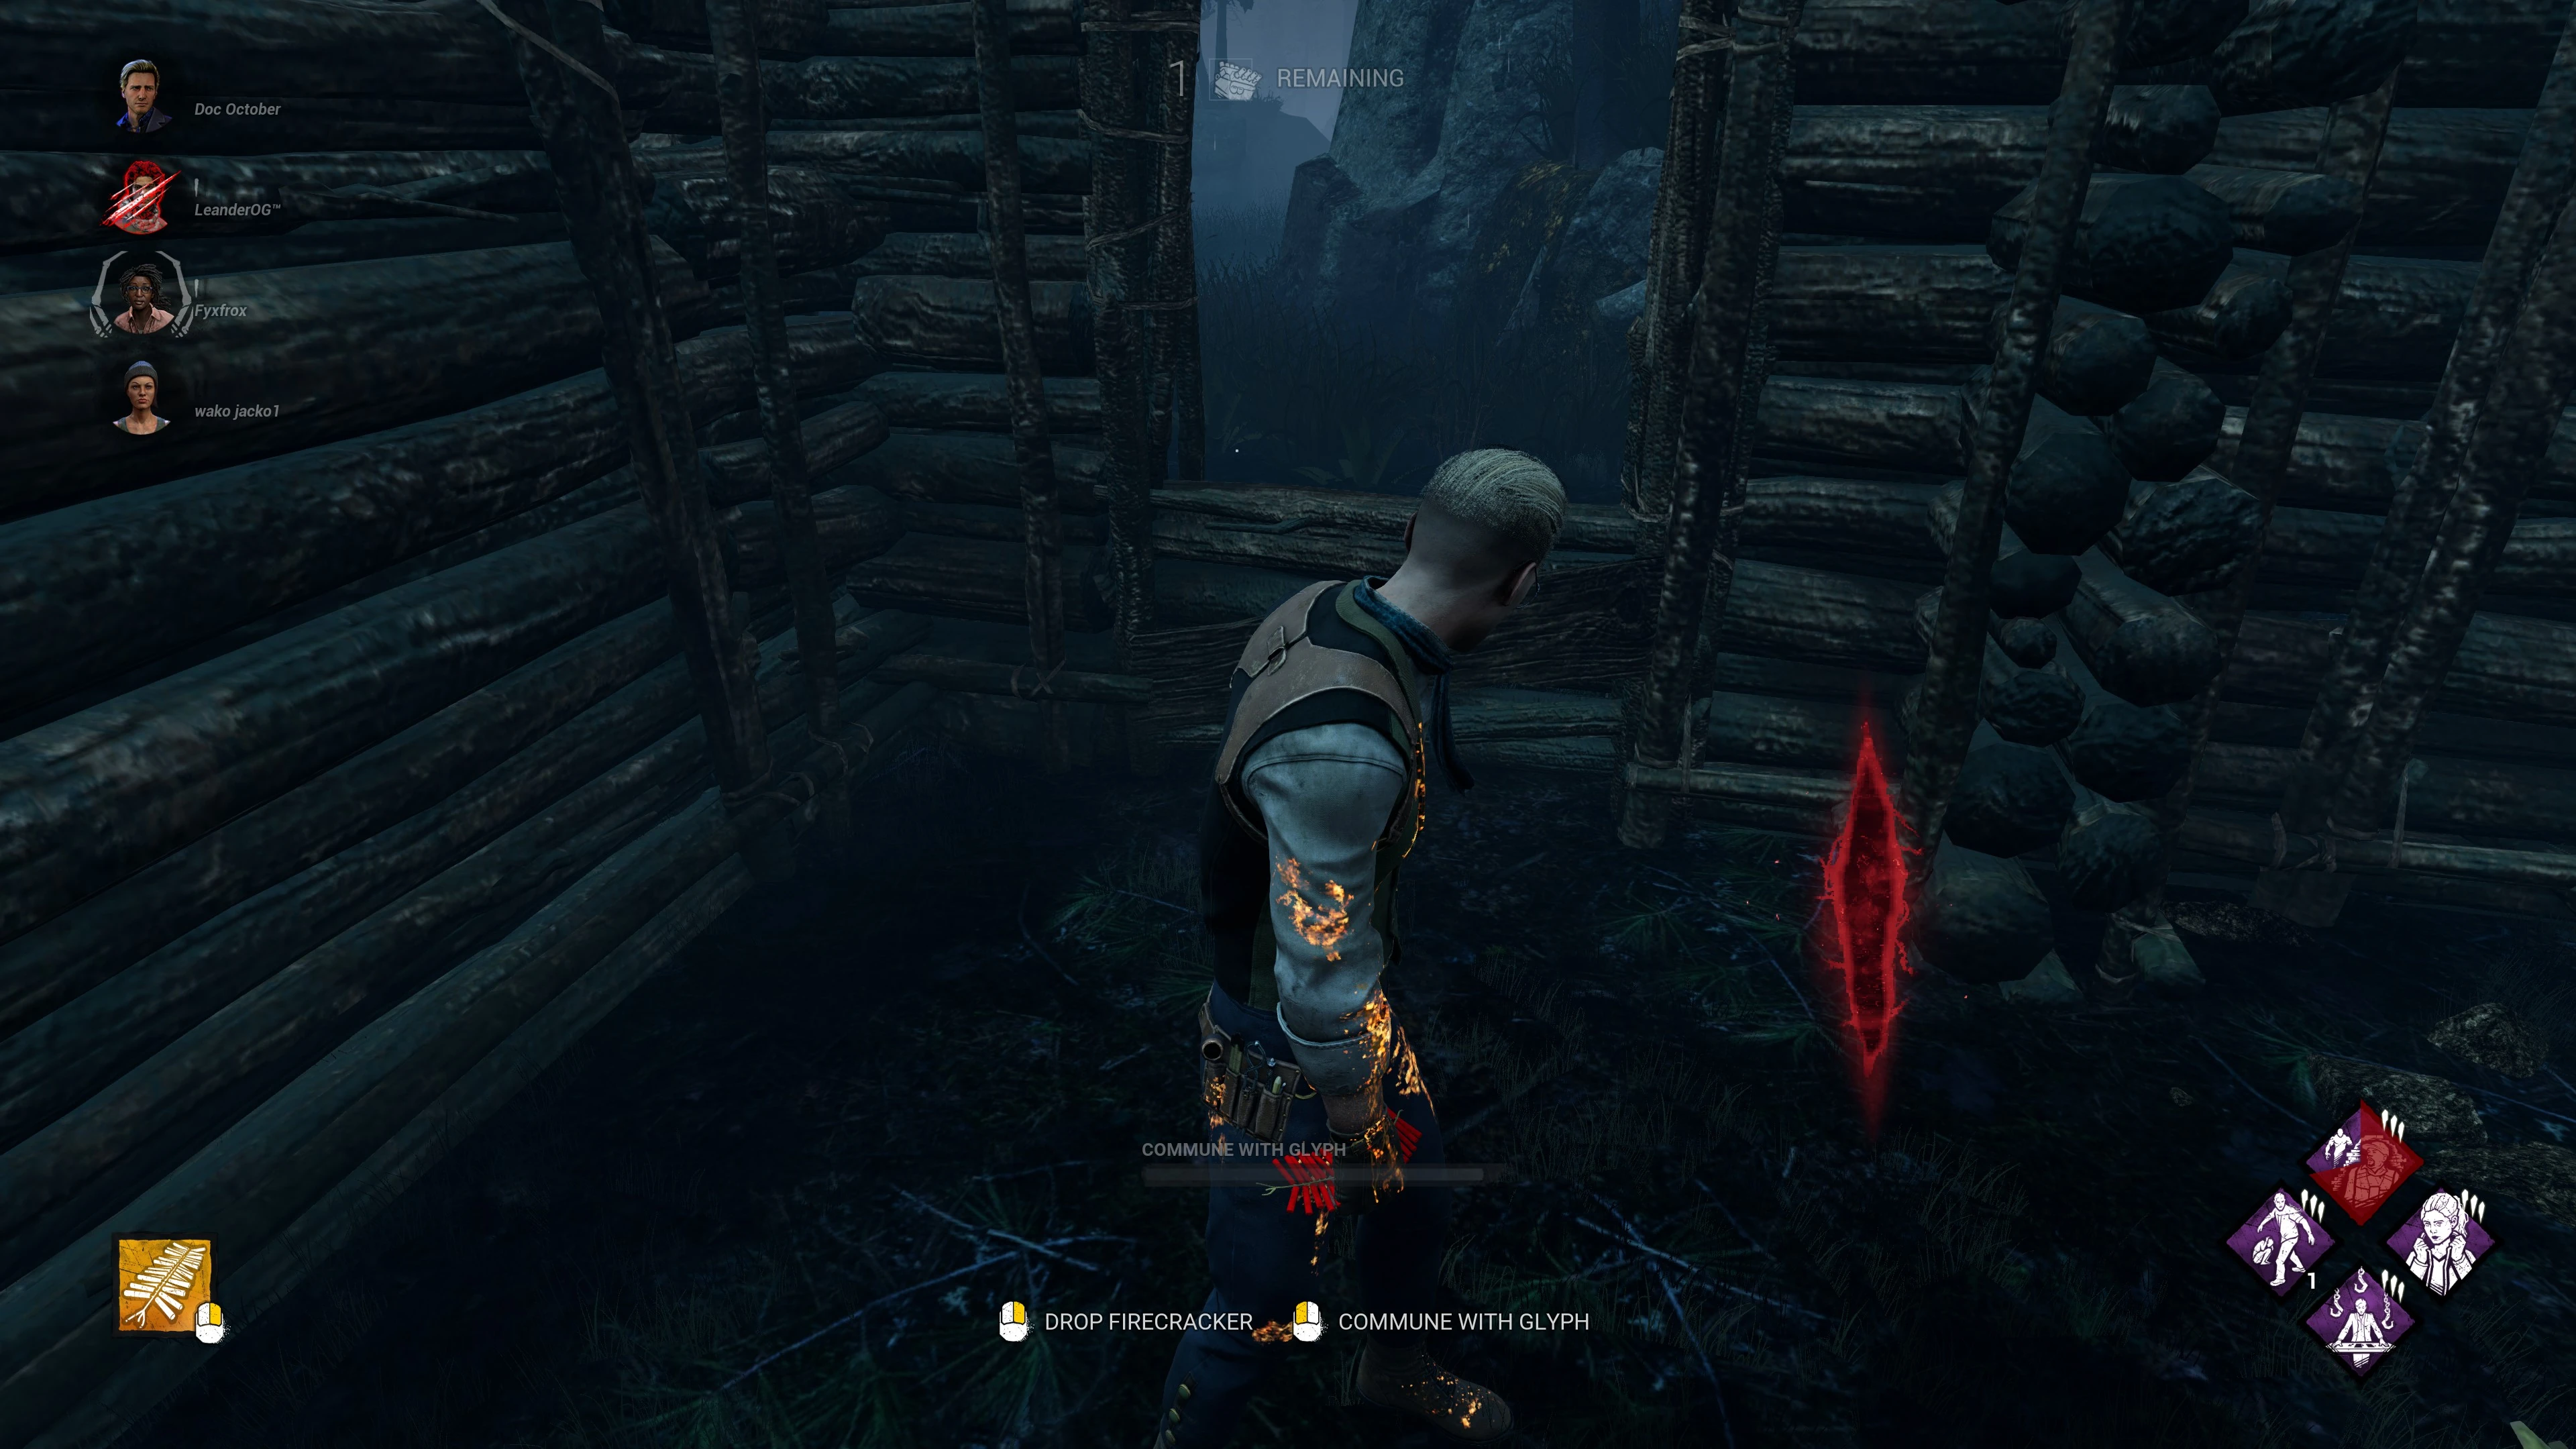
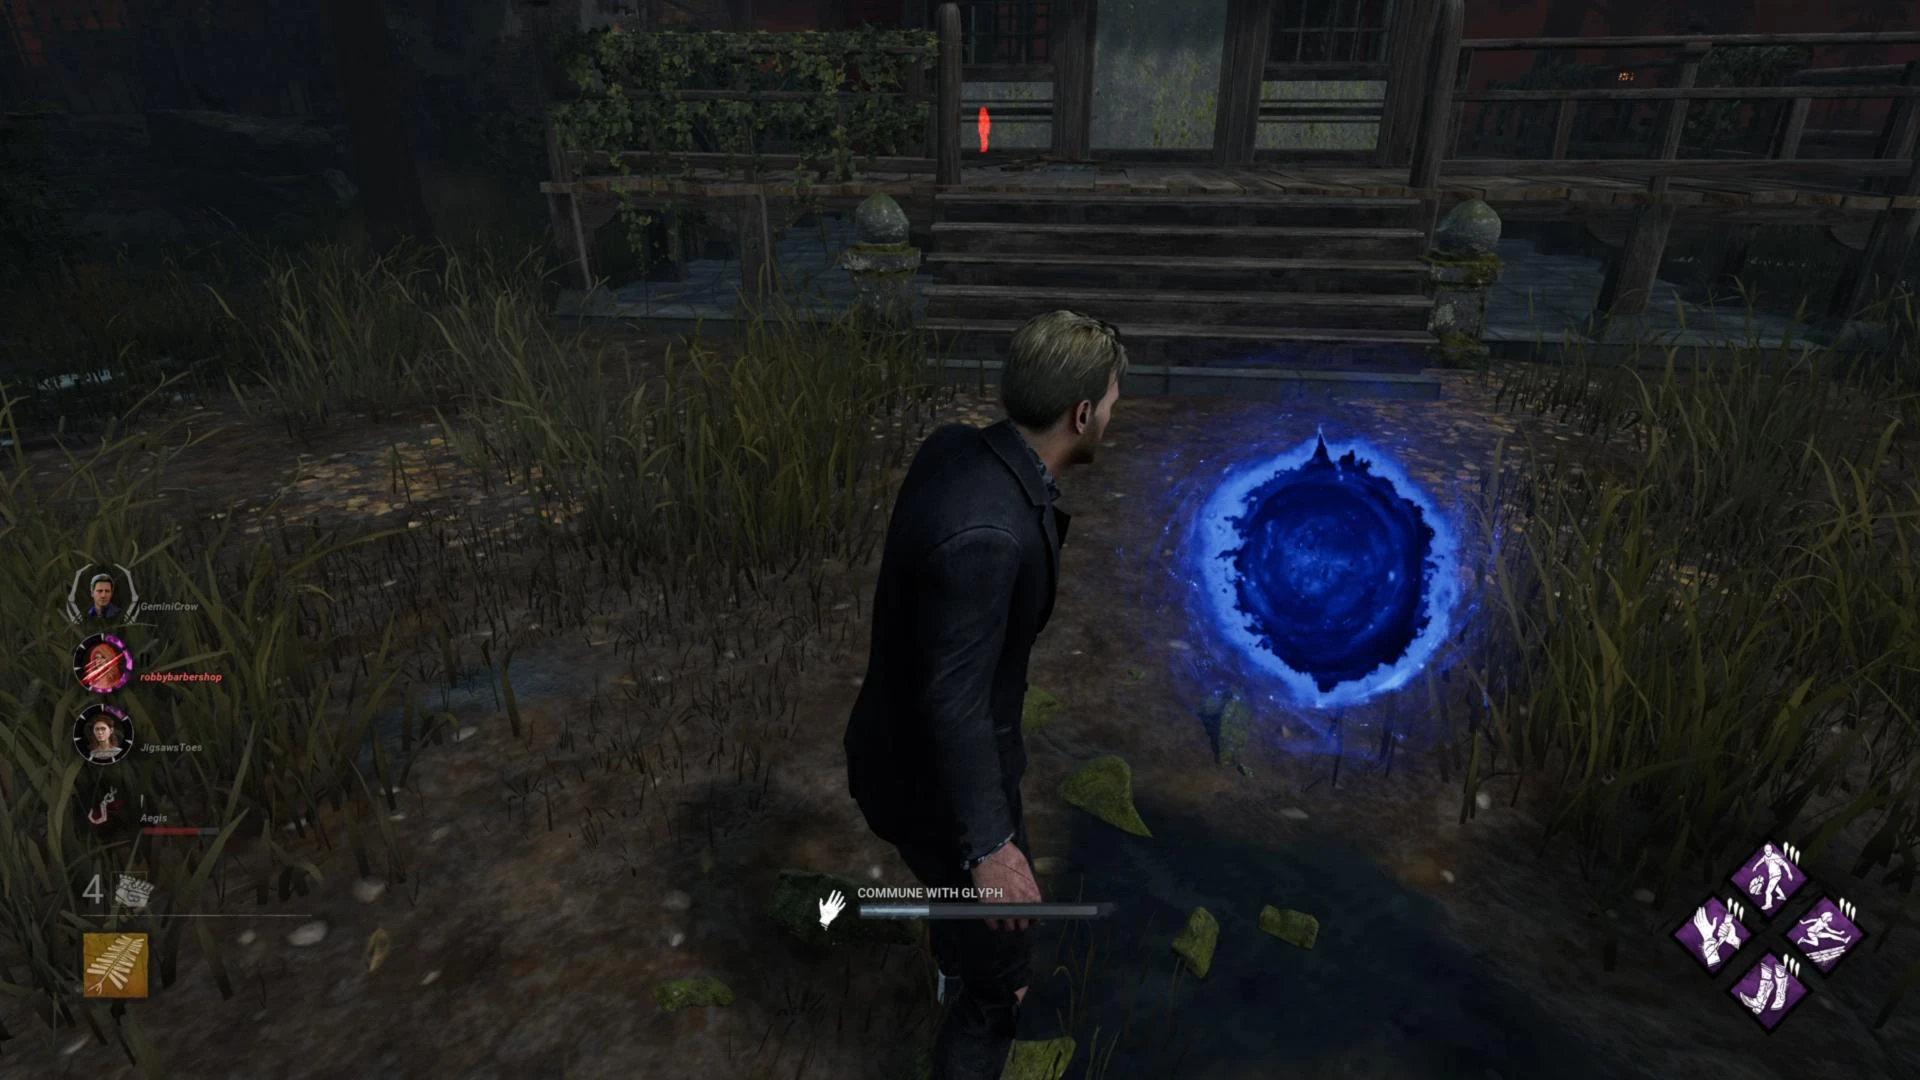
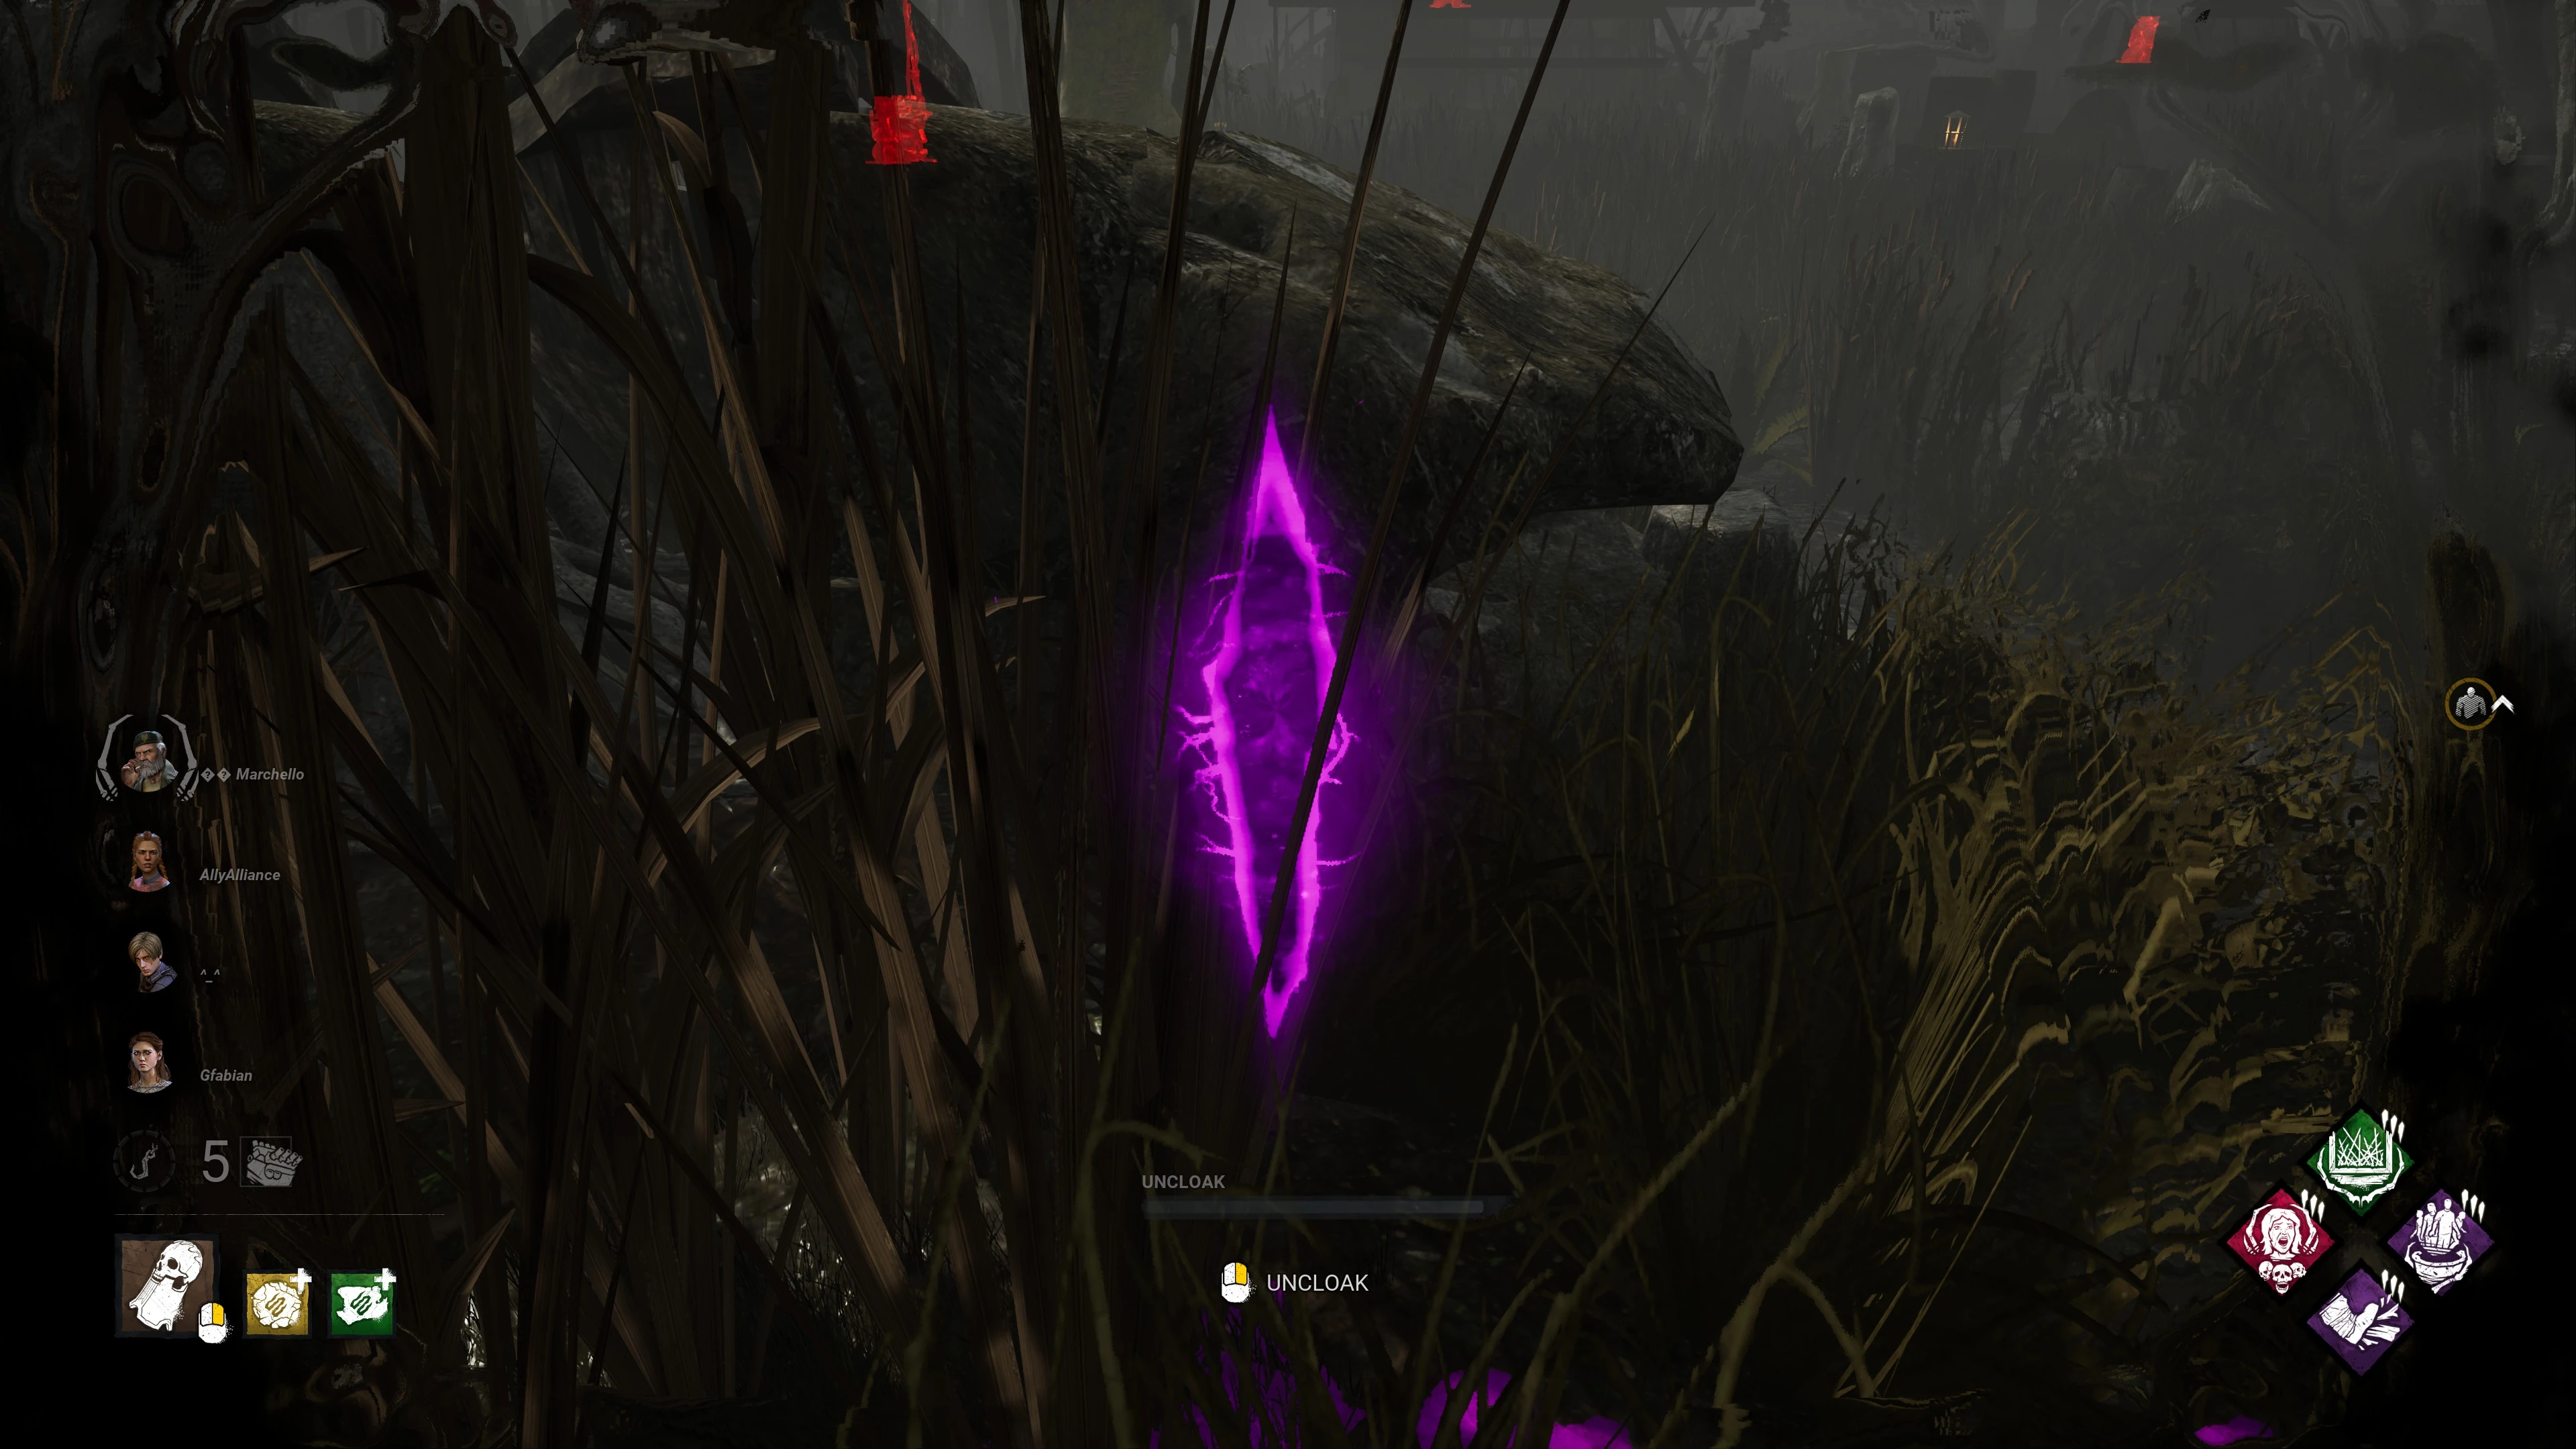
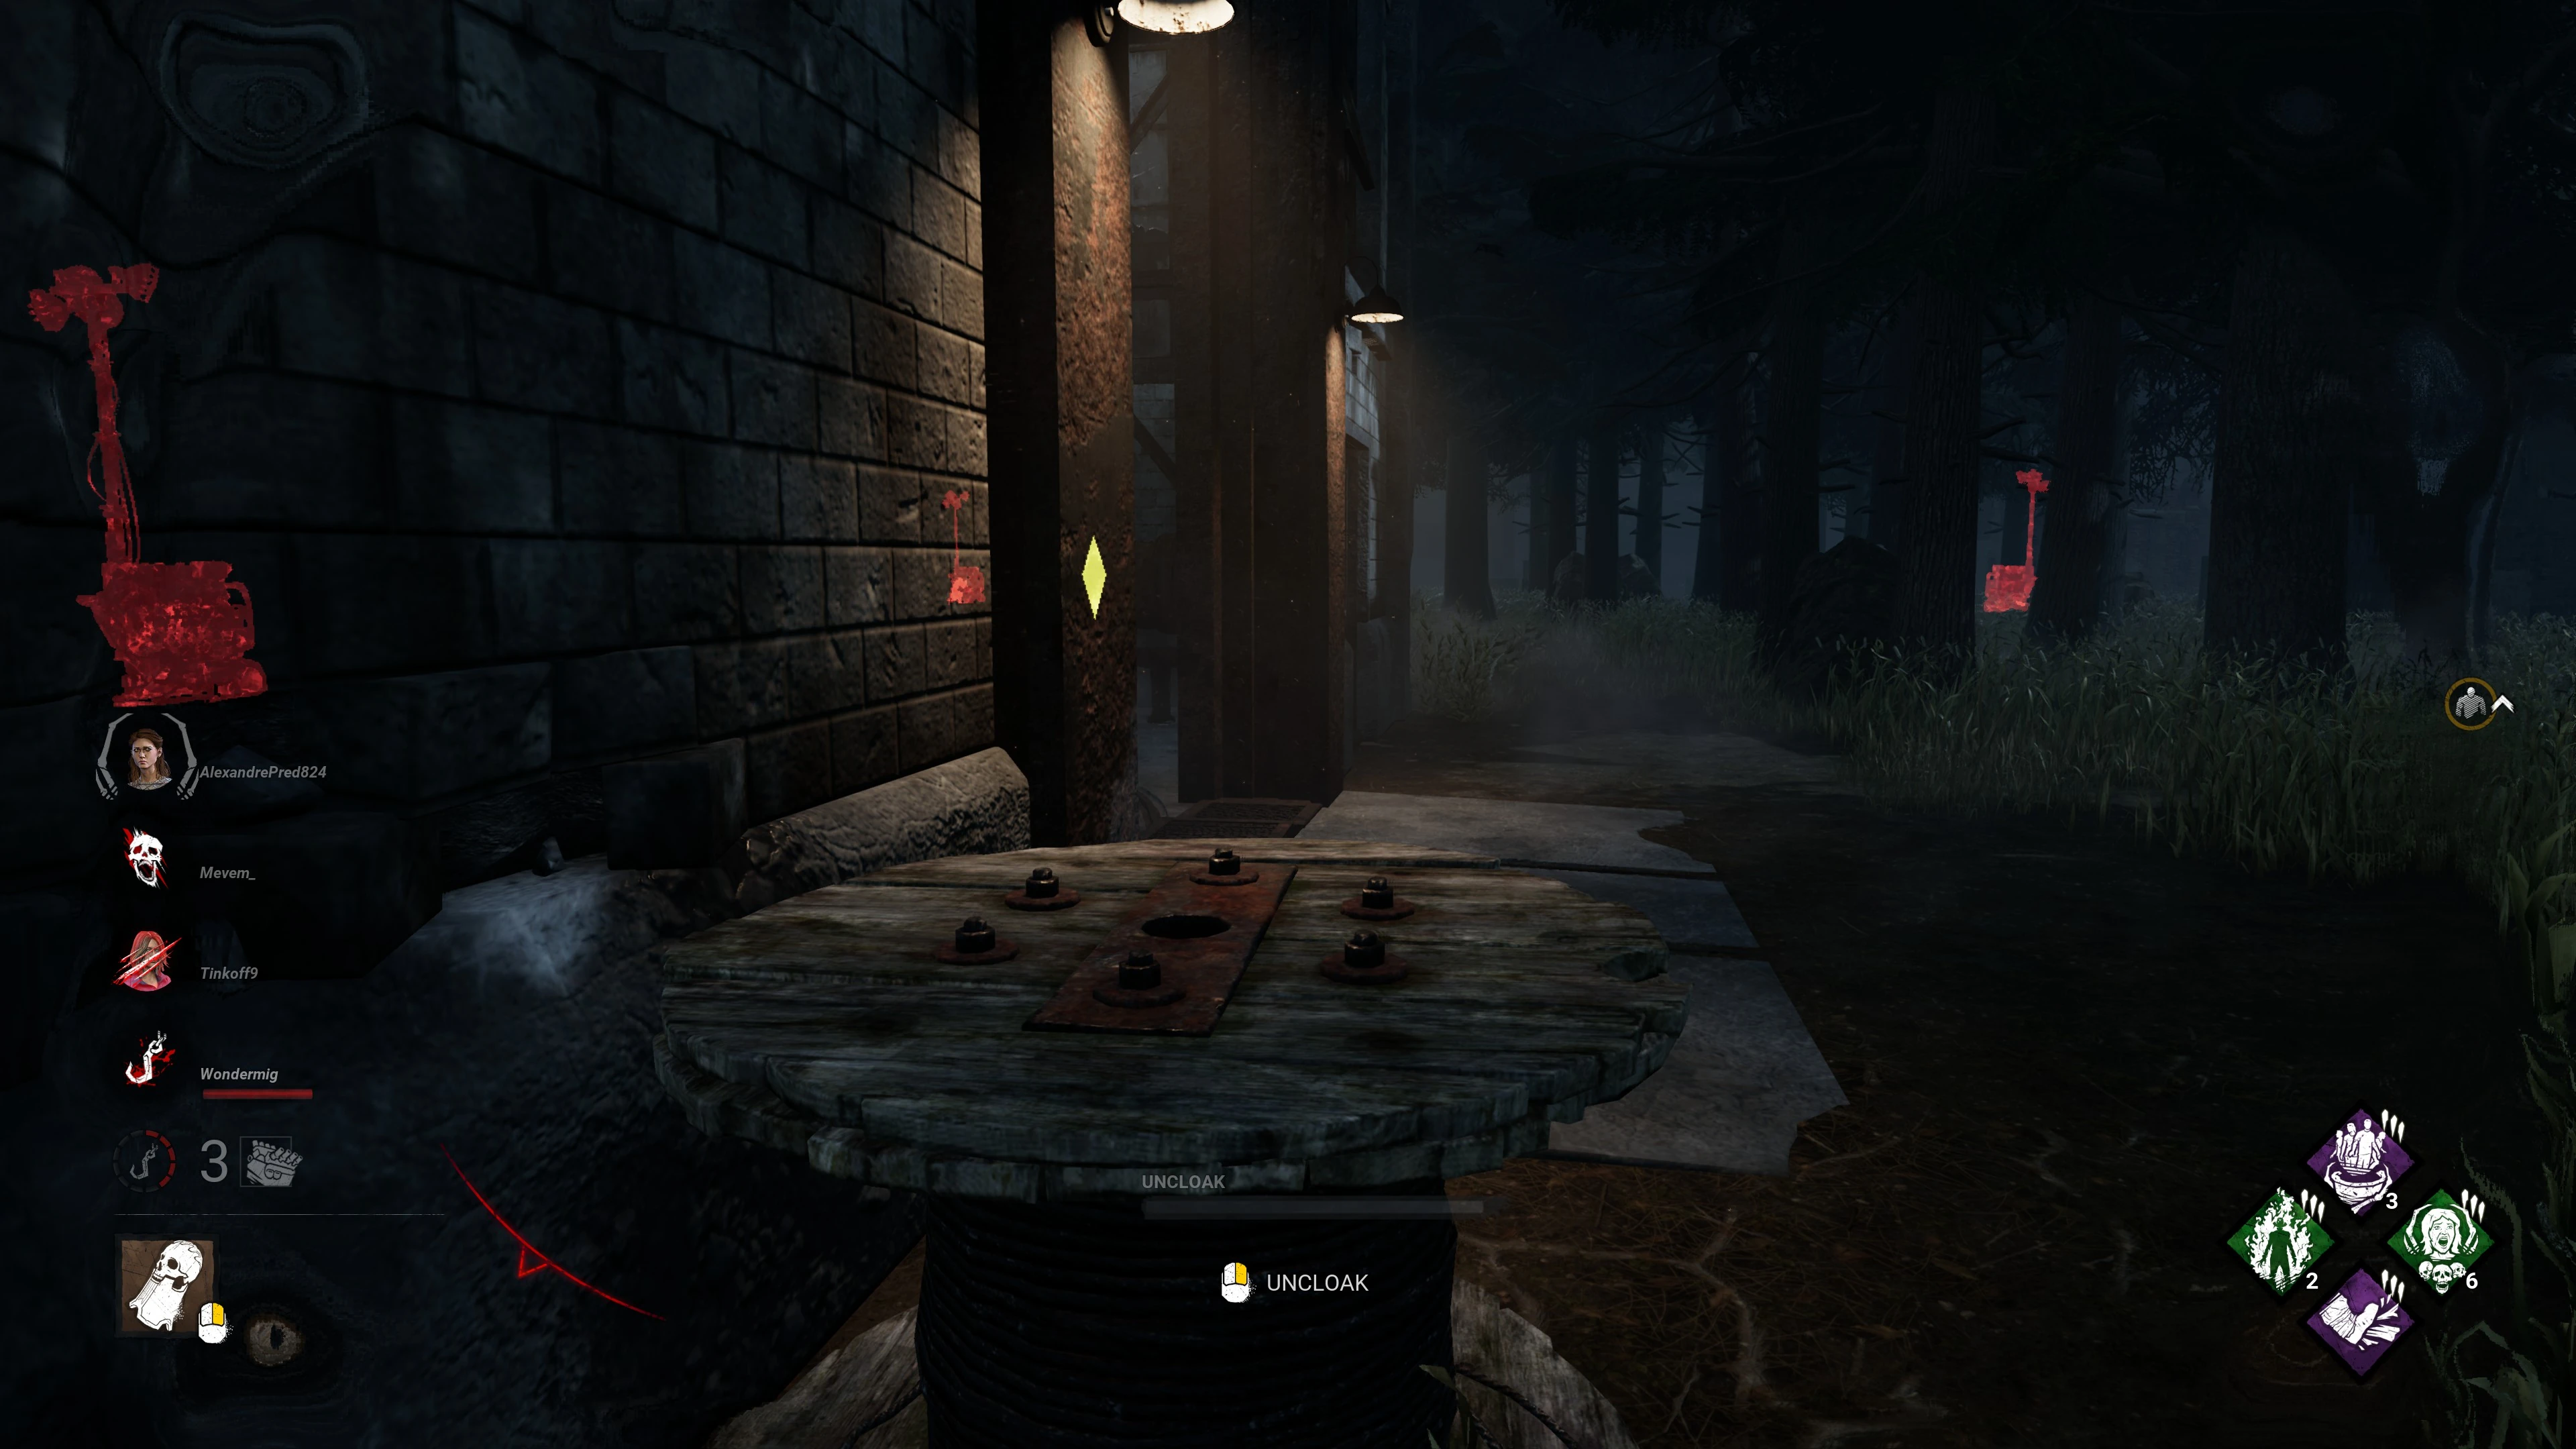
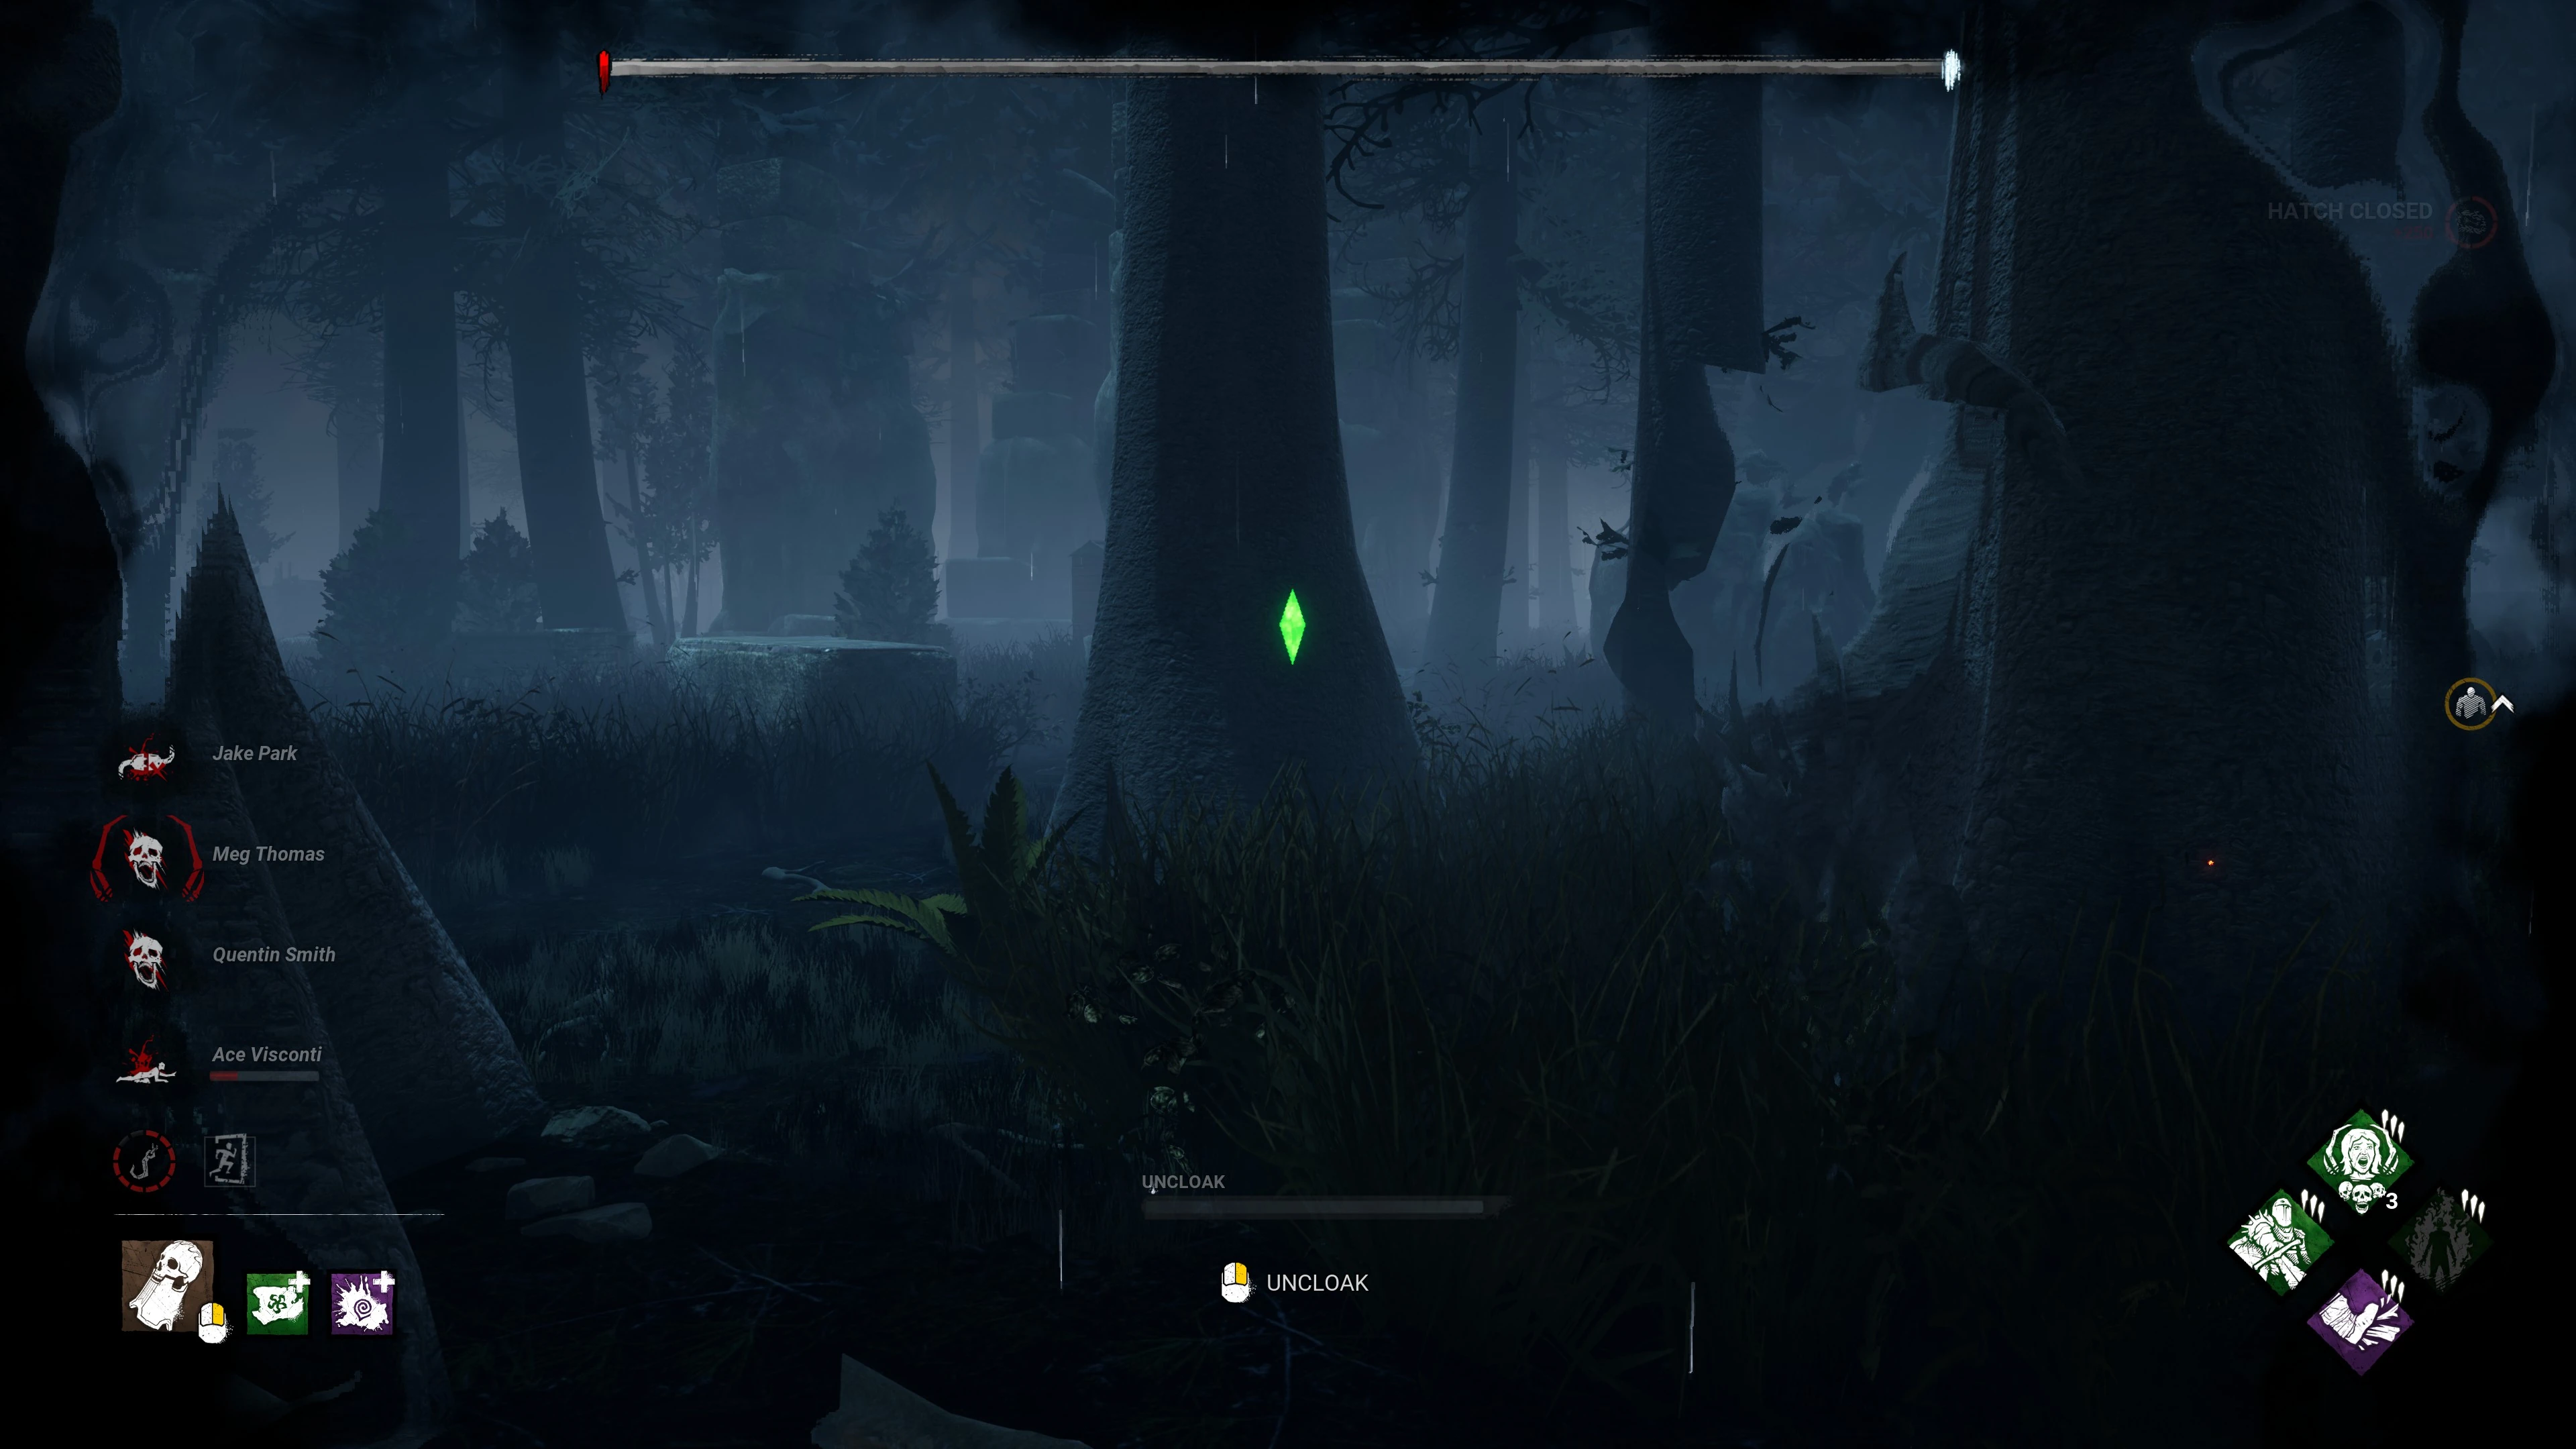
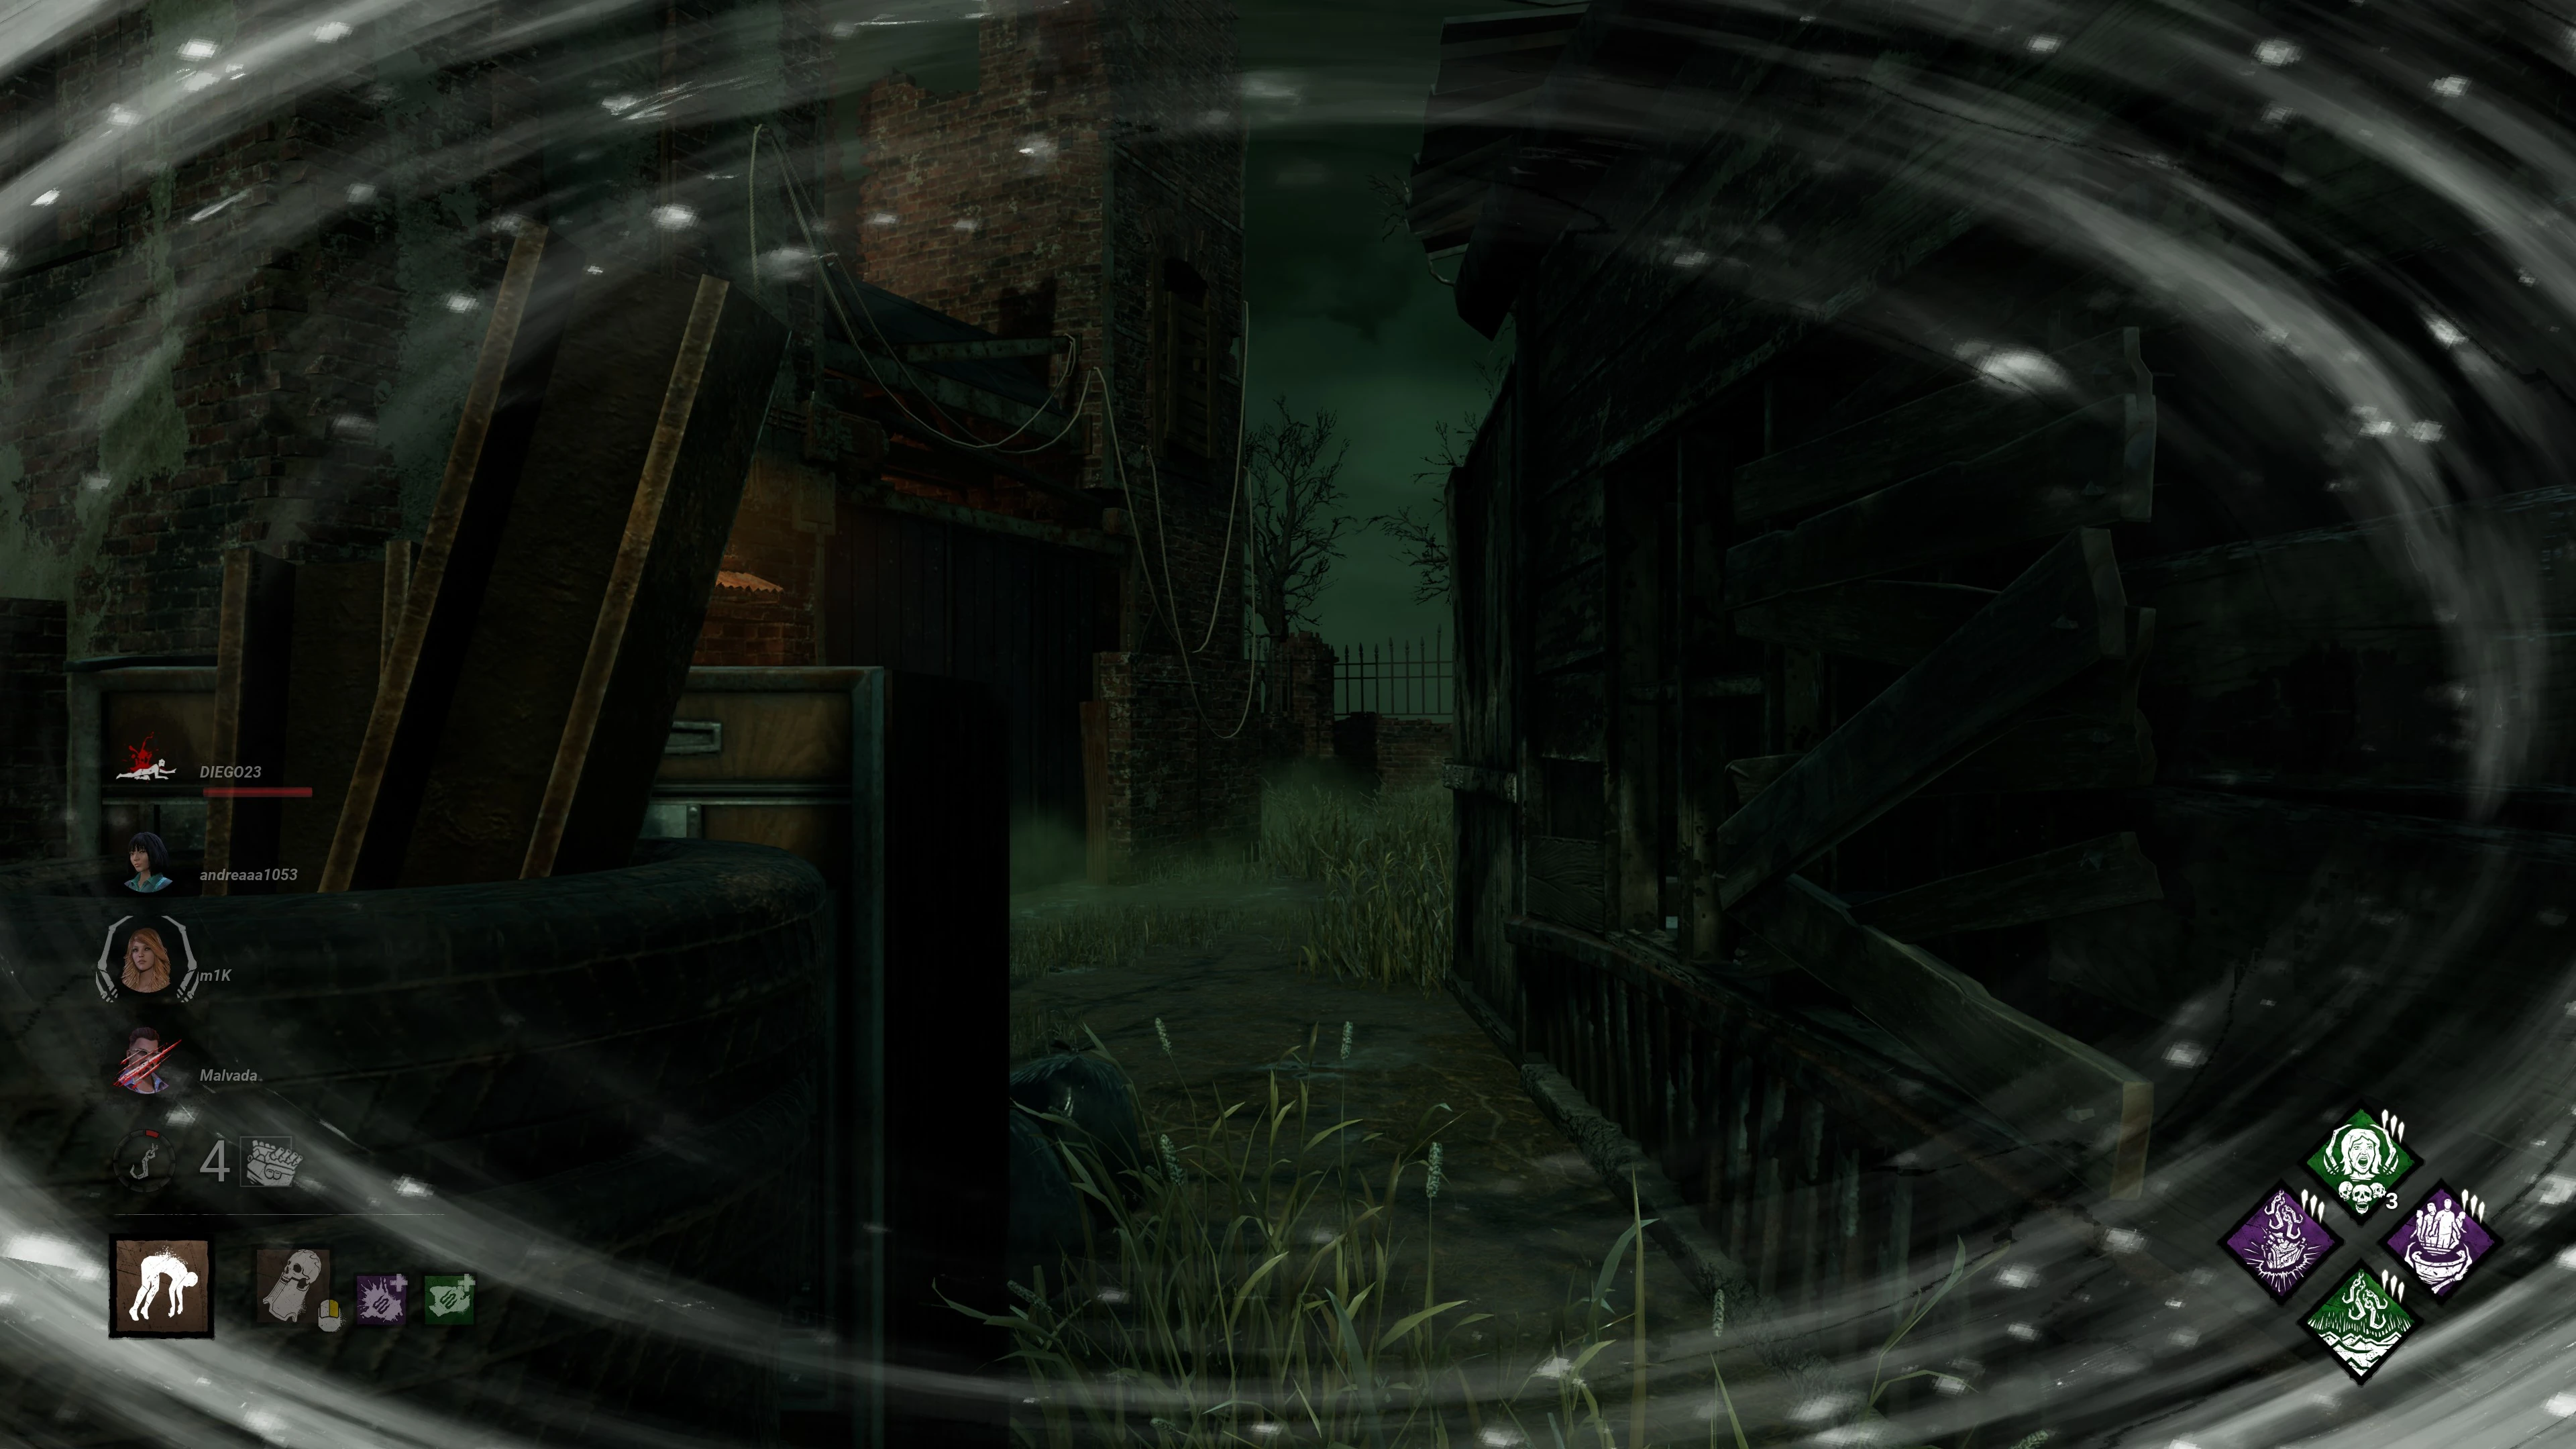
Glyphs have the appearance of a plumb-bob-shaped crystal that floats in mid-air.
Glyphs spawn in a random location in the Trial Grounds and are invisible to all Players but those, who have the associated Glyph Challenge selected.
Once those Players approach the Glyph's location and come close enough, the Glyph reveals itself to those Players and plays an audio cue.
Some Glyphs, given specific circumstances, reveal their Aura![]() to the Player, making it easier to find them.
to the Player, making it easier to find them.


Spawn Behaviour[]
Selecting a Glyph Challenge from a Tome that features this type of challenge will spawn either one or multiple Glyphs in the next Trial, depending on the Glyph colour.
Single Glyph[]
Most Glyph Challenge only spawn a single Glyph of their specific colour-variation.
The Glyph will be located in a completely random location in the environment.
Single Glyphs are generally personal and only reveal themselves to the Challenge Holder and remain invisible and un-interactable for all other Players.
However, when the Challenge Holder starts communing with the Glyph, other Players will be able to see it.
Uniquely for single Glyphs, Yellow Glyphs respawn in a new location if the Challenge Holder fails one of the multiple Skill Checks![]() communing with the Glyph triggers for them.
communing with the Glyph triggers for them.


Multiple Glyphs[]
A few Glyph Challenge spawn multiple Glyphs of their specific colour-variation.
They follow the same general rules as single Glyphs, with the exception of the Green Glyphs:
- White Glyphs always spawn as a pair, with one spawning in a random location outside, but near the Basement
 and the second one spawning inside it after the Challenge Holder successfully interacted with the first one.
 - Multiple Green Glyphs spawn in unused spawn locations for Totems after Survivors or the Killer progress their respective main objective.
- If Players fail to progress their respective main objective, no Glyph will spawn.
- Green Glyphs are unique in that if several Players have that Challenge selected, the Green Glyphs will act as a general pool and are visible and interactable to all those Players.


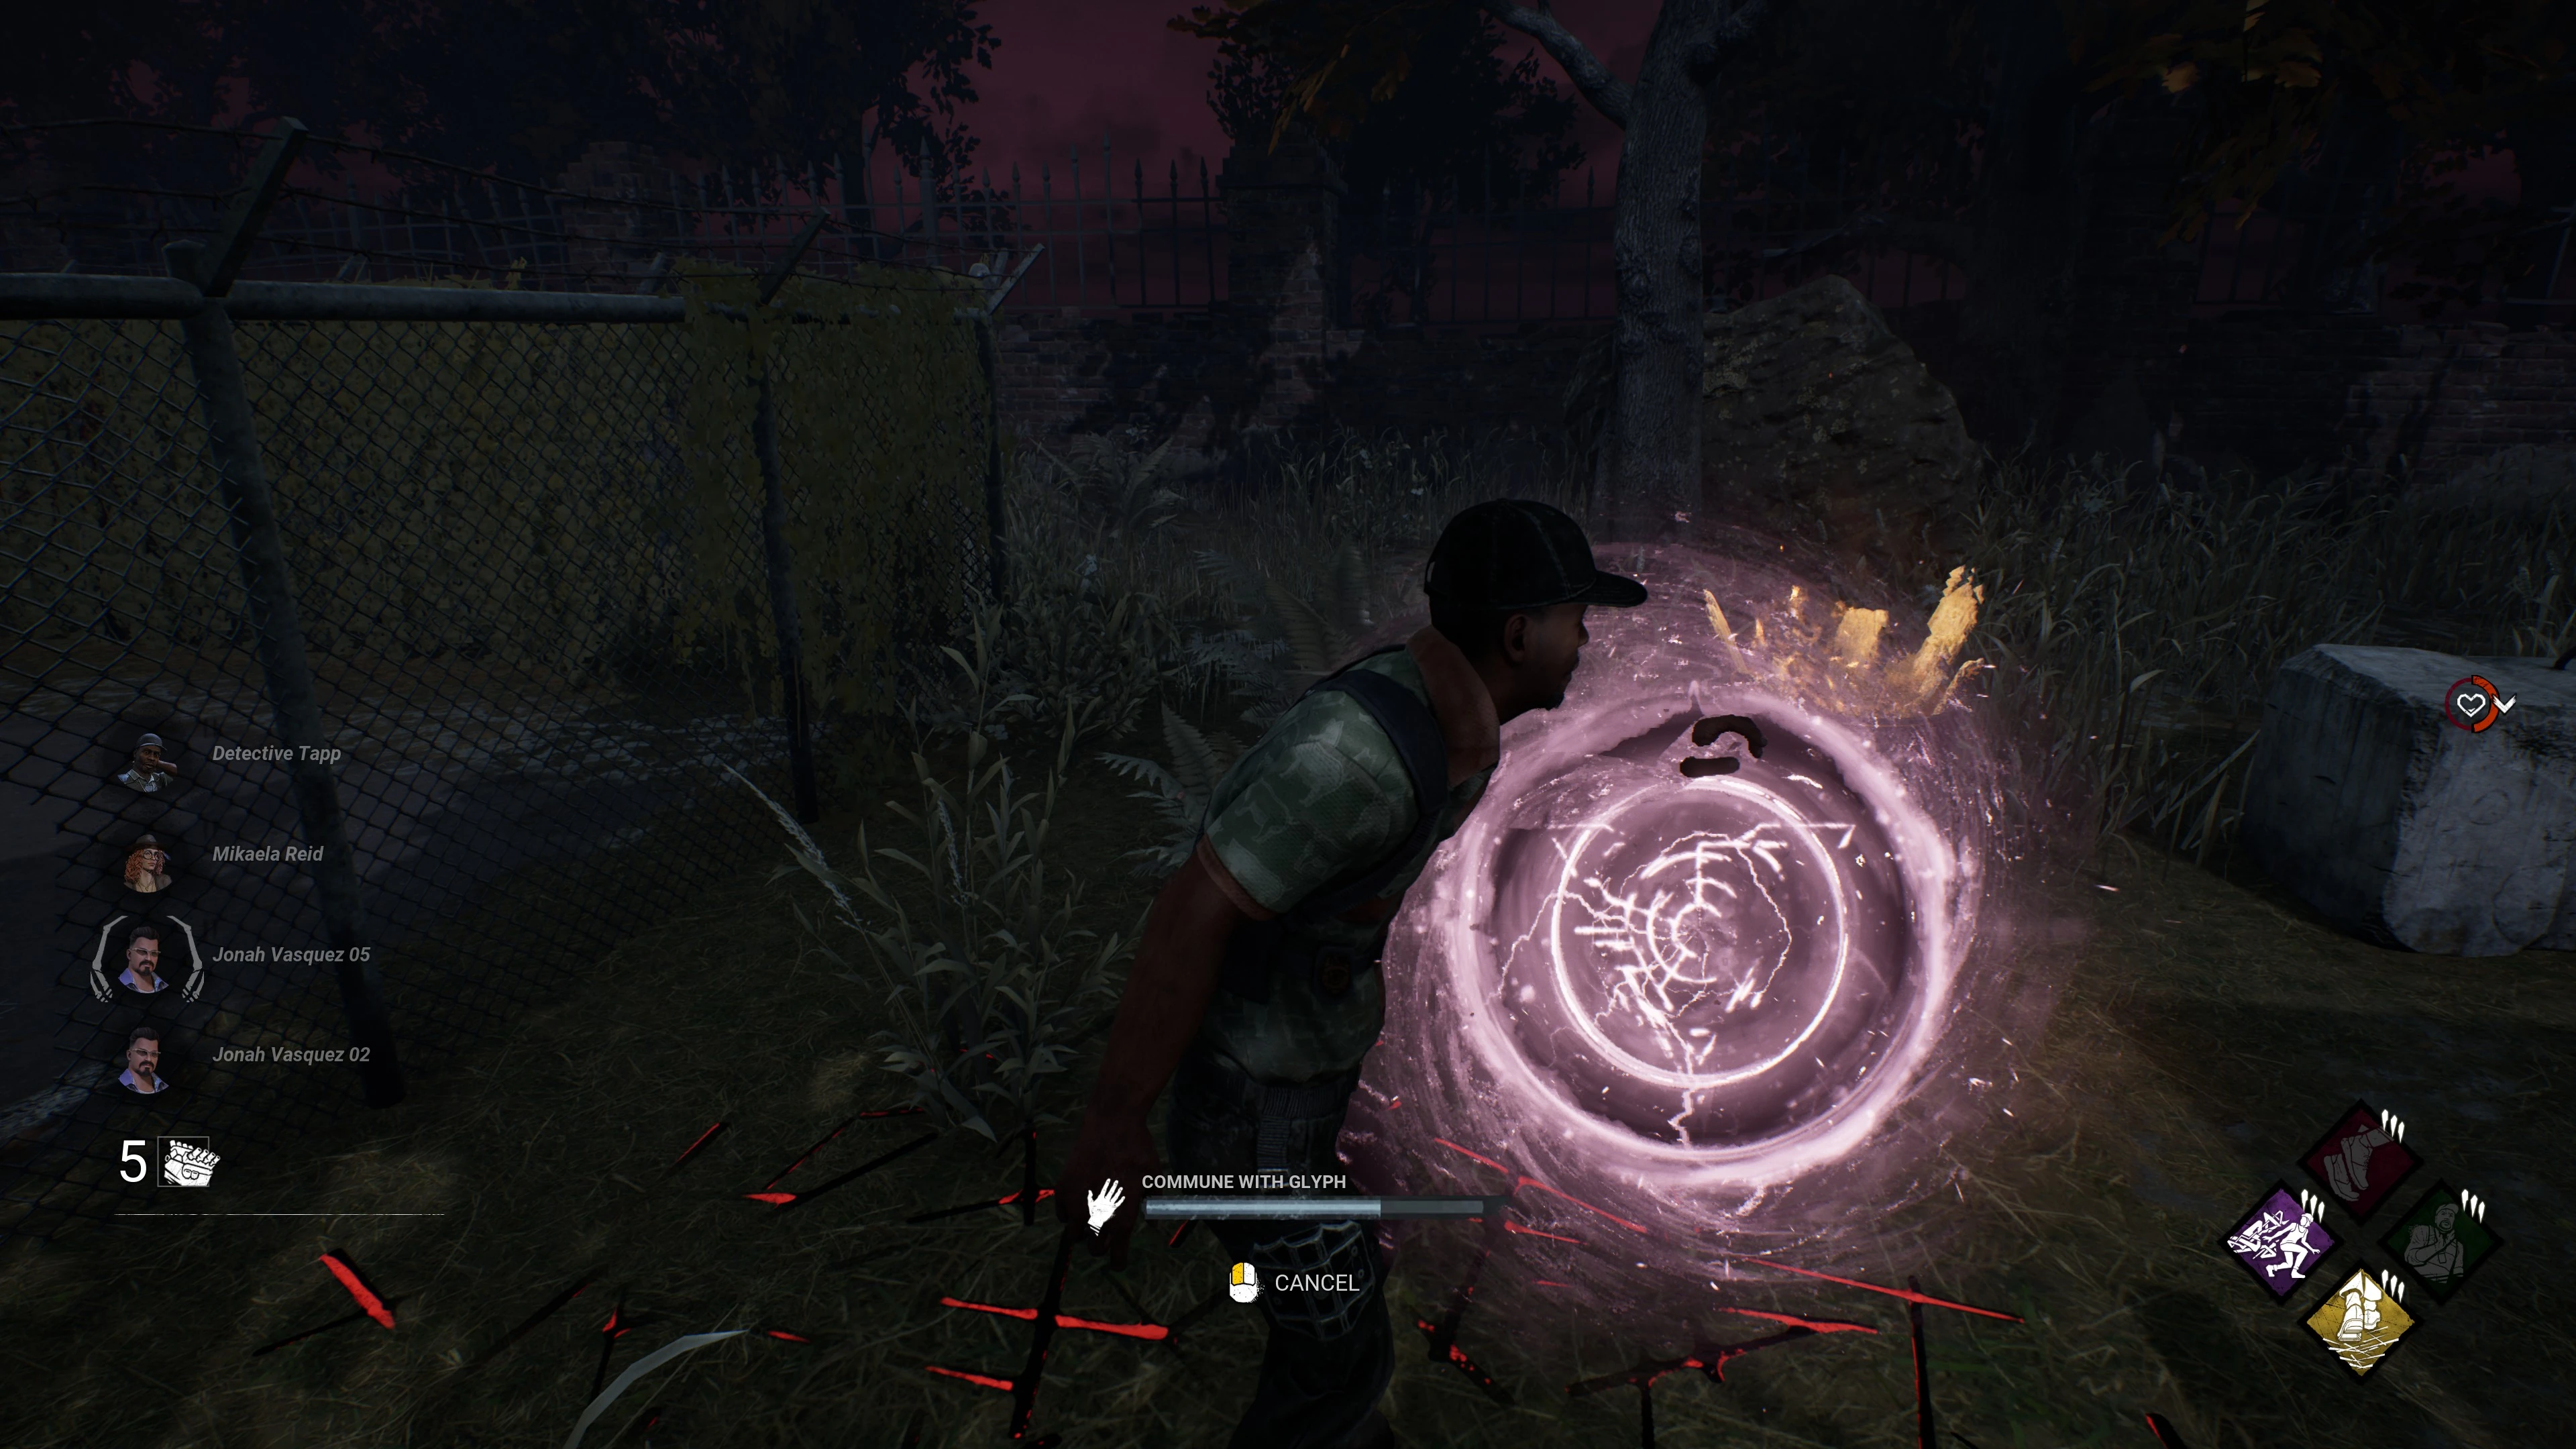
Interaction[]
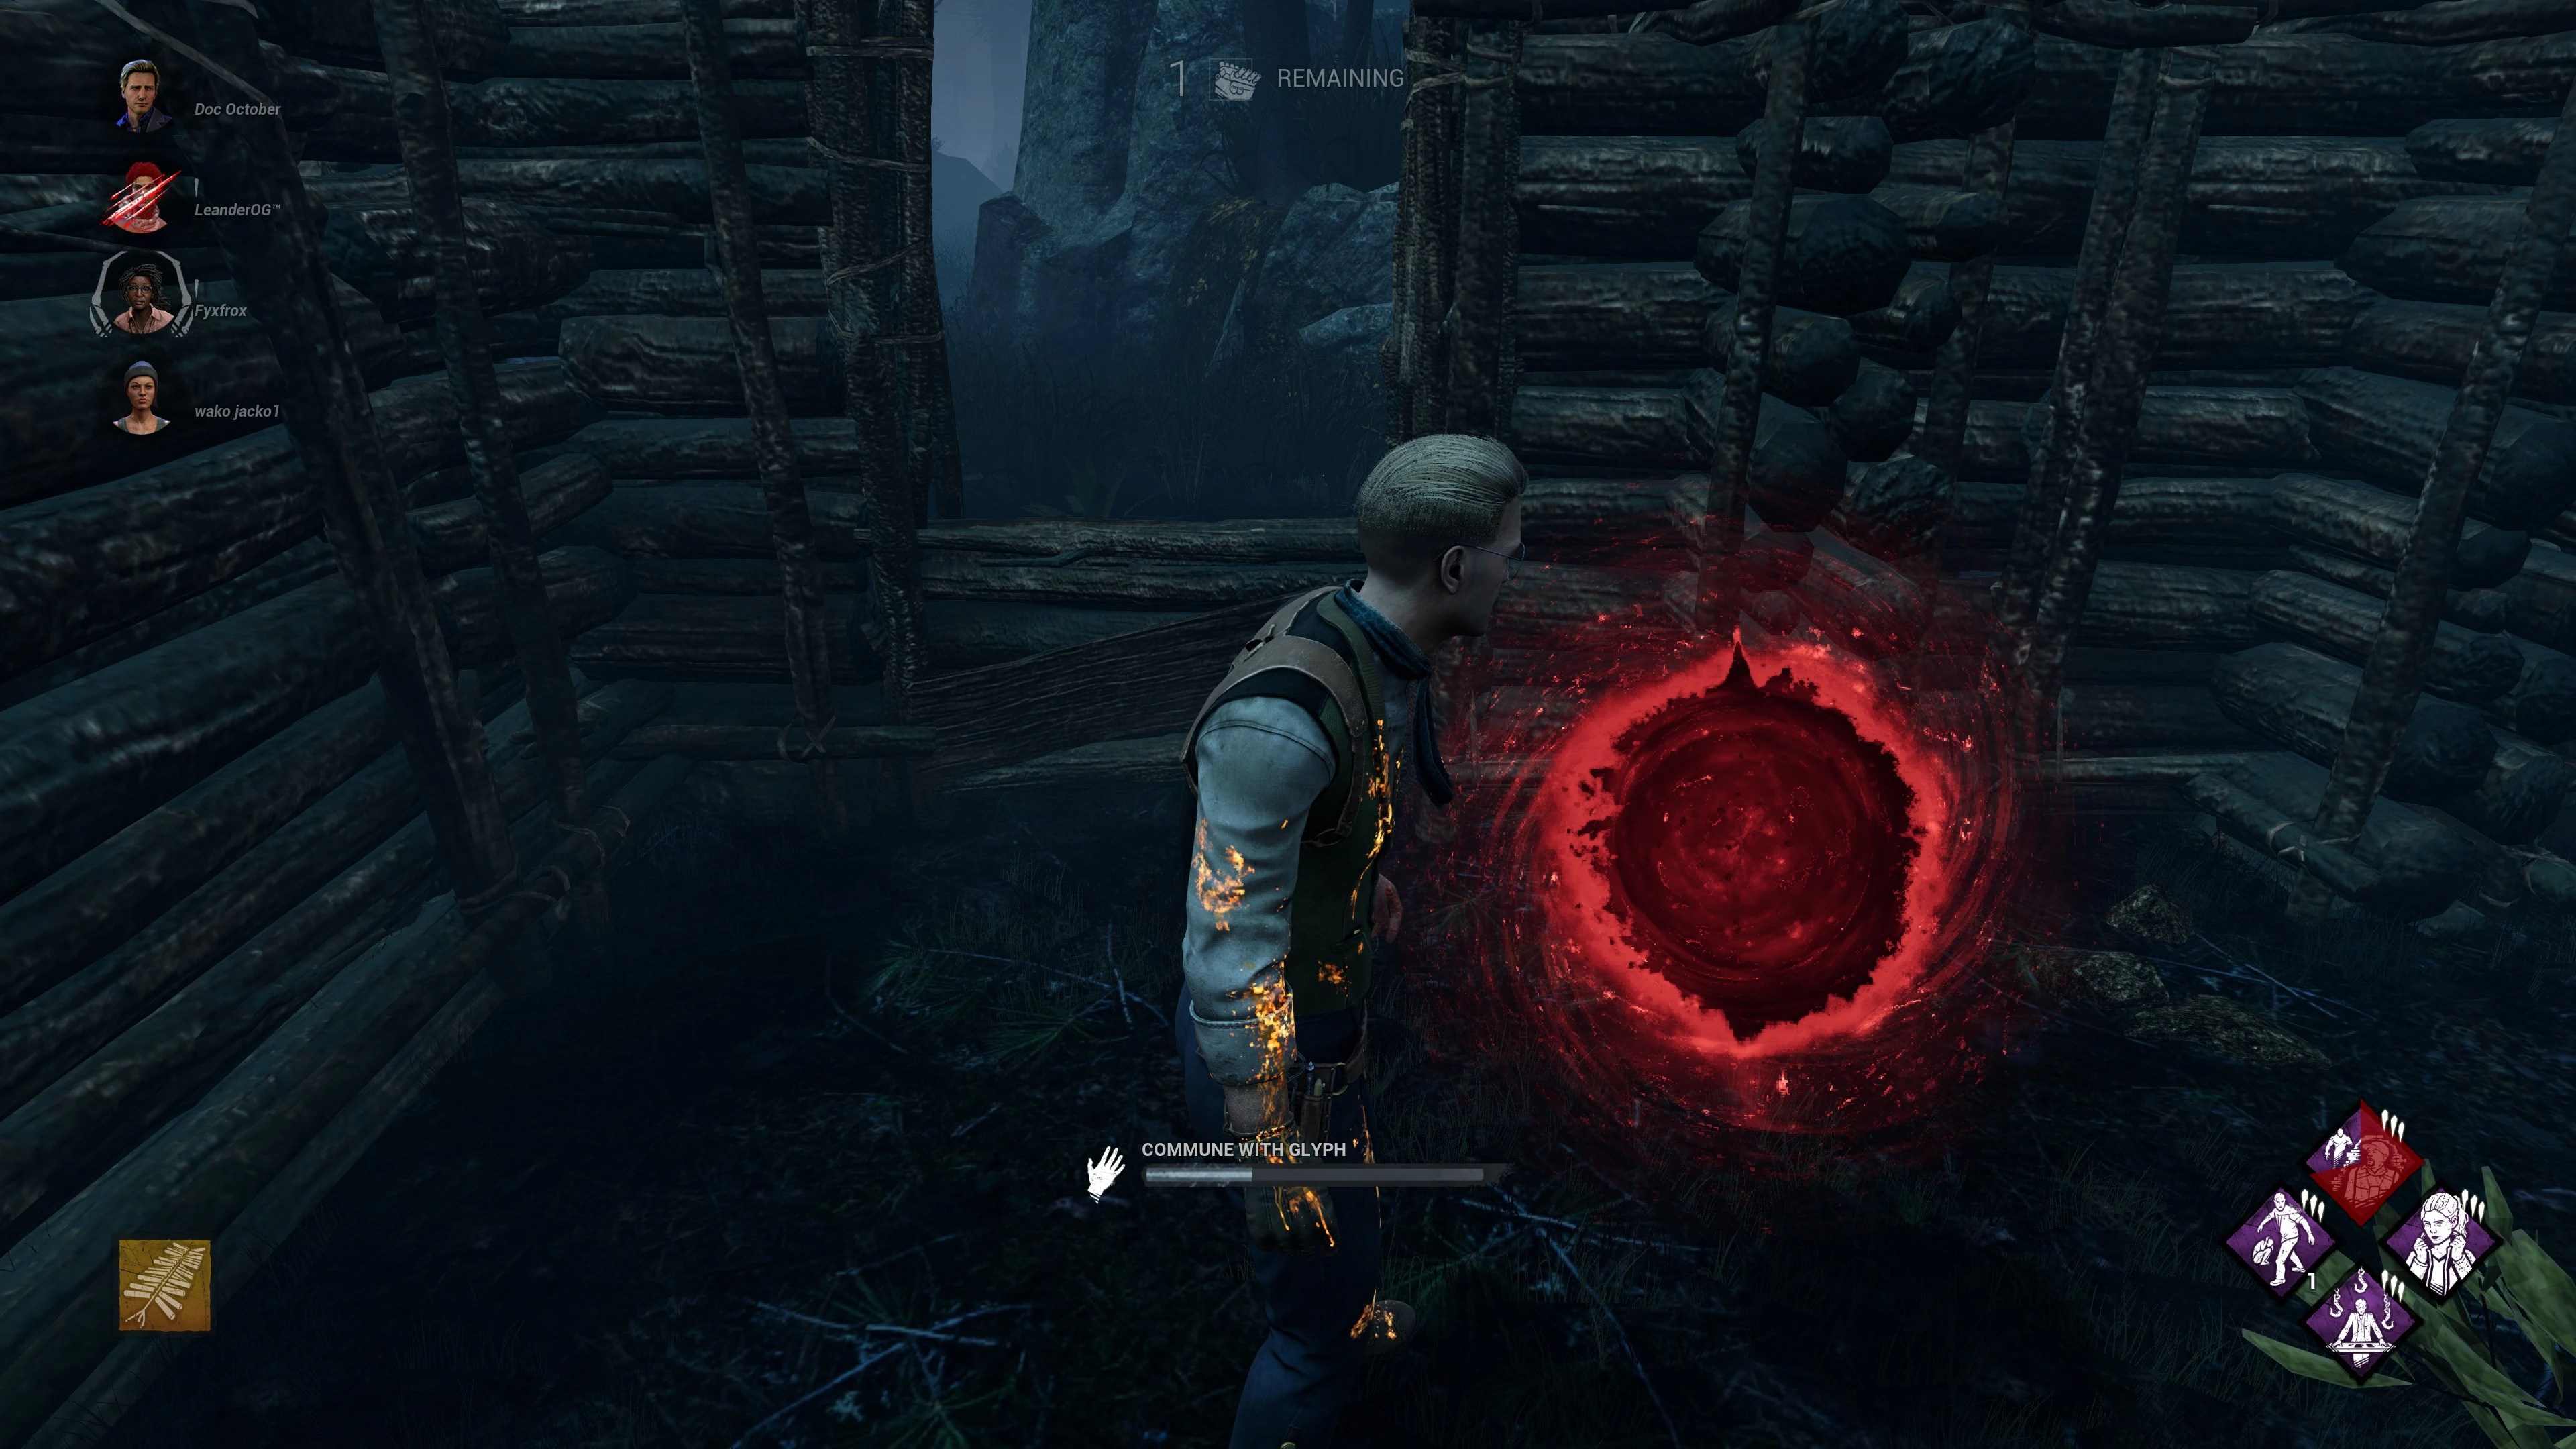
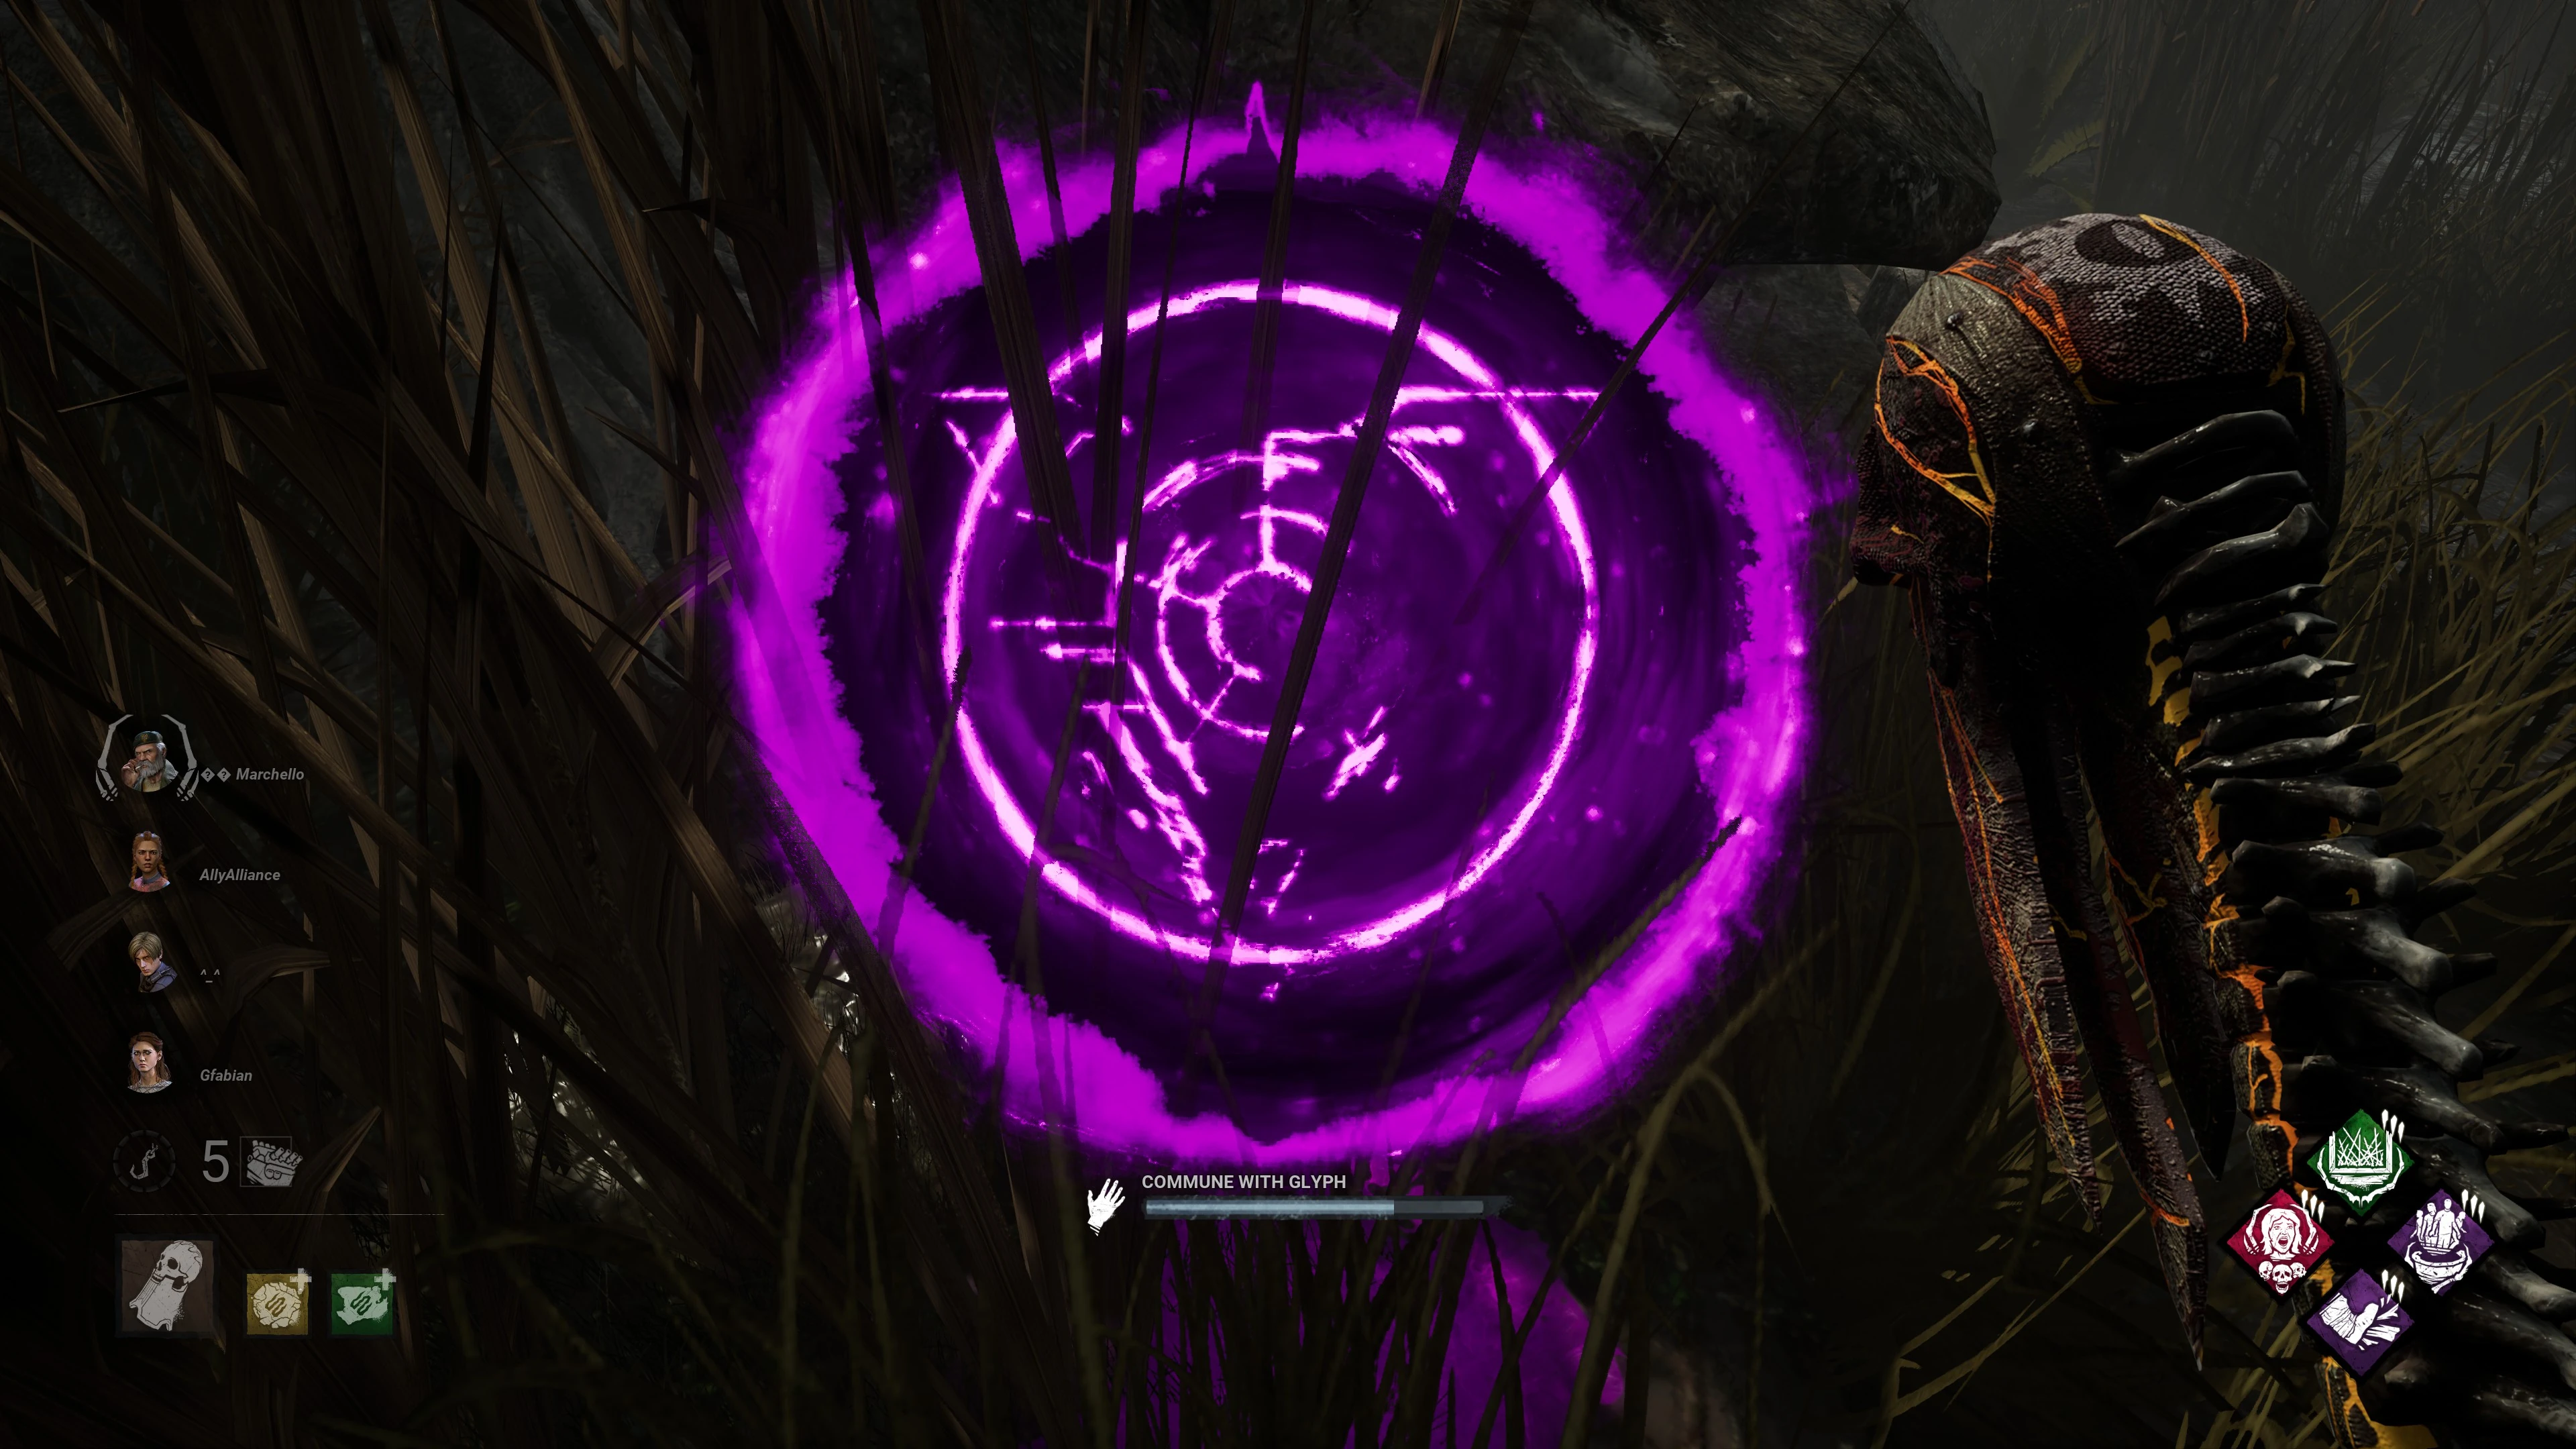
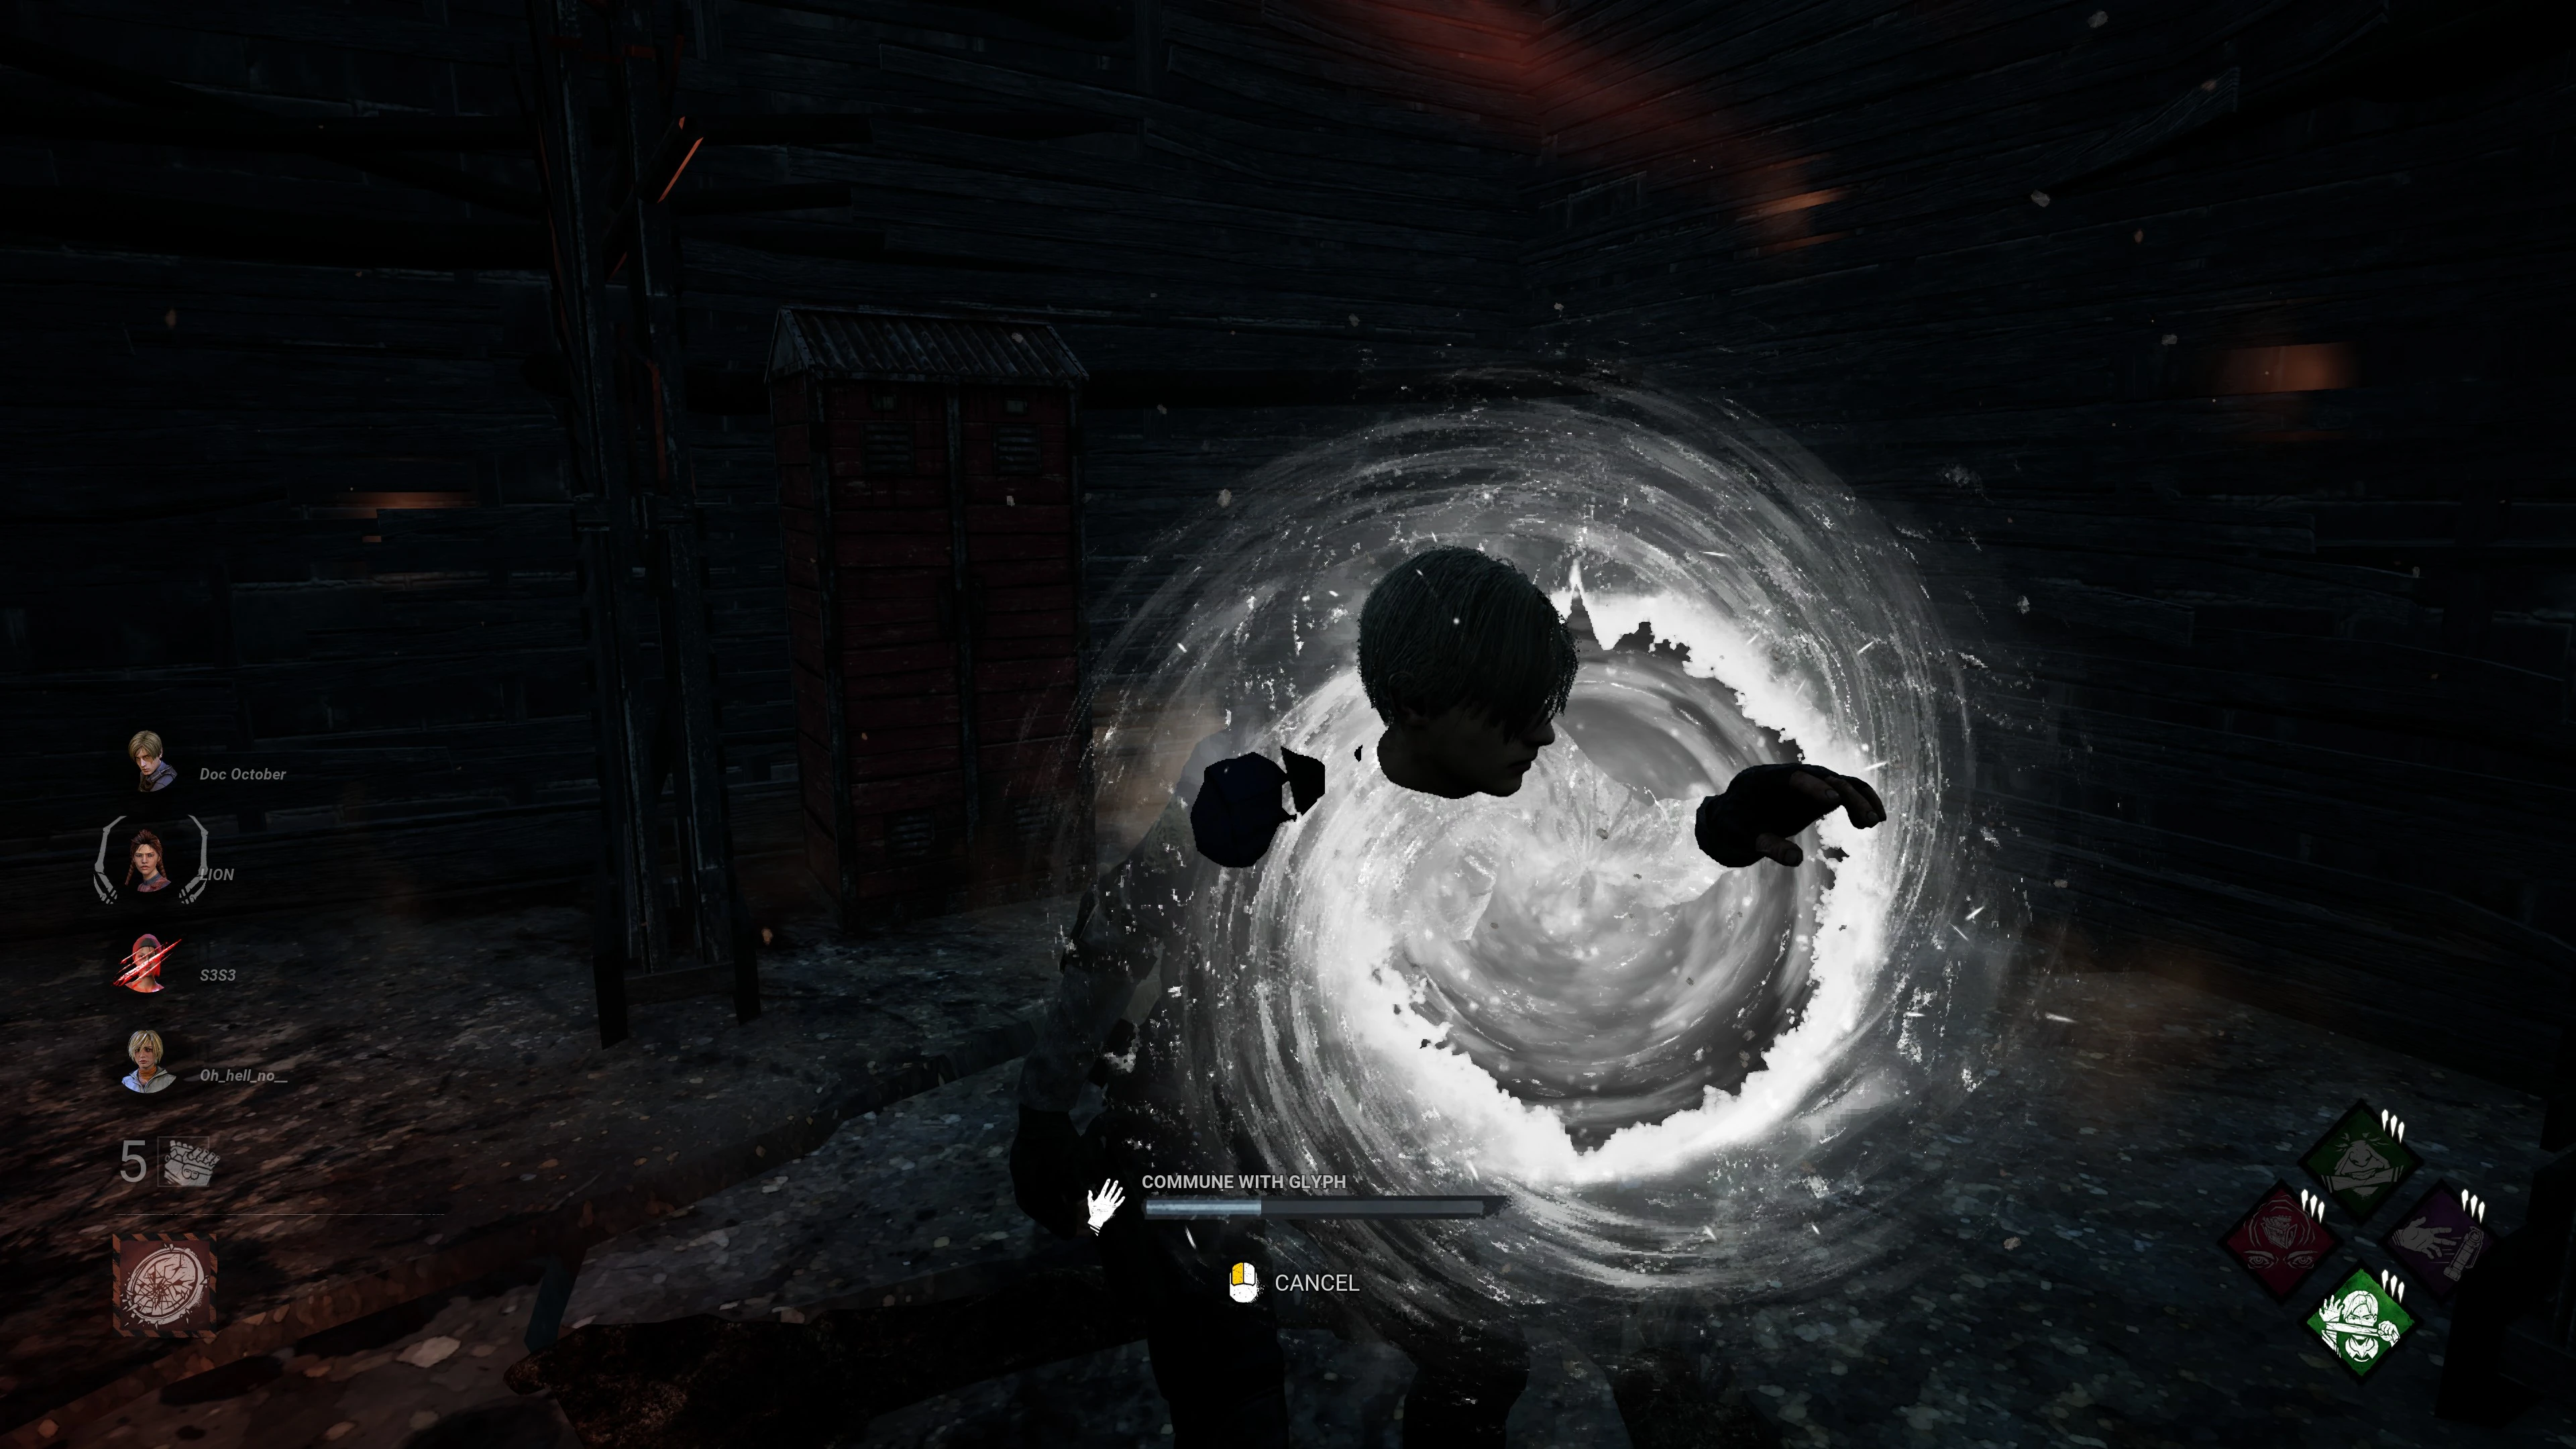
Both Survivors and Killers must commune with a Glyph in order to close it and succeed the Glyph Challenge.
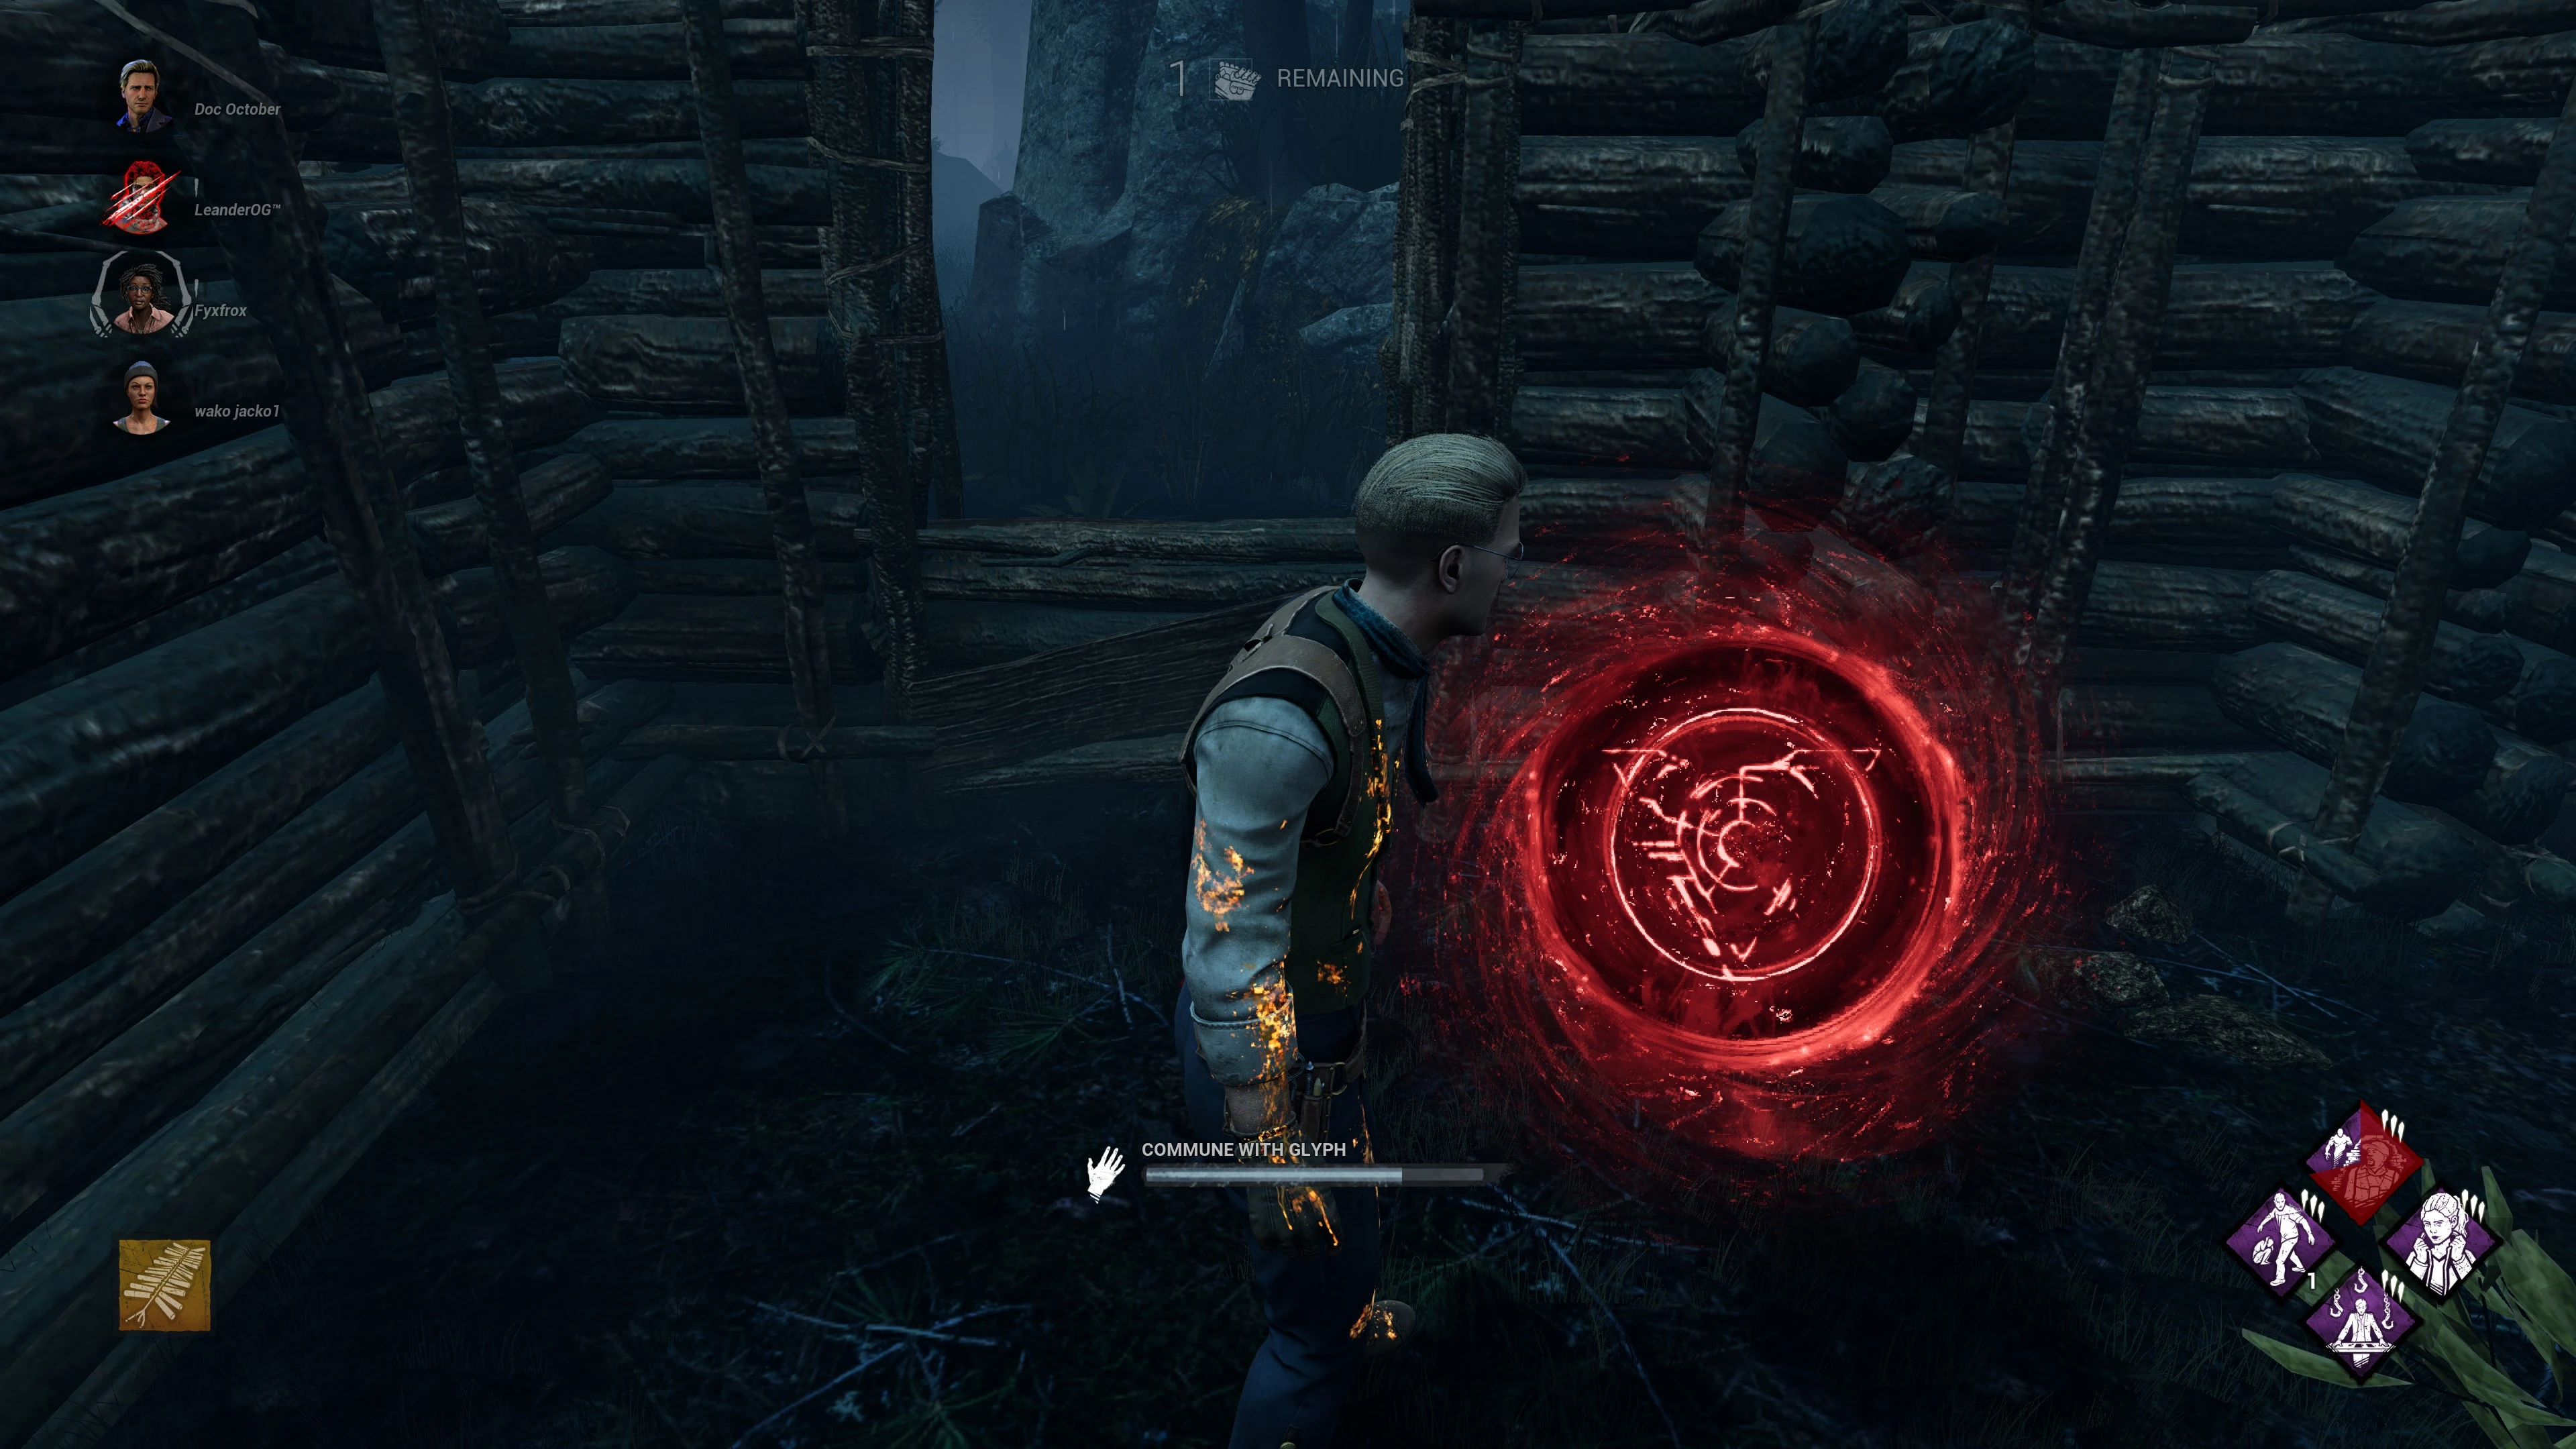
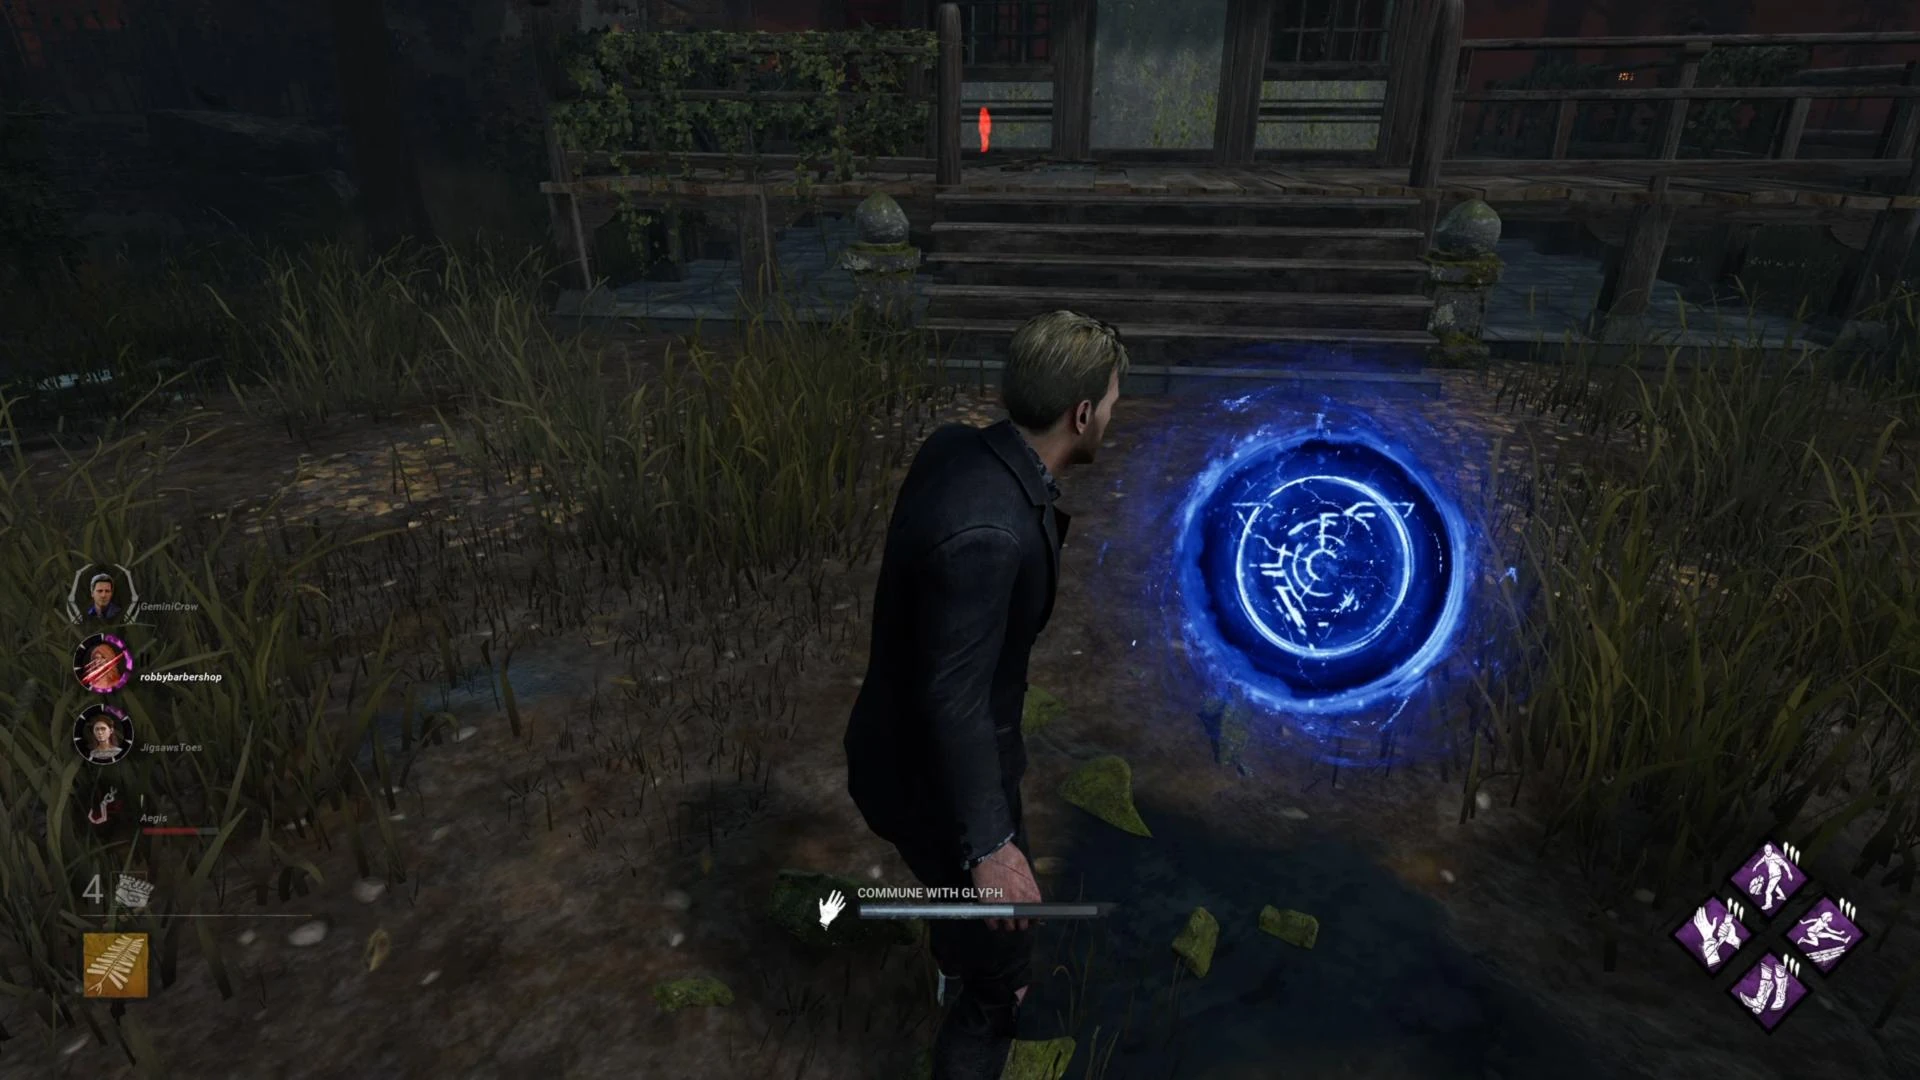
This interaction will dissolve the crystal and temporarily replace it with a floating Glyph symbol.
This interaction, as well as the symbol, can be seen by all Players, indicating to them what the Glyph Communer is doing.
Variations[]
Currently, there exist 8 variations of Glyphs.
Each variation was introduced with a new Tome:
| Glyph | Associated Challenge(s) | Spawn per Trial | Introductory Tome | Availability | ||
|---|---|---|---|---|---|---|
 |
Red Glyph | Glyph Seeker | 1 Glyph | Tome 6 - Divergence | ||
 |
Blue Glyph | Glyph Communer / Glyph Escapee |
1 Glyph | Tome 7 - Forsaken | ||
 |
Yellow Glyph | Glyph Graduate | 1 Glyph | Tome 8 - Deliverance | ||
 |
Purple Glyph | Glyph Tracker | 1 Glyph | Tome 9 - Crescendo | ||
 |
White Glyph | Glyph Caretaker | 2 Glyphs | Tome 10 - SAW | ||
 |
Green Glyph | Glyph Pursuer | 0-6 Glyphs | Tome 11 - Devotion | ||
 |
Orange Glyph | Glyph Massacre | 1 Glyph | Tome 12 - Discordance | ||
 |
Pink Glyph | Glyph Prowler | 1 Glyph | Tome 13 - Malevolence | ||
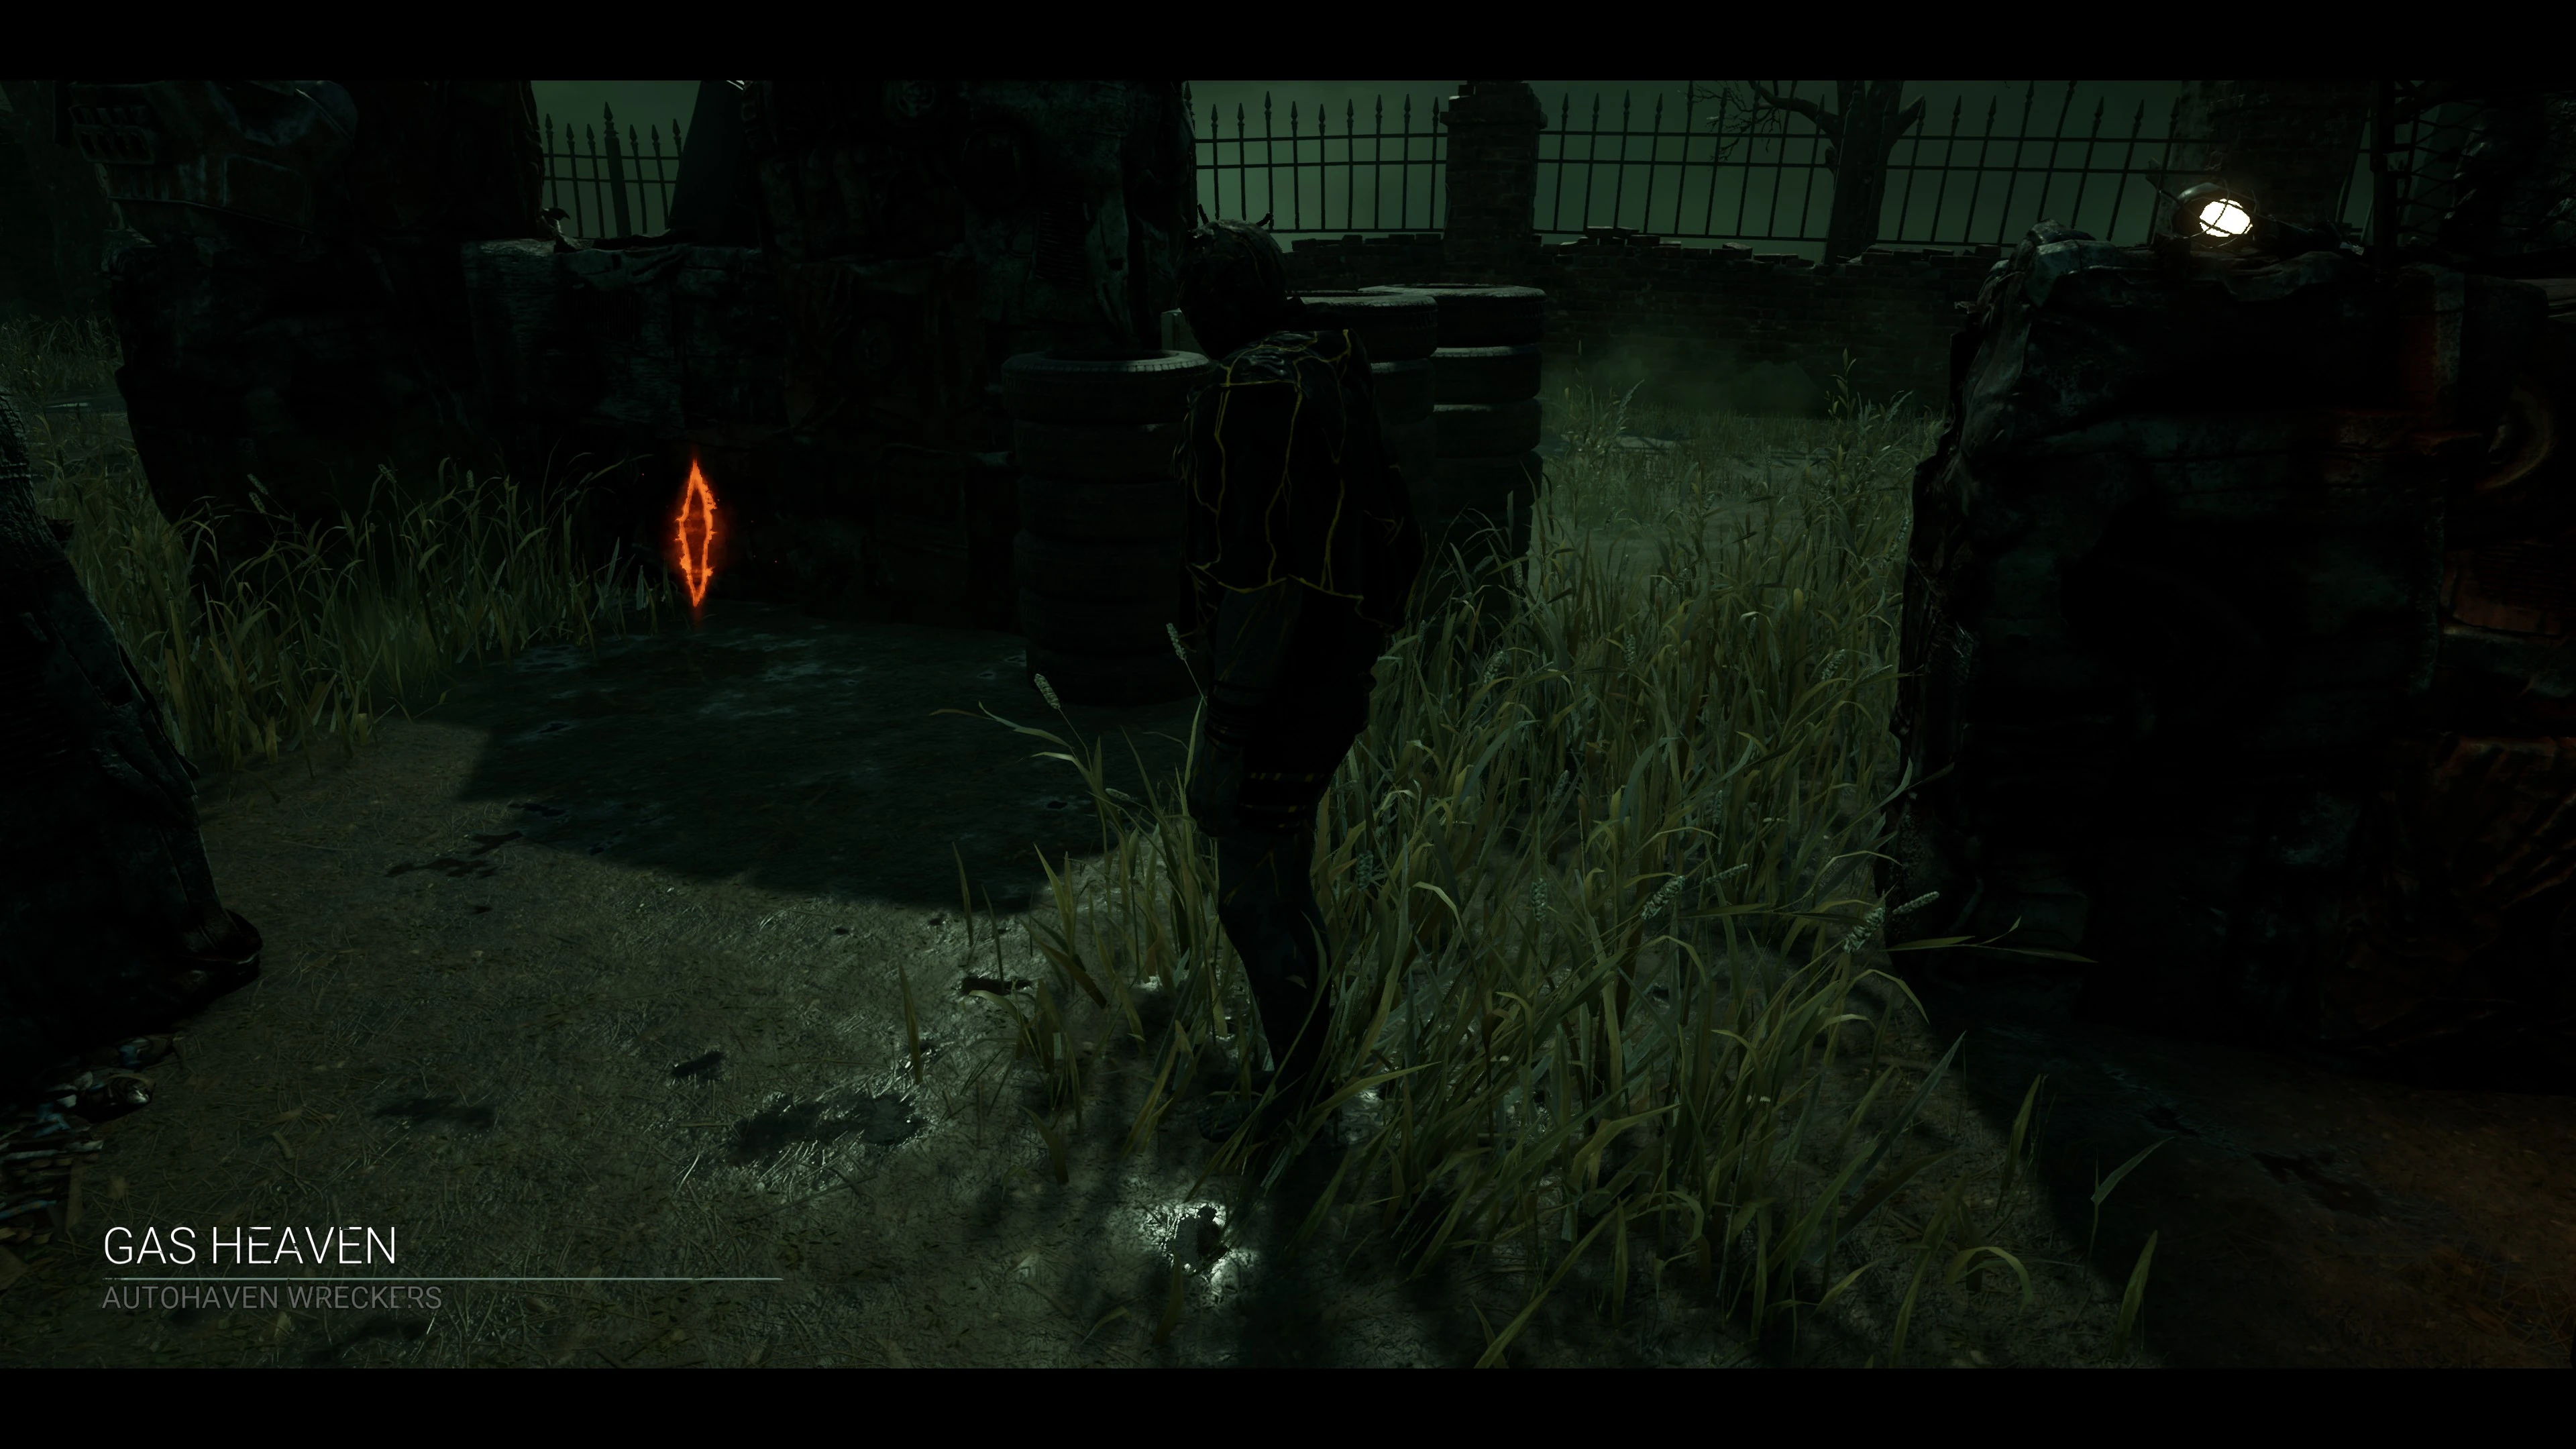
Red Glyph[]
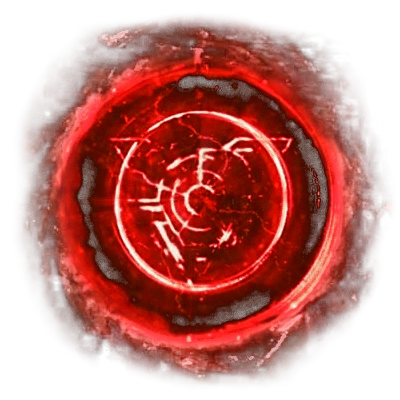
The Glyph Seeker Challenge is available to all Players:
- Interaction time for Killers: 1.5 seconds
- Interaction time for Survivors: 3 seconds
- Visibility range: 8 metres
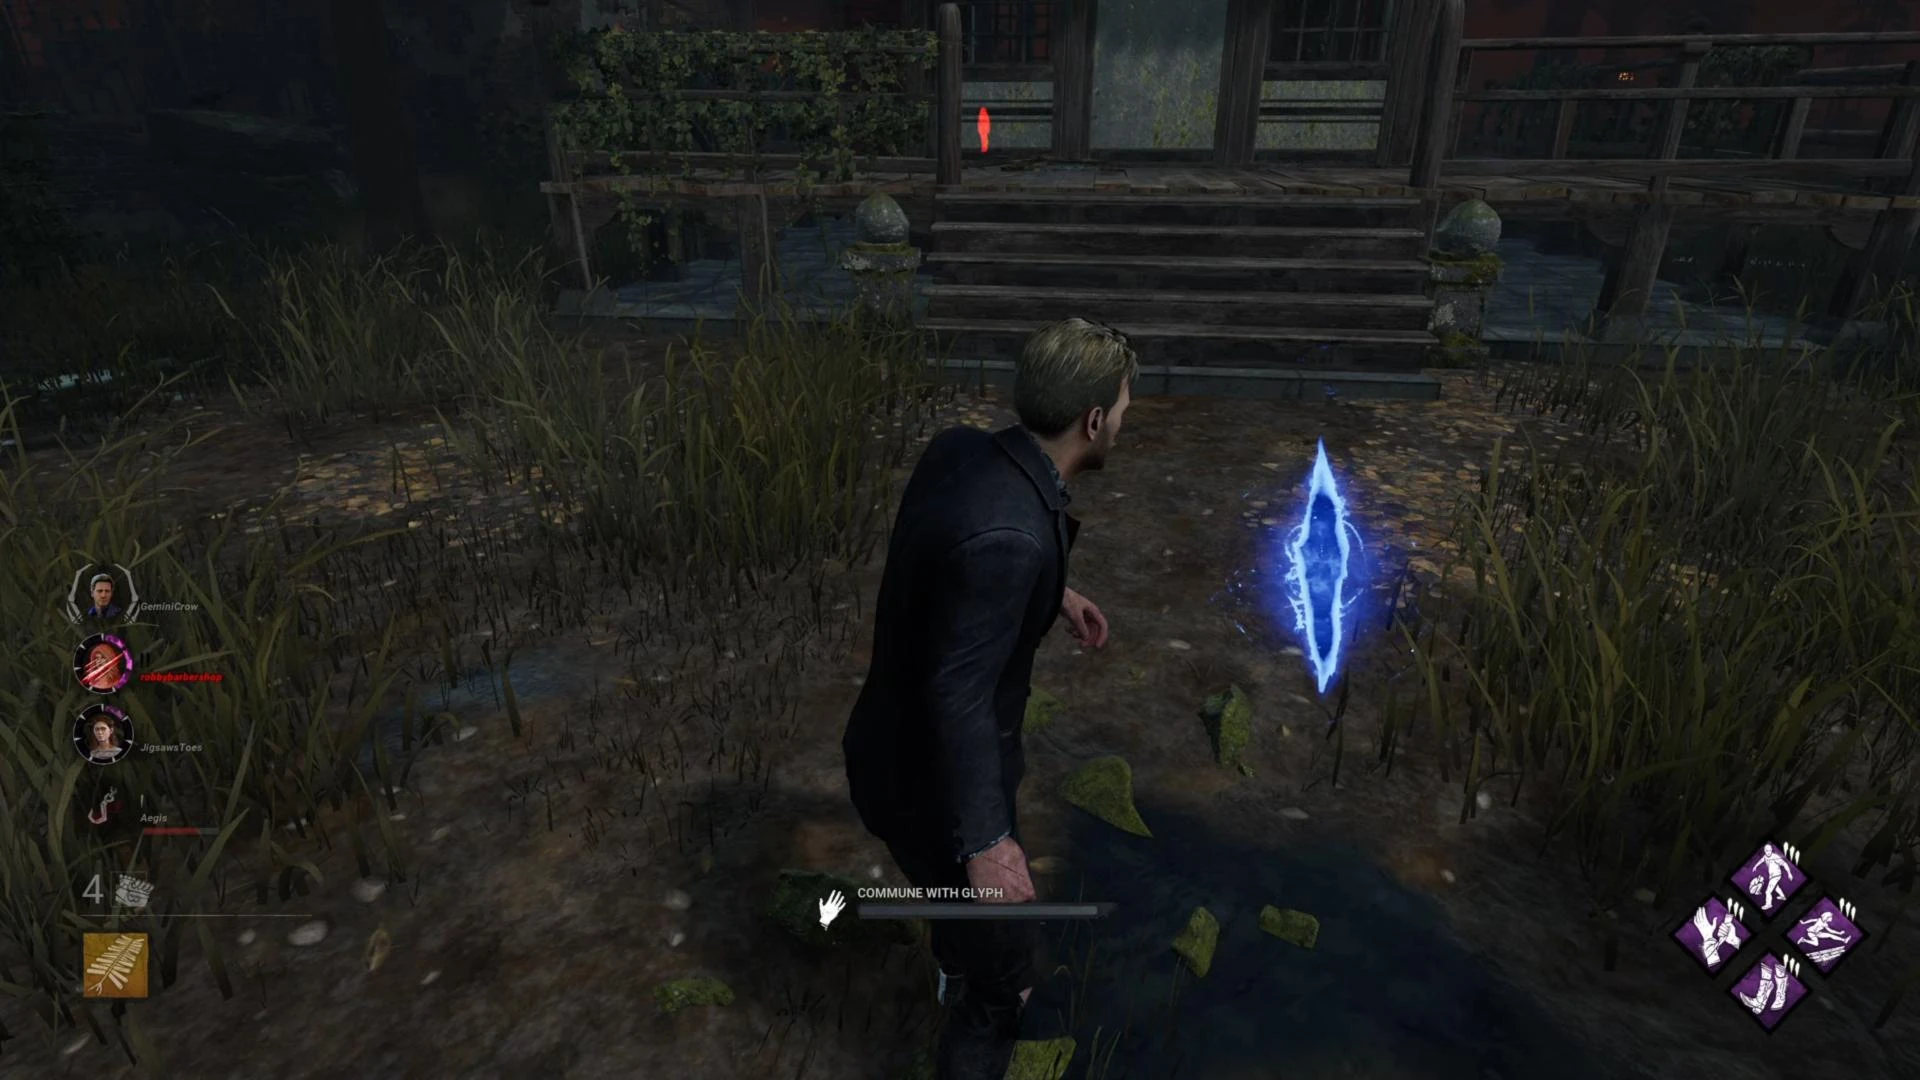
Blue Glyph[]

The Glyph Communer and Glyph Escapee Challenges are only available to Survivors.
- Interaction time: 3 seconds
- Visibility range: 10 metres
- Penalty duration: 60 seconds


Yellow Glyph[]
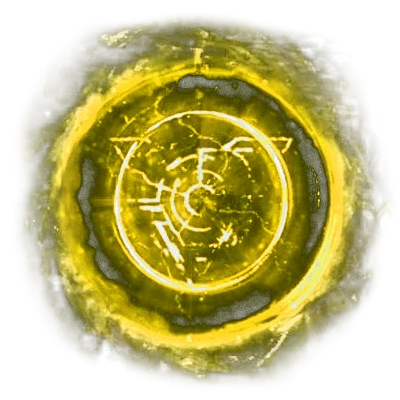
The Glyph Graduate Challenge is only available to Survivors.
The Yellow Glyph requires to succeed several Skill Checks in quick succession to commune with it:
- Interaction time: 5 seconds
- Visibility range: 16 metres
- While communing with a Yellow Glyph, the Glyph triggers several Skill Checks in quick succession.
Failing a Skill Check will relocate the Glyph to a different part of the Trial Grounds.
- While communing with a Yellow Glyph, the Glyph triggers several Skill Checks
Purple Glyph[]

The Glyph Tracker Challenge is only available to Killers.
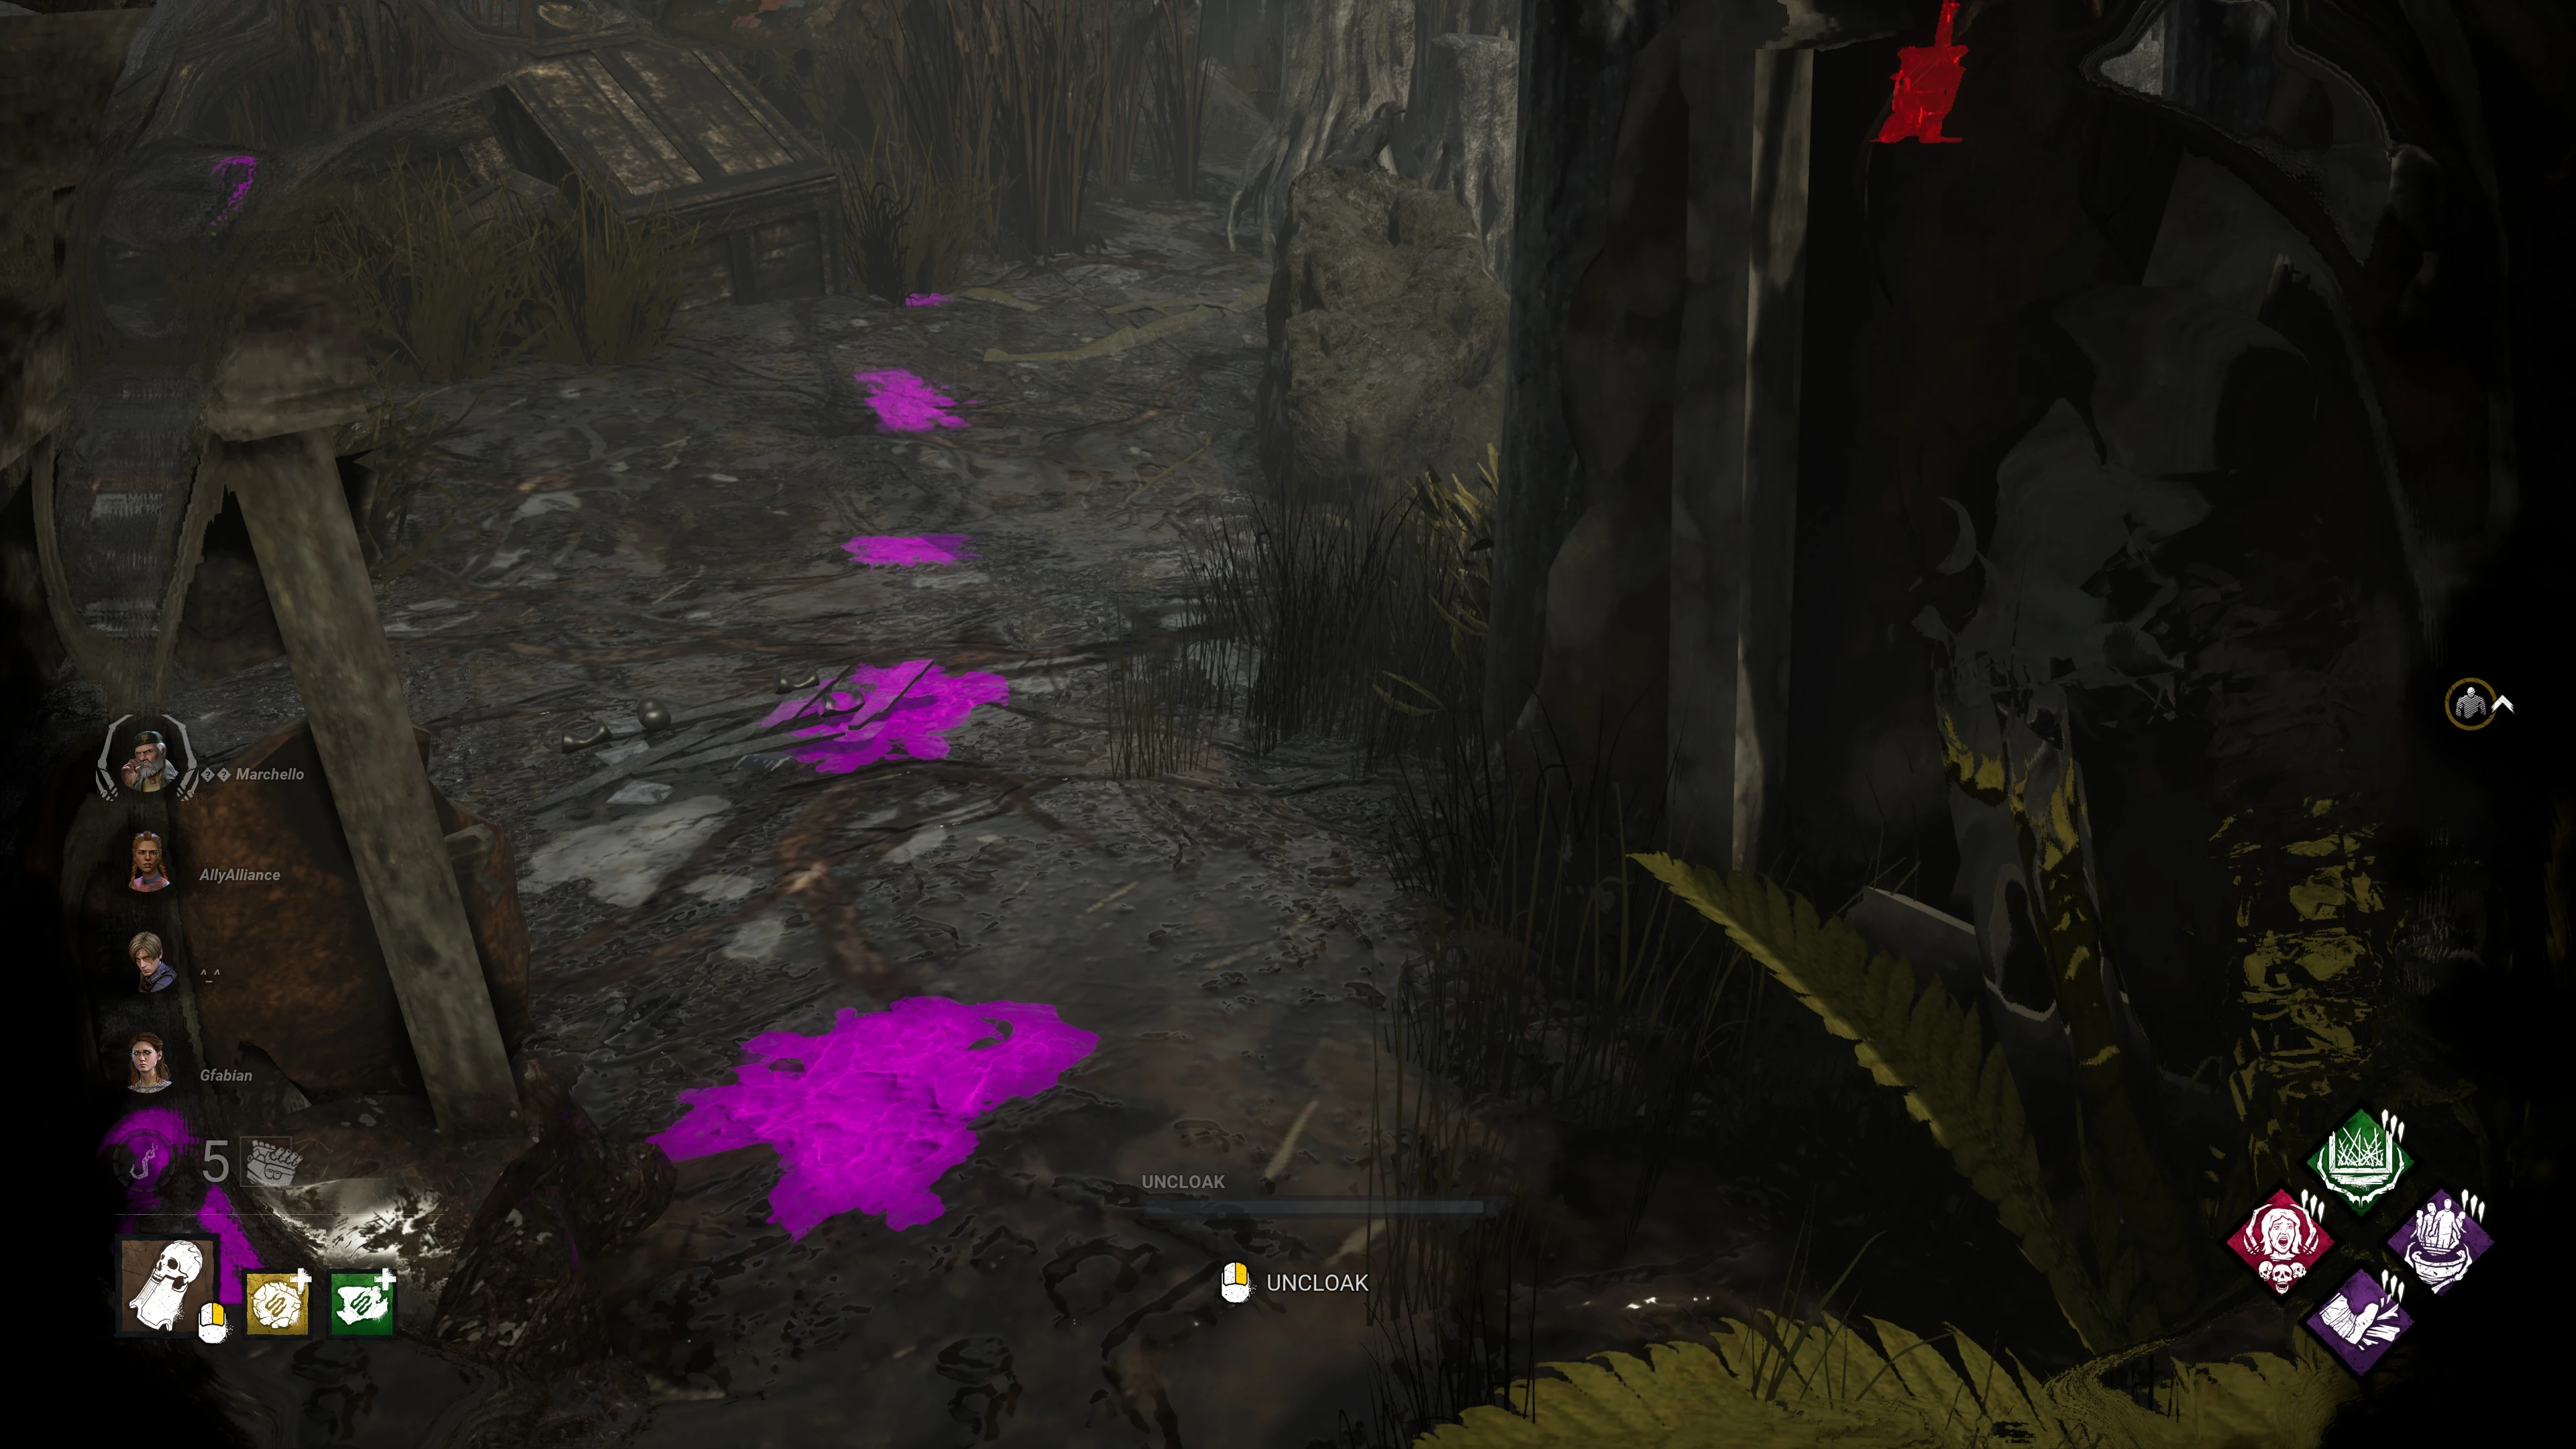
The Purple Glyph does not remain stationary, it randomly moves throughout the Trial Grounds, leaving only a trail of purple ooze behind it, with which The Killer can track its location in order to reveal it.
Hooking a Survivor will reveal its Aura![]() for a short duration:
for a short duration:
- Interaction time: 2 seconds
- Visibility range: 4 metres
- Movement speed: 1.5 m/s
- Movement range: 2 metres
- If The Killer approaches within this range, the Purple Glyph stops moving.
- Redirect range: 10 metres
- If The Killer approaches within this range, the Purple Glyph starts choosing its next location.
- Minimum distance to new spawn point: 1 metre
- Maximum distance to new spawn point: 25 metres
- Movement Acceptance radius: 2 metres
- Used while the Glyph moves to its new location.
- Post-Hook Aura Reveal duration: 4 seconds
- This refers to how long The Killer sees the Aura of the Purple Glyph after hooking a Survivor.
- This refers to how long The Killer sees the Aura
White Glyph[]
The Glyph Caretaker Challenge is only available to Survivors.
The White Glyph spawns a fragile Pocket Mirror![]() that will need to be carried into the Basement
that will need to be carried into the Basement![]() without breaking in order to complete the Challenge.
without breaking in order to complete the Challenge.
The Survivor with the active Challenge can see the Aura![]() of the first Glyph:
of the first Glyph:

- Interaction time: 3 seconds
- Visibility range: 8 metres
- Respawn duration: 10 seconds
- This refers to how long it takes the White Glyph to respawn after breaking the Pocket Mirror.
- Minimum Spawn distance from the Basement: 30 metres
- Maximum Spawn distance from the Basement: 50 metres
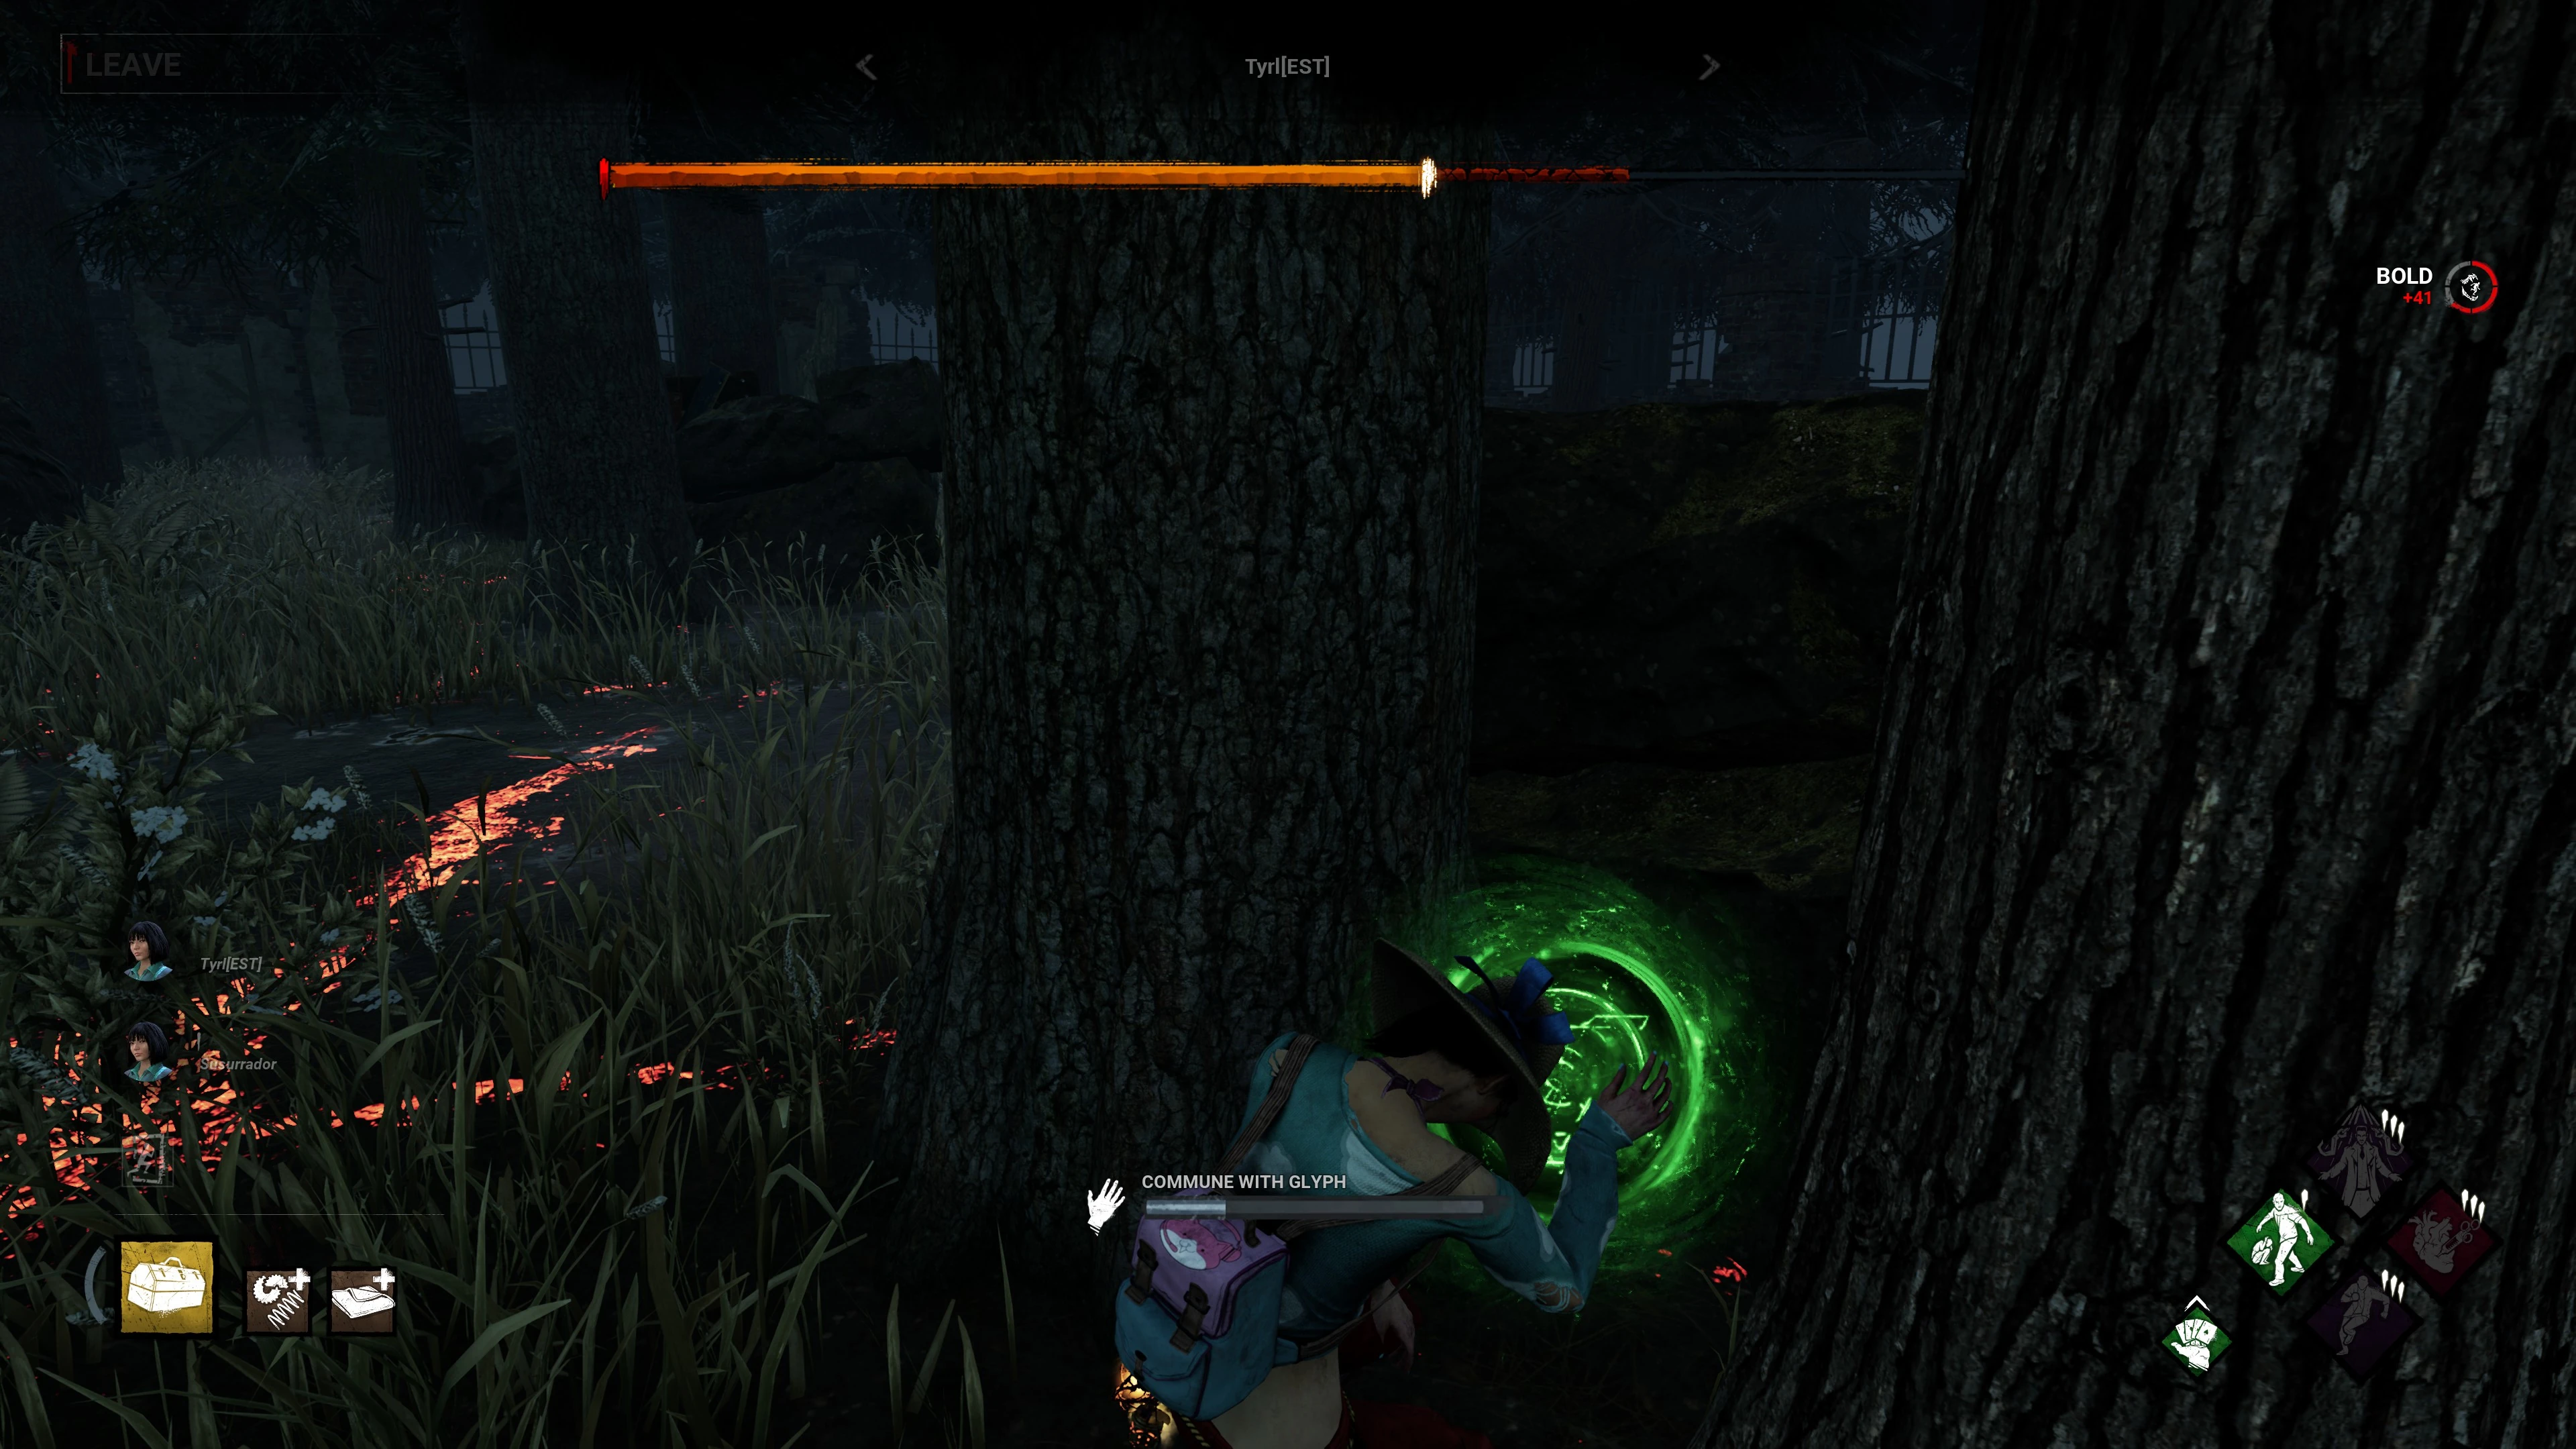
Green Glyph[]

The Glyph Pursuer Challenge is available to all Players.
Multiple Green Glyphs spawn in locations Totems![]() could spawn in.
could spawn in.
Green Glyphs spawn when Players with the Challenge equipped progress their objective.
The Killer spawns 1 Glyph per Hook action and Survivors spawn 1 Glyph per completed Generator.
However, there can only spawn 6 Glyphs per Trial.
Green Glyphs can be interacted with by any Player with the Challenge equipped, regardless of who caused it to spawn.
During the Endgame Collapse![]() , their Aura
, their Aura![]() will be briefly revealed:
will be briefly revealed:


- Interaction time for Killers: 2 seconds
- Interaction time for Survivors: 8 seconds
- Visibility range: 8 metres
- Maximum Spawn number: 6 Glyphs
- Due to Green Glyphs sharing their spawn locations with Totems, it is possible that a Trial will spawn fewer than 6 Glyphs, if there are not enough spawn locations available on the Map.
Shelter Woods, for example, only has 10 Spawn locations available in total.
As 5 are always reserved for Totems, Shelter Woods can only spawn up to 5 Glyphs.
- Due to Green Glyphs sharing their spawn locations with Totems, it is possible that a Trial will spawn fewer than 6 Glyphs, if there are not enough spawn locations available on the Map.
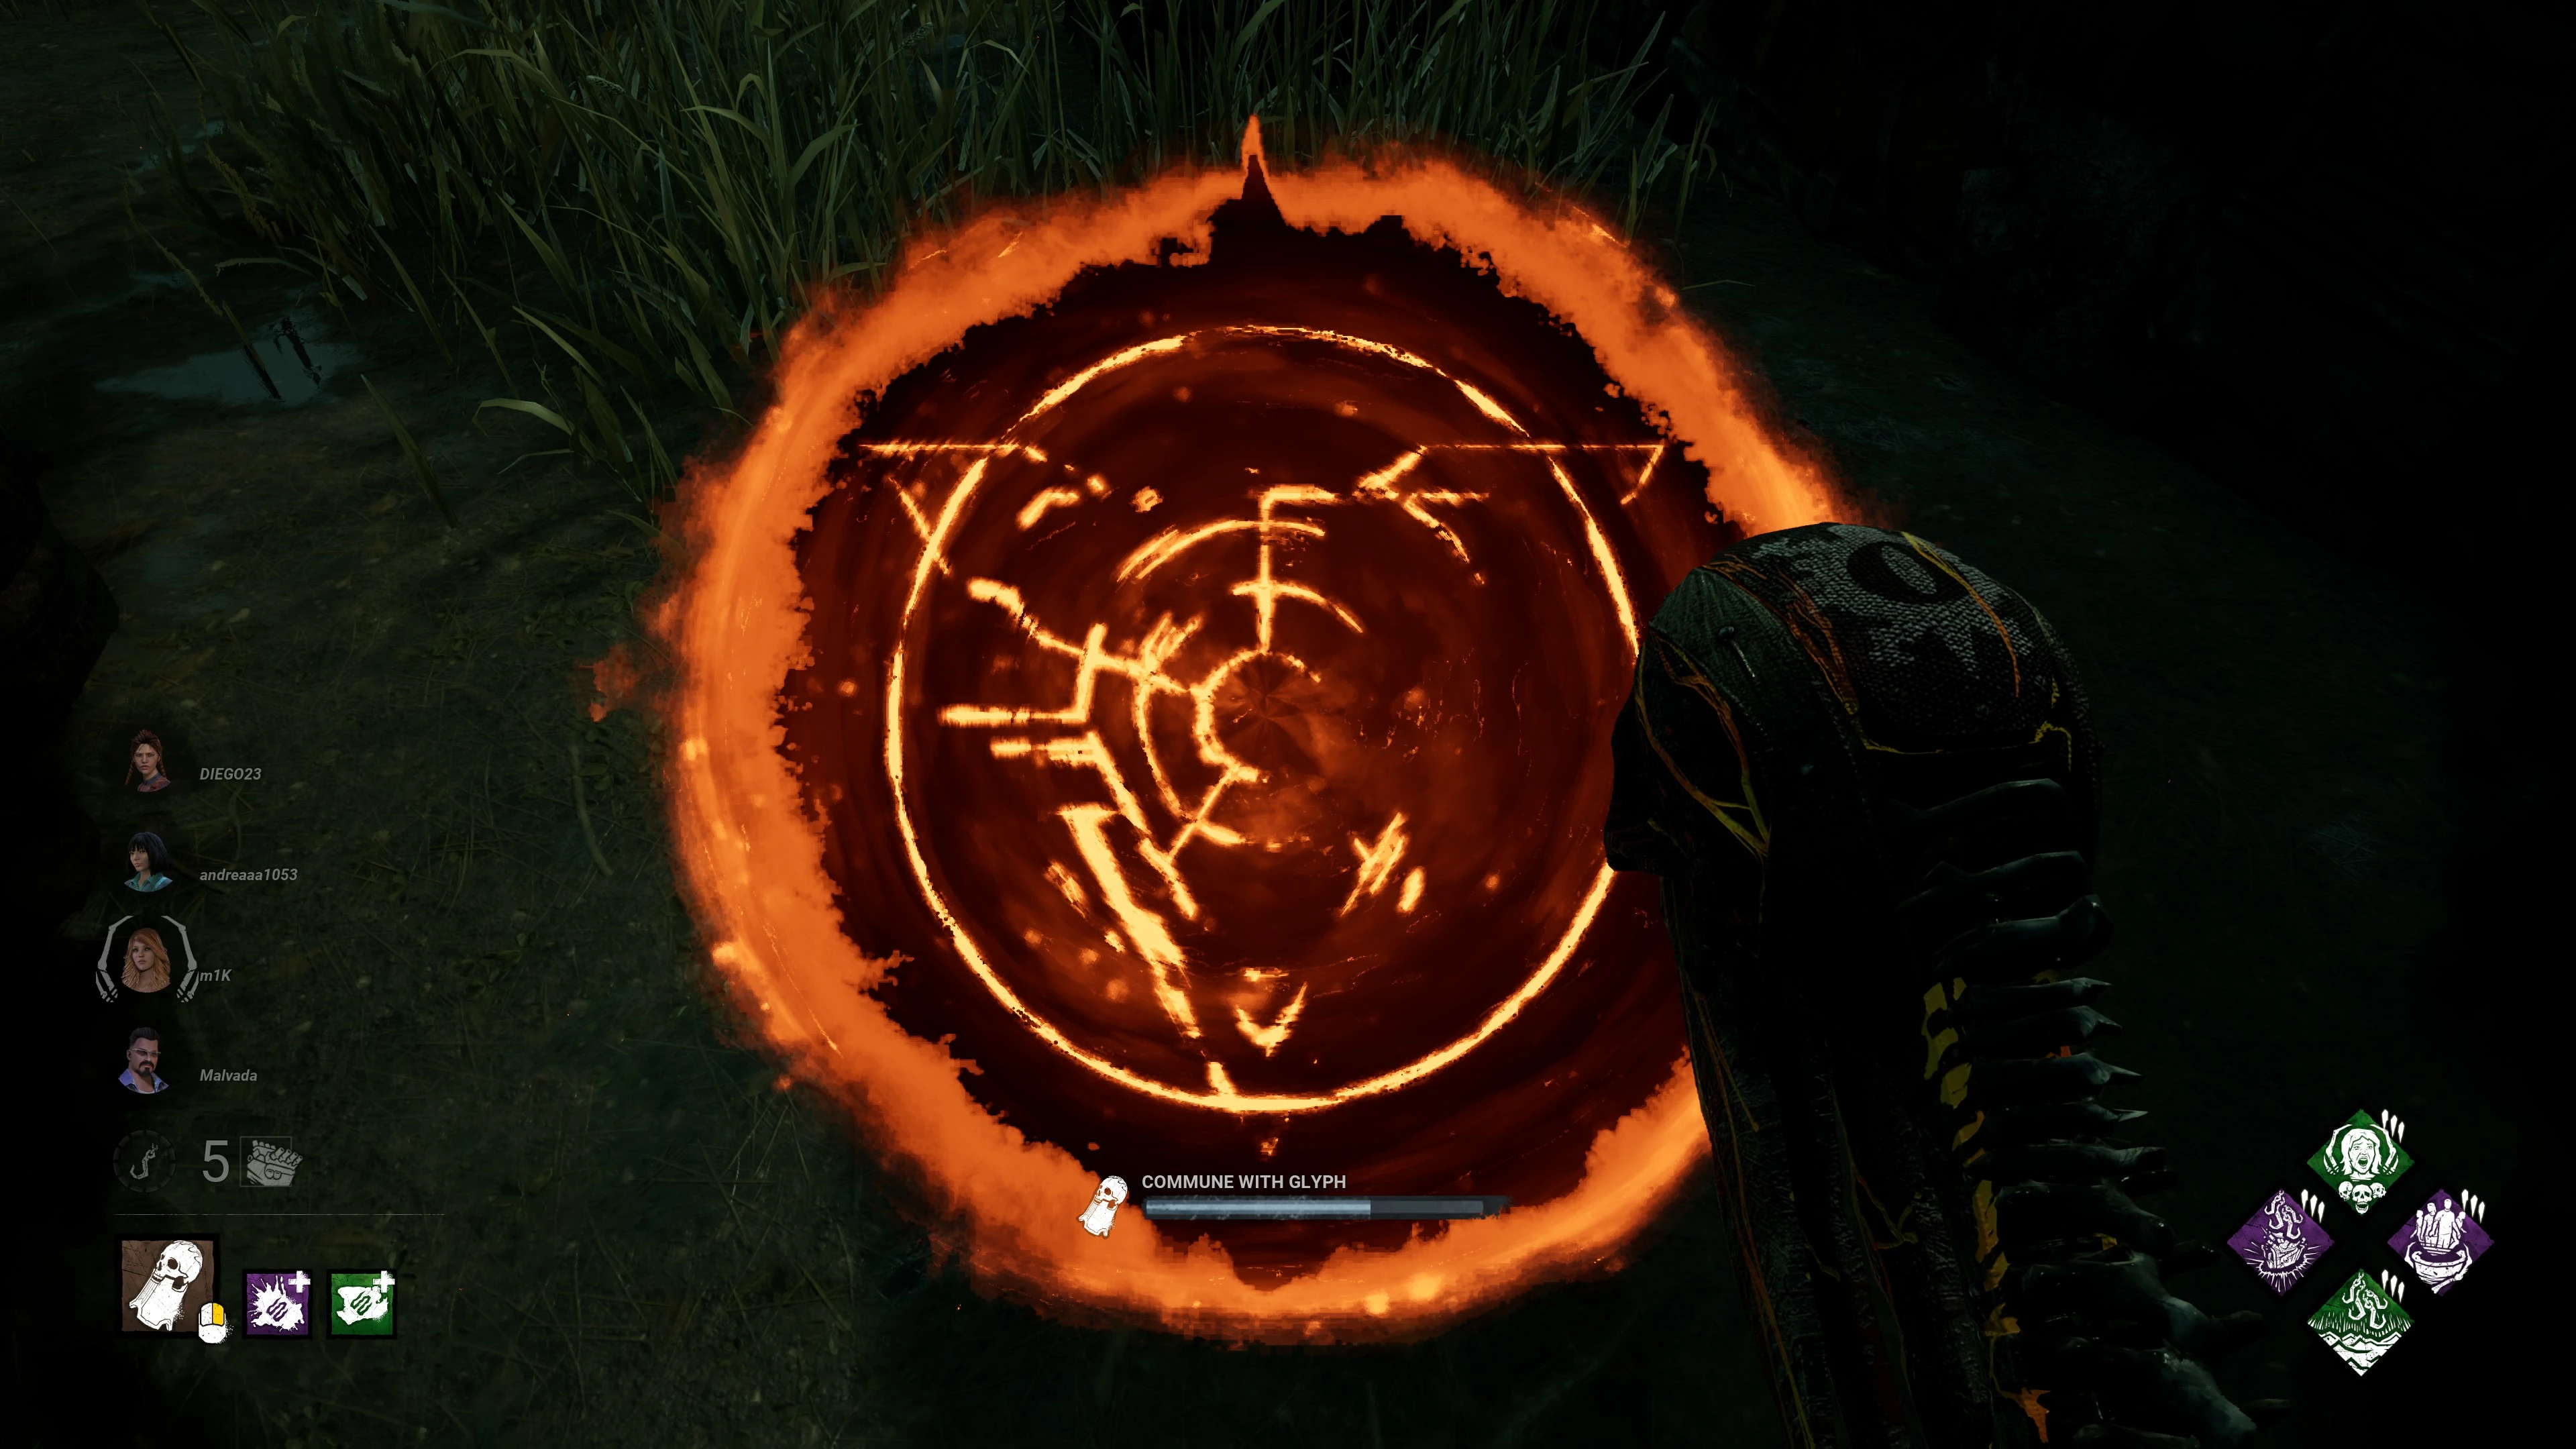
Orange Glyph[]
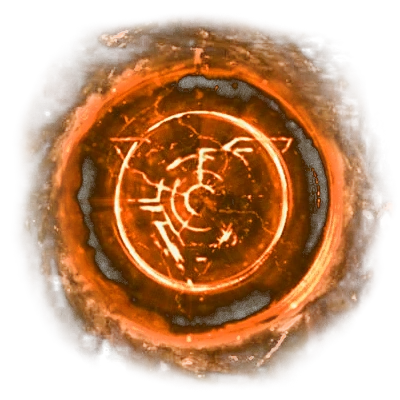
The Glyph Massacre Challenge is only available to the Killer.
The Orange Glyph causes the Killer to suffer from several afflictions at the same time while they are tasked to hook 6 Survivors in order to close the Glyph:
- Interaction time: 2 seconds
- Visibility range: 16 metres
- It should be noted that the Orange Glyph spawns right next to the Killer upon loading into a Trial and thus does not require to be searched for first.
- Afflictions:
- Increases the Cool-down duration of missed Basic Attacks by +0.5 seconds.
- Reduces the Recovery speed from Pallet Stuns by -50 %.
- Reduces the Action speed of breaking Breakable Walls and Pallets, and damaging Generators by -30 %.


Pink Glyph[]
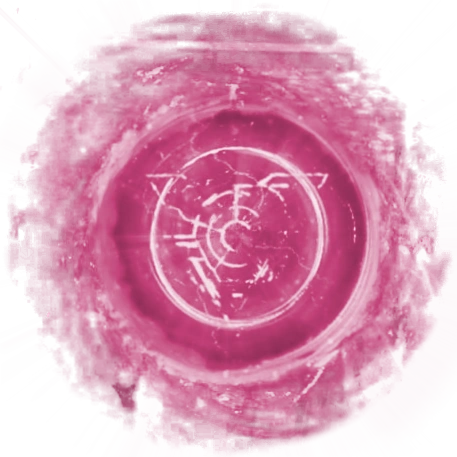
The Glyph Prowler Challenge is only available to Survivors.
A Survivor must be cautious in approaching the Pink Glyph as it will inflict them with the Exposed![]() Status Effect and disappear, if the Glyph has line-of-sight for too long.
Status Effect and disappear, if the Glyph has line-of-sight for too long.
The Pink Glyph will reappear in a different location on the Map if stalking it was unsuccessful or if one moves too far away from it.
Managing to sneak up on the Pink Glyph without being seen for too long will allow the Survivor to interact with it:


- Interaction time: 3 seconds
- Visibility range: 30 metres
- Within this range, the Pink Glyph is also able to detect the Survivor approaching it, potentially causing Exposed if they are not careful.
- An audible sound cue plays as soon as the Survivor has entered its range and the Glyph become visible.
- Marking time: 4 seconds
- This refers to for how long the Glyph must have line-of-sight on the approaching Survivor before it Marks it, using the same mechanic that The Ghost Face uses.
- This refers to for how long the Glyph must have line-of-sight on the approaching Survivor before it Marks it, using the same mechanic that The Ghost Face
- Grace timer: 1 second
- This refers to for how long the Glyph must have line-of-sight on the approaching Survivor before its starts the Marking process.
- Movement range: 32 metres
- Once a Survivor enters the visibility range of the Glyph, they must stay within the movement range, otherwise it will despawn and teleport to a different location.
- Marked Timer duration: 30 seconds
- Teleportation delay: 10 seconds
- This refers to for how long the Glyph waits before relocating to a new location.
- Marking Progress Reset delay: 1 second
- This refers to the delay after losing line-of-sight before the Glyph fully resets the Marking process.


Tome Availability[]
The following table lists all Tomes![]() that feature Glyph Challenges and which variations they are:
that feature Glyph Challenges and which variations they are:

| Tome | Featured Glyphs | |||||||
|---|---|---|---|---|---|---|---|---|
|
|
|
|
|
|
|
| |
| Tome 6 | ||||||||
| Tome 7 | ||||||||
| Tome 8 | ||||||||
| Tome 9 | ||||||||
| Tome 10 | ||||||||
| Tome 11 | ||||||||
| Tome 12 | ||||||||
| Tome 13 | ||||||||
| Tome 14 | ||||||||
| Tome 15 | ||||||||
| Tome 16 | ||||||||
| Tome 17 | ||||||||
| Tome 18 | ||||||||
Change Log[]
Tome 14[]
- Killer Nerf: the Orange Glyph now applies all three of its afflictions at the same time instead of just one of them, depending on the Tome Level it was part of, like it did in its introductory Tome 12.
- Killer QoL: the Orange Glyph no longer applies the sound effect affliction, nor the visual HUD overlay affliction.
Trivia[]
- It is possible for a Survivor to spawn into the Trial within both range and line-of-sight of their Pink Glyph, causing them to become Exposed immediately after gaining control over their character.
- Tome 14 - Betrayal was the first Tome since the introduction of Glyphs to not introduce a new variation of the Glyphs and there have been no new Glyphs since.
- Instead, new Tomes are receiving variations of Memory Shards since Tome 15 - Ascension.
- It should be noted that just as with other Interactables, the Killer has the ability to grab both healthy or injured Survivors, if they are actively interacting with a Glyph, making it dangerous to do so in view of the Killer.
Video[]
| Claudette communing with a Red Glyph | The Demogorgon communing with a Red Glyph |
|---|---|
| Feng communing with a Yellow Glyph | The Trickster communing with a Purple Glyph |
| Yun-Jin communing with a White Glyph | Yun-Jin communing with a Green Glyph |
| The Demogorgon communing with a Green Glyph | The Onryō communing with an Orange Glyph (Old HUD Effect) |
| The Onryō damaging a Generator while affected by an Orange Glyph | Yun-Jin communing with a Pink Glyph |
| Zarina being Exposed by a Pink Glyph | |
Gallery[]

Felix communing with a Red Glyph.

ditto

ditto
Felix communing with a Blue Glyph.
ditto
ditto
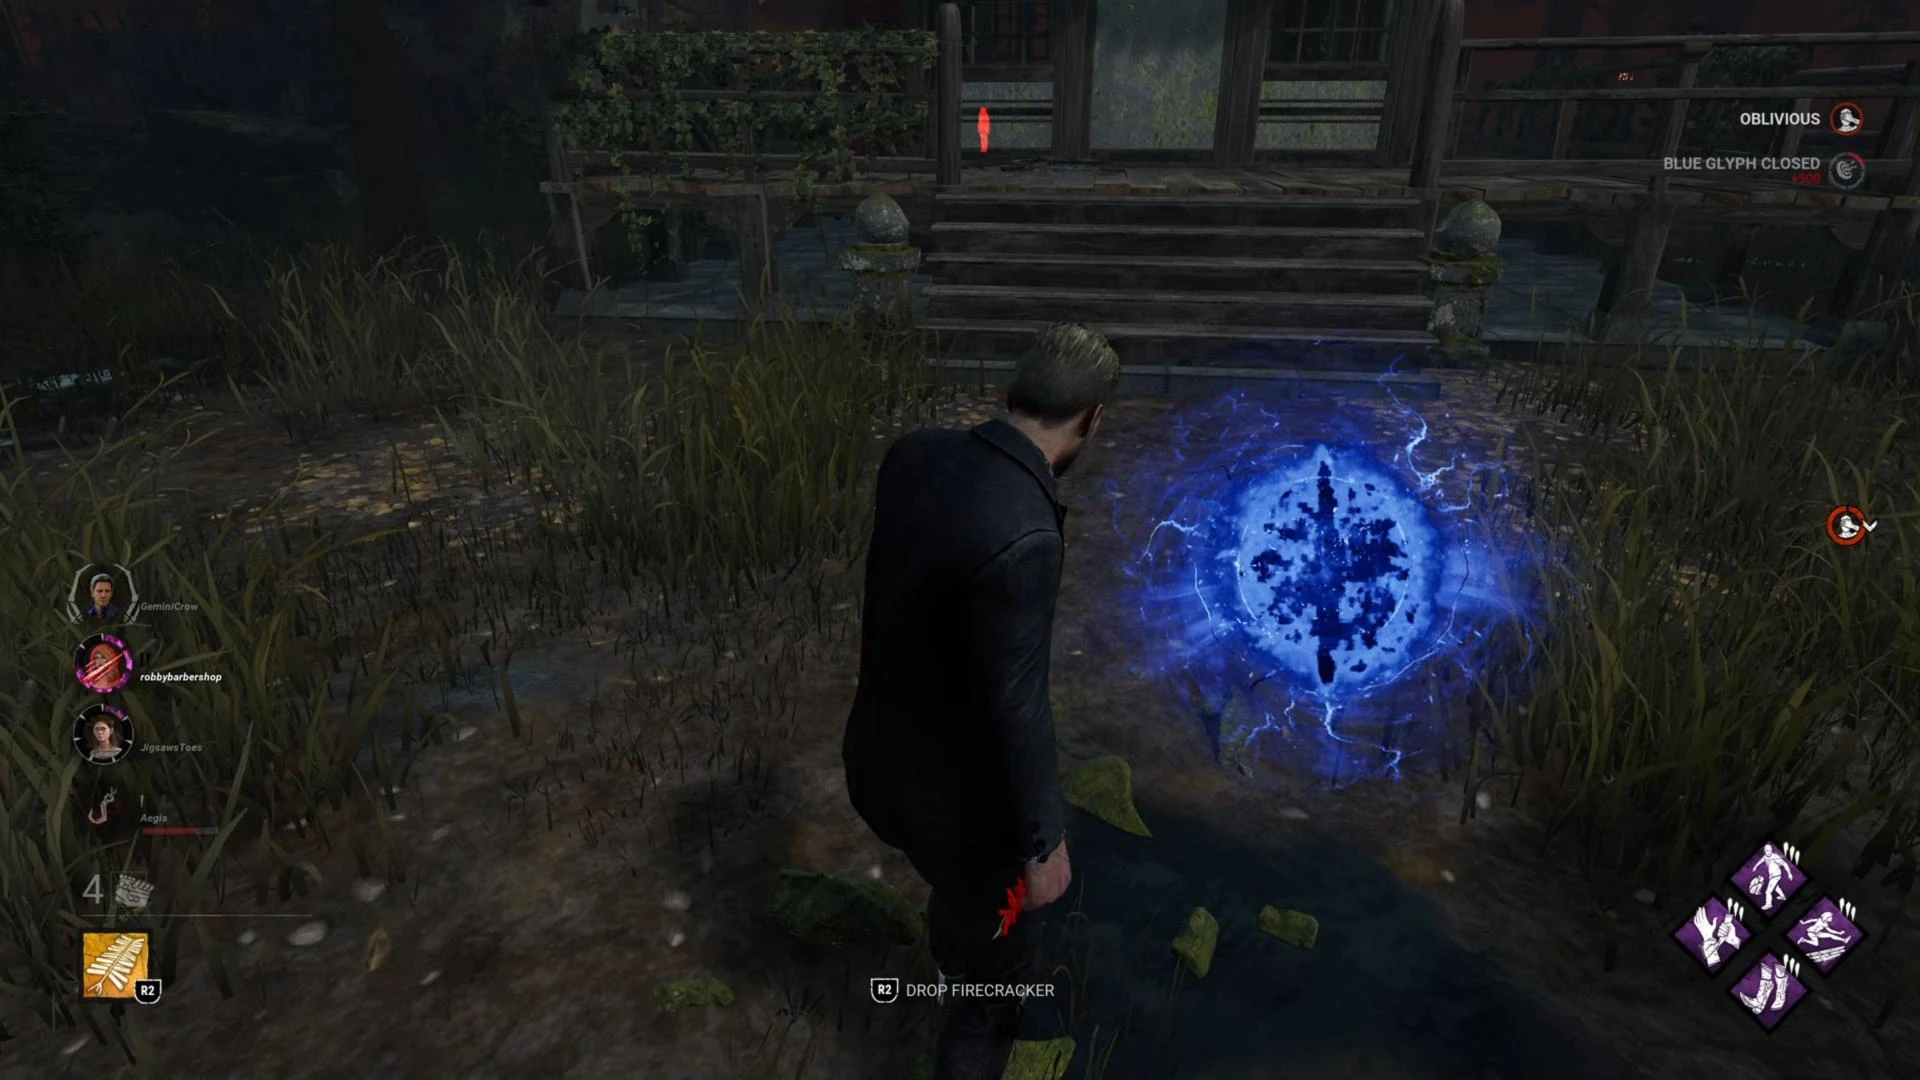
A Blue Glyph collapsing.
Note the debuff that is applied.Observing another Survivor interacting with a Yellow Glyph.
The trail left by an invisible Purple Glyph wandering about the Map.
A stationary and visible Purple Glyph after catching up to it.
The Wraith interacting with a Purple Glyph.
The Aura of the Purple Glyph after hooking a Survivor.
The White Glyph in the Basement.
Feng communing with a Green Glyph.
The Aura of a Green Glyph revealed at the beginning of the Endgame Collapse.
Wraith communing with an Orange Glyph.
The HUD Overlay while the Orange Glyph Challenge is active.
The Orange Glyph spawning right in front of the Killer.
Tapp communing with a Pink Glyph