Status HUD/Madness is both a Game Mechanic and a Template:IconLink in Template:IconLink that was introduced with Patch 1.5.1 alongside The Template:IconLink.
Overview
Status HUD/Madness affects the sanity of the Template:IconLink and affects/hinders their ability of performing certain interactions.
Status HUD/Madness is a Game Mechanic that is unique to The[Doctor as it is directly linked to Template:IconLink, his Power.
Madness Tiers
Status HUD/Madness comes in 3 Tiers, Madness I, II & III. Chevrons indicate the current Madness-tier to the affected Survivor. Madness Tiers are fixed, meaning that once it tiers-up, there is no way to bring it back down, with the exception of Madness III, which can be lowered back to Madness II by Snapping Out Of It.
Tier I
Madness I affects the Survivor with the following Afflictions:
- Causes Survivors to scream once, giving The Doctor an Aura flare-up.
- 33% chance for a randomly placed Template:IconLink.
Tier II
A Doctor Hallucination / Illusionary Doctor
Madness II affects the Survivor with the following Afflictions:
- All afflictions of Tier I.
- 66% chance for a randomly placed Template:IconLink.
- Causes Survivors to experience shared Doctor Hallucinations.
Tier III
Madness III affects the Survivor with the following Afflictions:
- All afflictions of Tier II.
- 99% chance for a randomly placed Template:IconLink.
- Causes Survivors to scream periodically, giving The Doctor an Aura flare-up.
- Shared Doctor Hallucinations intensify, allowing The Doctor to read their Template:IconLink.
- Survivors are prevented from performing any of the following interactions:
- Healing others and themselves
- Repairing Template:IconLink
- Sabotaging Template:IconLink
- Searching Template:IconLink
- Cleansing Template:IconLink
- Survivors are also prevented from using their Template:IconLink.
Additional Afflictions
- Main article: Carter's Spark Add-ons.
Depending on The Doctor's choice of Template:IconLink load-out, Survivors can have additional afflictions based on their Madness Tier.
The possible types of additional Afflictions are:
- Illusionary Pallets: induced by the Template:IconLink Add-on Series.
- Fake Terror Radius: induced by the Template:IconLink Add-on Series.
- Longer-lasting, more frequent Illusionary Doctors: induced by the Template:IconLink Add-on Series.
- Fake Red Stain: induced by the Template:IconLink Add-on Series.
- Forced Exhaustion: induced by the Template:IconLink Add-on.
All of the above can be induced one-by-one by the Template:IconLink Add-on.
Gaining Madness
Status HUD/Madness is gained in two different ways, both require The Doctor to be in Treatment mode:
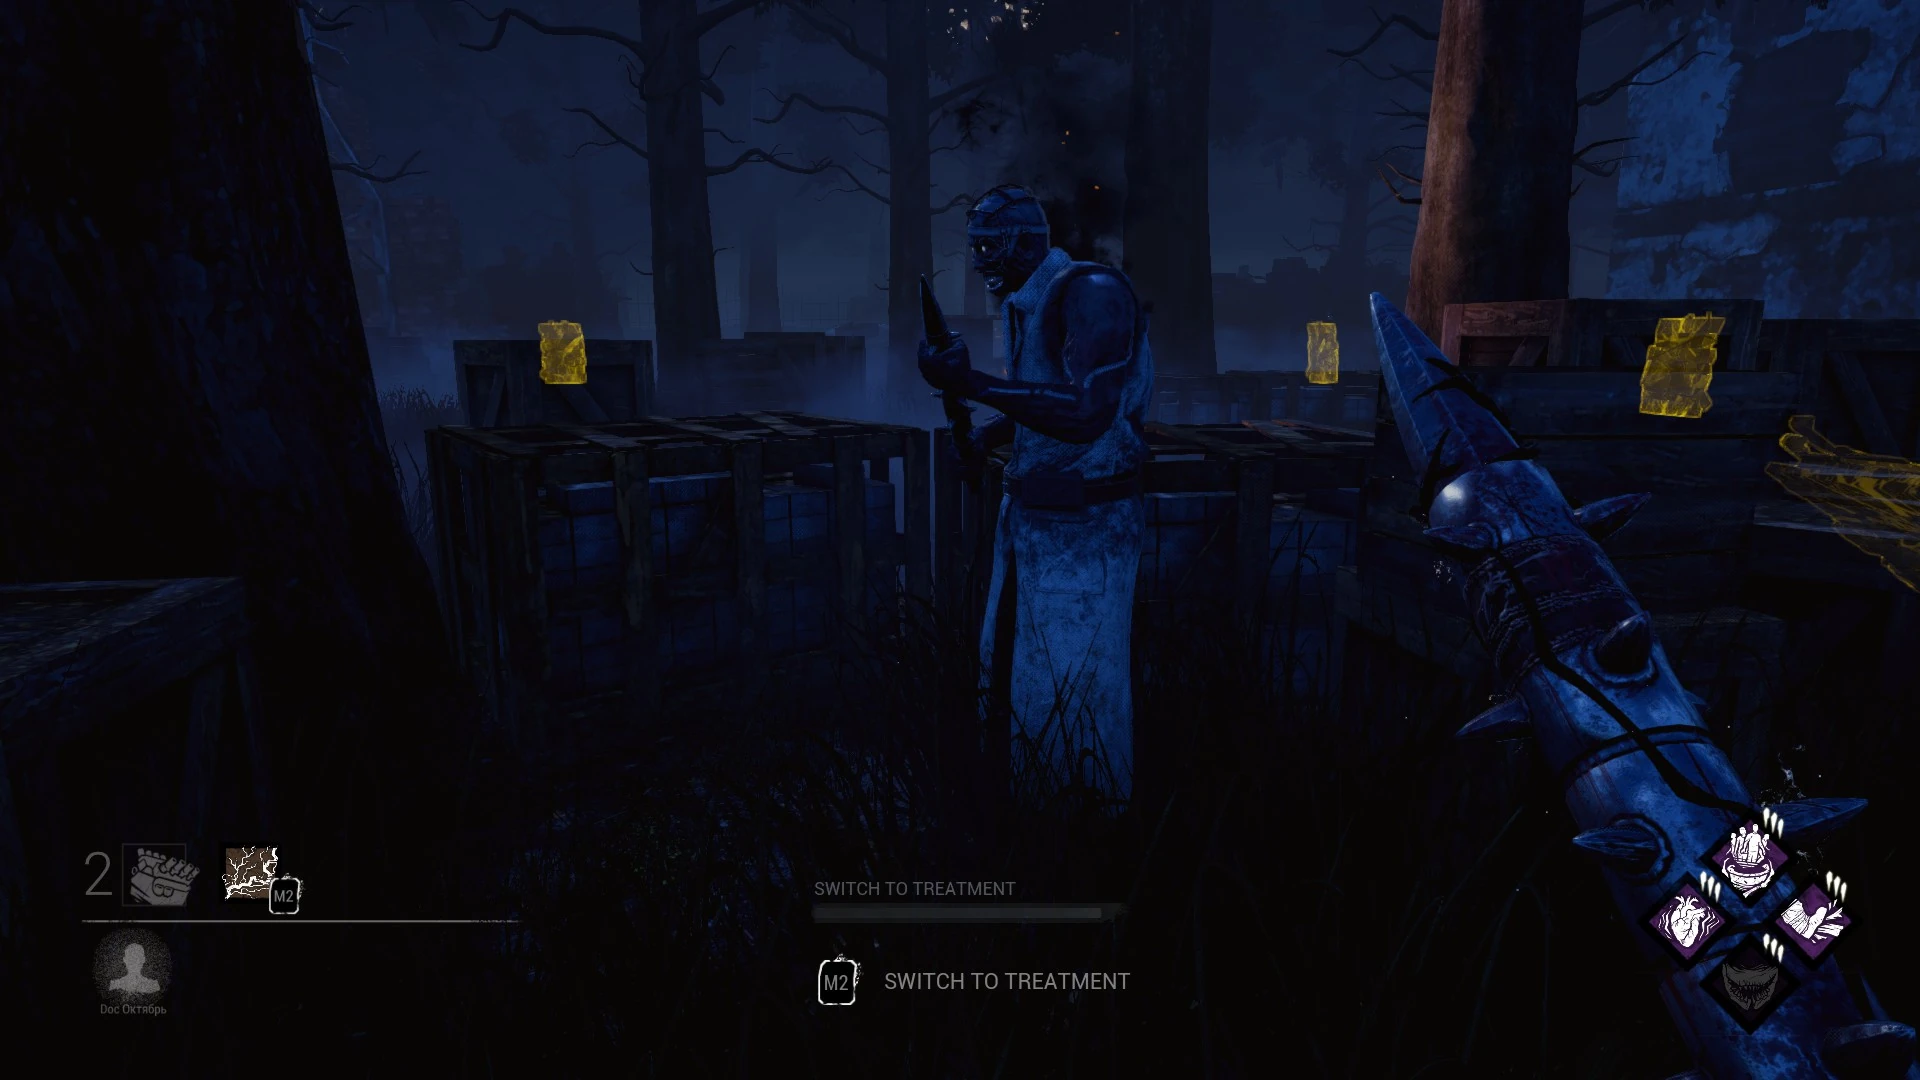
Shock Therapy Attack
A Shock Therapy attack is The Doctor's secondary form of attack and the main use of his Power. He will charge an attack and shoot an electric spark into the ground, which a second later will spread out and electrify the ground in front of him, shocking every Survivor that happens to be within the shock wave and thus considerably increasing their Madness. The shock wave will travel through walls and obstacles and is only blocked by Template:IconLink. A shocked Survivor will temporarily (for 2.5 seconds) be unable to perform any interactions with their surroundings, preventing them for example from vaulting a Template:IconLink or vaulting/dropping a Template:IconLink.
Static Field
The Static Field is a passive ability of The Doctor's Power, bound directly to his Terror Radius. Whenever he's in Treatment mode, Survivors within his Terror Radius will see small sparks at their feet and hear a buzzing sound. This passive exposure to the Static Field will slowly and steadily increase the Survivor's Madness. This ability is directly bound to the range of his Terror Radius, meaning that Perks affecting the range of the Terror Radius, will also affect the range of the Static Field.
The only way to prevent the passive Madness build-up from happening is hiding inside a Locker or leaving The Doctor's Terror Radius as quickly as possible.
Lowering Madness
The Status HUD/Madness gauge can be lowered in three different ways (excluding Snapping Out of It):
- Crouching down.
- Not interacting with anything for a prolonged period of time.
- Hiding inside a Template:IconLink. This will also prevent any Madness gain when in The Doctor's Static Field.
Snapping Out of It
This is a unique action that is only available on Madness III and will reduce the Madness Tier to Madness II.
Snapping Out of It is a requirement for the affected Survivor to regain their ability to perform any interaction as Madness III prevents any interaction.
It is also advised due to the periodical screams and Aura-reveals, giving away their location to The Doctor.
Snapping Out of It takes {{clr|2|12 seconds} to perform.
- It is not considered a Healing Action and thus not affected by Perks such as Template:IconLink or Template:IconLink.
- Due to being on Madness III, Snapping Out of It has a 99 % chance of having randomly placed Skill Checks across the screen.
- Failing any Skill Check will reset the progress and make the Survivor scream, revealing their Aura to The Doctor.
Change Log
Up to Patch 2.4.0
Snapping Out of It is considered as a Healing Action and takes 12 seconds to perform.
- This made it reveal the Survivor's Template:IconLink to a Doctor using Template:IconLink if he was in range. For Survivors, Template:IconLink would speed up the process.
- Interactions with Template:IconLink or the Template:IconLink Status Effect were deemed too powerful and thus did not affect it when it was still considered a Healing Action.
Videos
| Shock Therapy Attack | Madness Tier-Up: Loud Noise notification + Aura flare-up |
|---|---|
| Template:IconLink: Illusionary Pallets | Template:IconLink: Fake Red Stain |