DocOctober (talk | contribs) mNo edit summary |
Tag: Visual edit |
||
| Line 11: | Line 11: | ||
== Madness Tiers == |
== Madness Tiers == |
||
| − | '''{{PAGENAME}}''' comes in '''{{clr|2|3}}''' Tiers, Madness I, II & III. Chevrons indicate the current Madness-tier to the affected Survivor. Madness Tiers are fixed, meaning that once it tiers-up, there is no way to bring it back down, with the exception of '''Madness III''', which can be lowered back to '''Madness |
+ | '''{{PAGENAME}}''' comes in '''{{clr|2|3}}''' Tiers, Madness I, II & III. Chevrons indicate the current Madness-tier to the affected Survivor. Madness Tiers are fixed, meaning that once it tiers-up, there is no way to bring it back down, with the exception of '''Madness III''', which can be lowered back to '''Madness I''' by performing the ''Snapping Out of It'' action. |
=== Madness Points === |
=== Madness Points === |
||
Revision as of 22:03, 26 January 2020
Status HUD/Madness is both a Game Mechanic and a Template:IconLink in Template:IconLink that was introduced with Patch 1.5.1 alongside The Template:IconLink.
Overview
Status HUD/Madness affects the sanity of the Template:IconLink and affects/hinders their ability of performing certain interactions.
Status HUD/Madness is a Game Mechanic that is unique to The Doctor as is directly linked to Template:IconLink, his Power.
Madness Tiers
Status HUD/Madness comes in 3 Tiers, Madness I, II & III. Chevrons indicate the current Madness-tier to the affected Survivor. Madness Tiers are fixed, meaning that once it tiers-up, there is no way to bring it back down, with the exception of Madness III, which can be lowered back to Madness I by performing the Snapping Out of It action.
Madness Points
Status HUD/Madness works by applying so-called "Madness Points" to the Survivor through Carter's Spark. The amount of Madness Points define the Madness Tier.
The Shock Therapy Attack applies 30 Madness Points.
The Static Blast applies 50 Madness Points.
The Static Field filled Madness at a rate of 2.5 Madness Points per second in close proximity (taking ~20 seconds for a Tier-up), decreasing in efficiency the closer a Survivor was to the outer edges of the Static Field, taking well over a minute there to gain another Tier.
Tier I
Madness I is achieved after gaining 5 Madness Points, it affects Survivors with the following afflictions:
- Causes Survivors to scream once, giving The Doctor an Aura flare-up and a Loud Noise notification.
- 33 % chance for a randomly placed Template:IconLink.
Tier II
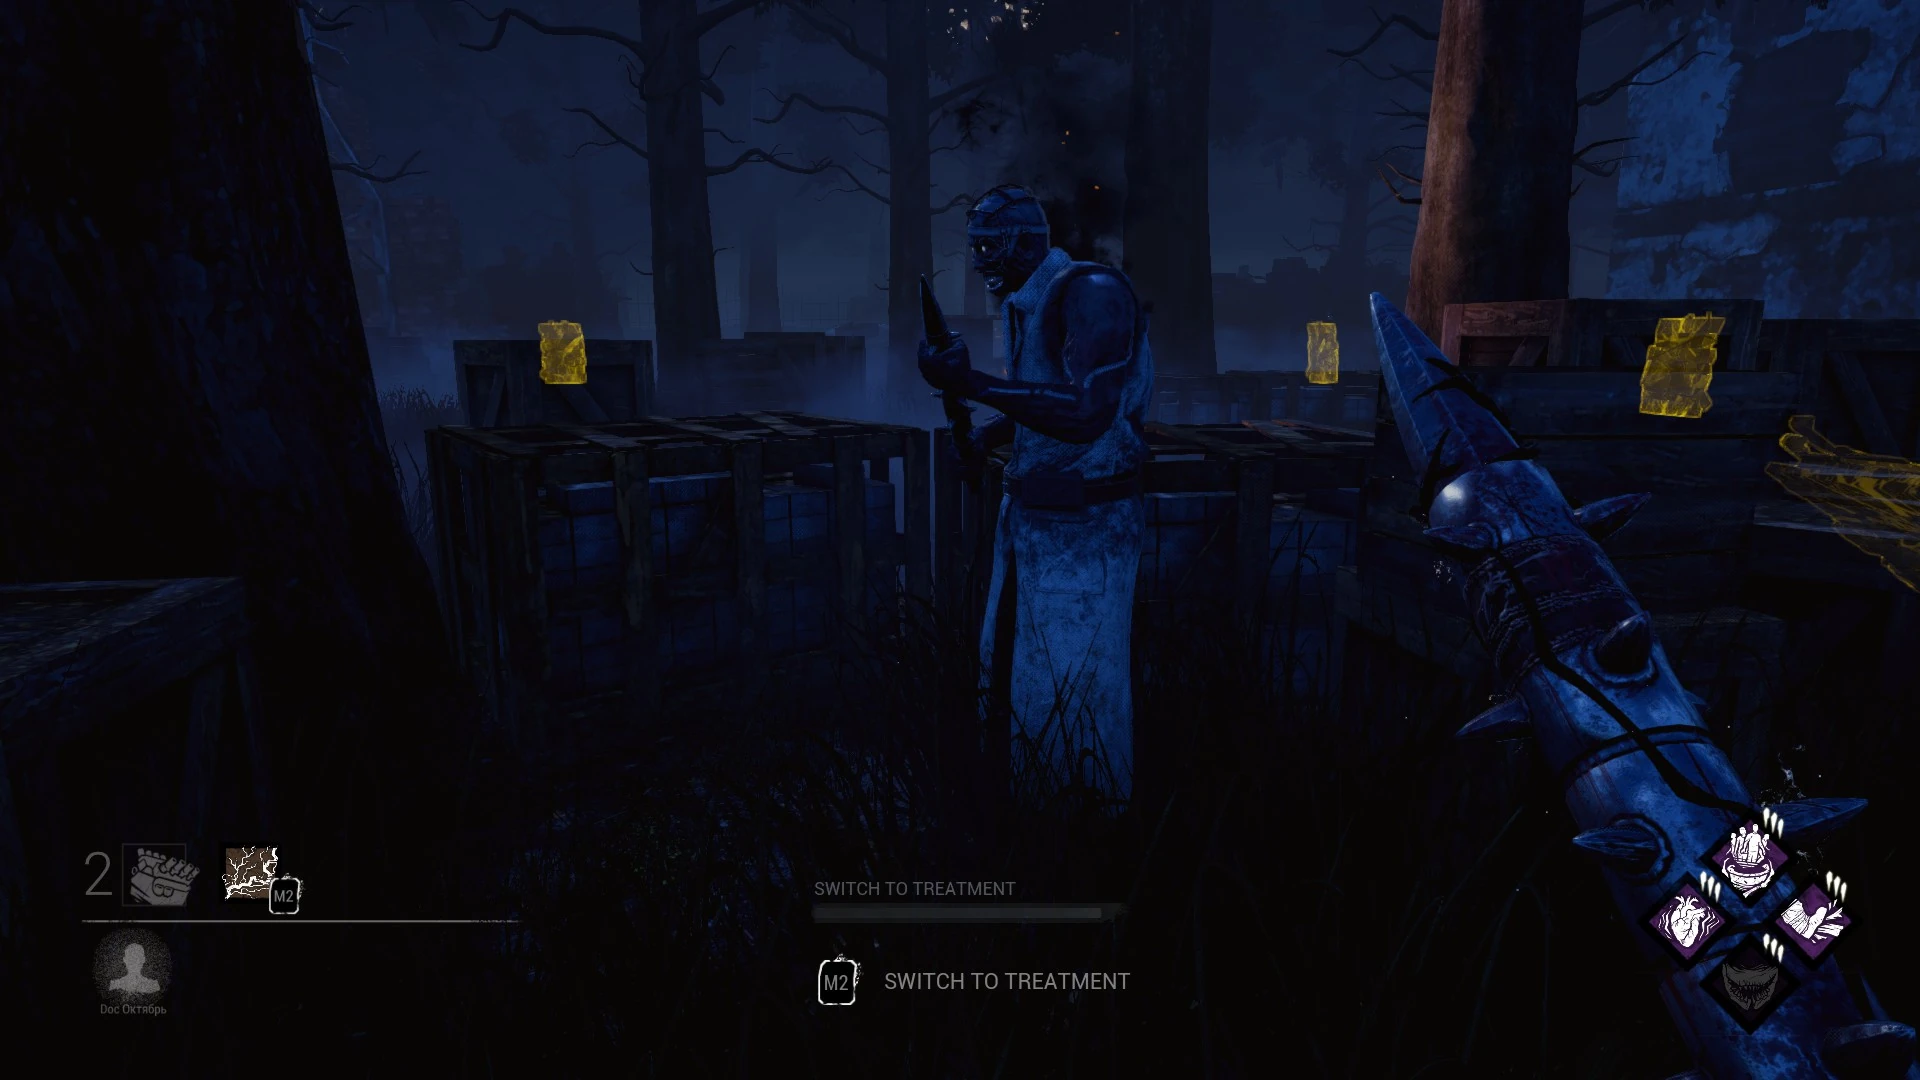
A Doctor Hallucination / Illusionary Doctor
Madness II is achieved after gaining 55 Madness Points, it affects Survivors with the following afflictions:
- All afflictions of Tier I in addition to:
- 66 % chance for a randomly placed Template:IconLink.
- Causes Survivors to experience shared Doctor Hallucinations.
Tier III
Madness III is achieved after gaining 105 Madness Points, it affects Survivors with the following afflictions:
- All afflictions of Tier II in addition to:
- 100 % chance for a randomly placed Template:IconLink.
- Causes Survivors to scream periodically, giving The Doctor an Aura flare-up and a Loud Noise notification.
- Shared Doctor Hallucinations intensify, allowing The Doctor to read their Template:IconLink.
- Survivors are prevented from performing any of the following interactions:
- Healing others and themselves
- Repairing Template:IconLink
- Sabotaging Template:IconLink
- Searching Template:IconLink
- Cleansing Template:IconLink
- Survivors are also prevented from using their Template:IconLink.
Additional Afflictions
- Main article: Carter's Spark Add-ons.
Depending on The Doctor's choice of Template:IconLink load-out, Survivors can have additional afflictions based on their Madness Tier.
The possible types of additional Afflictions are:
- Illusionary Pallets: induced by the Template:IconLink Add-on Series.
- Fake Terror Radius: induced by the Template:IconLink Add-on Series.
- Illusionary Doctors: longer-lasting and more frequently spawned, induced by the Template:IconLink Add-on Series.
- Fake Red Stain: induced by the Template:IconLink Add-on Series.
- Counter-clockwise Skill Checks: induced by Template:IconLink.
All of the above can be induced one-by-one by the Template:IconLink Add-on. Each Shock Therapy attack will pick a random affliction until all five are applied simultaneously.
Gaining Madness
Status HUD/Madness is applied through either a Shock Therapy Attack or a Static Blast:
Shock Therapy
The Shock Therapy attack is The Doctor's primary Power ability. Charging Shock Therapy for 1 second will release a spark of electricity into the ground that will propagate as a cone in front of The Doctor and shock any Survivors within its range (10.7 metres). The shock wave will also travel through walls and obstacles and is only blocked by Template:IconLink and increased elevation differences.
A successful Shock Therapy attack will increase a Survivor's Madness by 30 Madness Points}}. A shocked Survivor will have a cool-down of 2.5 seconds applied to performing any interactions, such as vaulting and dropping. The use of Shock Therapy will cause The Doctor to experience a cool-down of 1.5 seconds to attacking or using his Powers.
Static Blast
The Static Blast is The Doctors secondary Power ability that was added with Patch 3.5.0. Charging Static Blast for 2 seconds will release a burst of electricity into the ground, propagating outwards from The Doctor all the way to the boundary of his Terror Radius, instantly shocking any Survivor within his Terror Radius not hiding inside a Locker and applying an entire Tier of Madness. Static Blast is then on a cool-down of 60 seconds.
- Survivors within the Terror Radius will hear a directional audio cue upon charging and firing Static Blast.
- Survivors outside the Terror Radius will hear a non-directional audio cue upon charging and firing Static Blast.
Static Field
The Static Field was a passive ability of The Doctor's Power until Patch 3.5.0, bound directly to his Terror Radius. Whenever he was in Treatment Mode, Survivors within his Terror Radius would see small sparks at their feet and hear a buzzing sound. This passive exposure to the Static Field would slowly and steadily increase the Survivor's Madness. This ability was directly bound to the range of his Terror Radius, meaning that Perks affecting the range of it would also affect the range of the Static Field.
The only way to prevent the passive Madness build-up from happening was hiding inside a Locker or leaving The Doctor's Terror Radius as quickly as possible, though there was a delay of 5 seconds before the Madness would start decaying after leaving it.
Regressing Madness
Staying outside of The Doctor's Terror Radius will slowly regress Madness within its current Tier (0.5 Madness Points per second). Staying inside the Terror Radius will pause the regression.
To regress Madness further, Survivors are required to Snap Out of It:
Snap Out of It
This is a unique action that is only available on Madness III and will regress Madness to Madness I.
Snap Out of It is a requirement for the afflicted Survivor to regain their ability to perform interactions inhibited by Madness III. It is also advised to do due to the periodic screams and Aura-reveals, betraying their location to The Doctor.
Snap Out of It takes 12 seconds to perform.
- It is not considered a Healing Action and thus not affected by Perks such as Template:IconLink or Template:IconLink.
- Reaching a quadrant of the progress bar will trigger a Madness Skill Check.
- Failing the Skill Check will apply a Regression penalty of 25 % and make the Survivor scream, revealing their Aura to The Doctor.
- Interrupting the Snap Out of It action will save the current progress.
Change Log
Up to Patch 2.4.0
- Snap Out of It was considered a Healing Action.
- This made it reveal the Survivor's Template:IconLink to a Doctor using Template:IconLink if he was in range. For Survivors, Template:IconLink would speed up the process.
- Interactions with Template:IconLink and the Template:IconLink Status Effect were deemed too powerful and thus did not affect, even when it was still considered a Healing action.
Up to Patch 3.5.0
- Snap Out of It only dropped a Survivor to Madness II. It was impossible to drop back to Madness I once a higher Tier was gained.
- Failing a Madness Skill Check during Snap Out of It completely reset its progress.
- The Madness Skill Checks had a 100 % chance to trigger, but would do so at random times during the interaction, generally allowing for 2-4 Madness Skill Checks before Snap Out of It was completed.
Patch 3.5.0
- Updated Illusionary Doctors to play The Doctor's in-game idle animation, rather than the menu one, to help conceal it being an illusion.
- Madness slowly regresses outside of the Terror Radius, but not inside.
Trivia
- Illusionary Doctors at default last for 1 second.
- When attempting to spawn one, the Game will pick a spawn point 6 metres in the direction the Survivor's camera is facing, then place the Illusionary Doctor anywhere within 4 metres from that initial point.
- The Game will attempt to spawn an Illusionary Doctor randomly in a given time interval.
- Madness II: any time between 16 and 32 seconds.
- Madness III': any time between 8 and 16 seconds.
- Madness Tier III Aura flare-ups will happen at any time between 16 and 32 seconds.
Videos
| Shock Therapy Attack | Madness Tier-Up: Loud Noise notification + Aura flare-up |
|---|---|
| Template:IconLink: Illusionary Pallets | Template:IconLink: Fake Red Stain |